Zoned Pages
Utilizing zones for versatile content display
Creating Zones within a Playlist Page
- Select a playlist page and click the drop-down menu to access the Playlist Zones feature.
- Choose a layout from the available options.
- Customize the size of each zone by dragging and dropping grid borders.
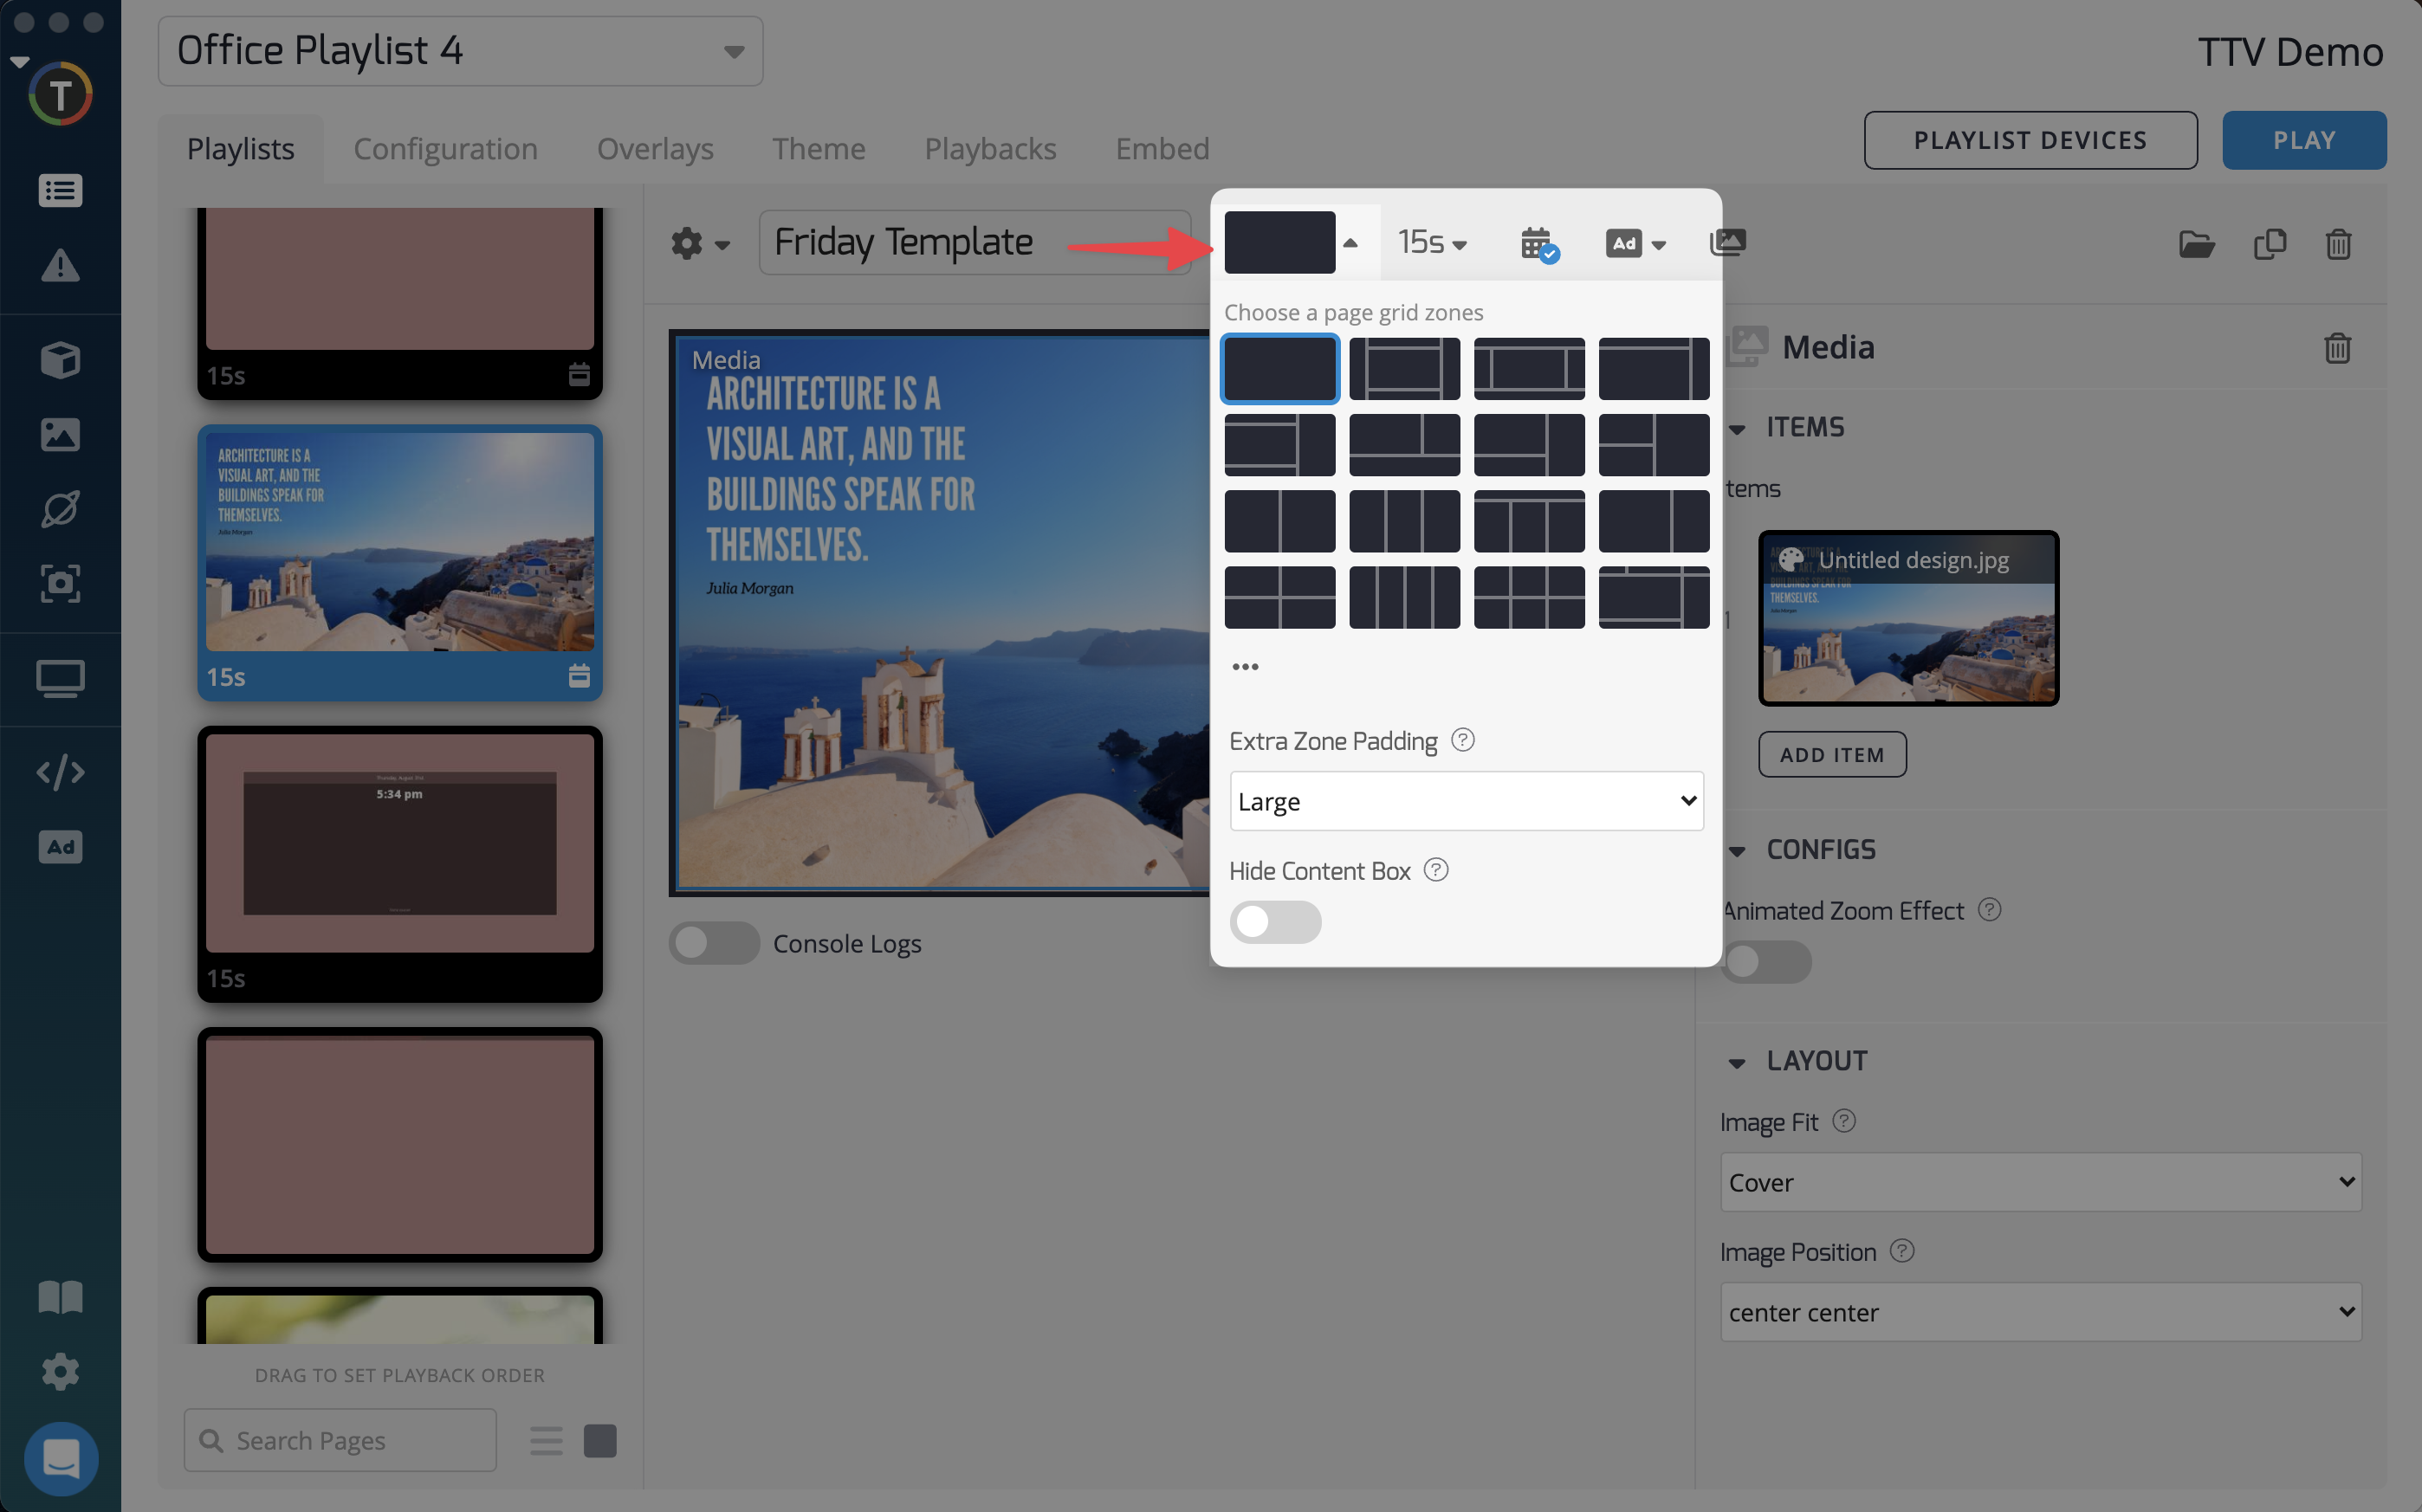
Using Custom LayoutsFor advanced users, click "•••" to create a custom layout using CSS.
Using CSS Grid to Define Playlist Layouts
Playlist layouts in TelemetryTV support custom definitions, allowing you to create elaborate configurations for your digital signage. However, this feature is recommended for advanced users only, as a thorough understanding of CSS is required. TelemetryTV does not provide support for debugging CSS grids, so please ensure you test your custom configurations carefully.
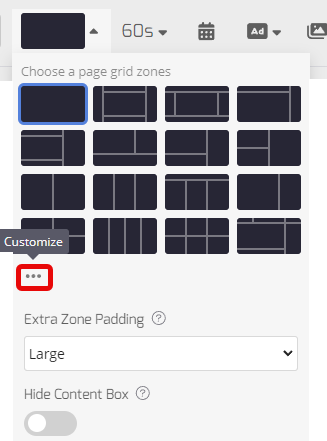
To define your custom layout, you'll need to use the grid-area property in the Layout text entry area of TelemetryTV's platform.
- Make sure you include a named section called "main" as part of your grid definition.
- You can then define other areas within your grid based on your desired layout.
Getting Started
- Navigate to the Layout text entry area in your playlist settings.
- Enter your CSS Grid definition, ensuring that you define the main grid area.
- Customize other grid areas as necessary for your design.
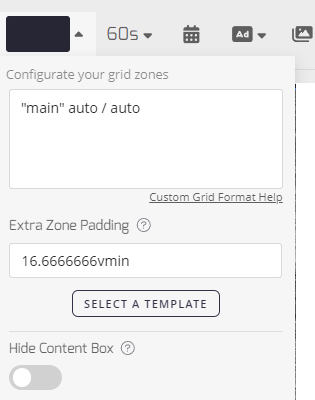
Example
grid-template-areas:
  "header header"
  "main sidebar"
"footer footer";- This feature gives you maximum control over the appearance and structure of your digital signage layout.
- Documentation on CSS Grids is available online and can be used as a reference for creating your layout.
- TelemetryTV cannot assist with CSS grid debugging, so proceed carefully with testing your configurations.
- This should be reserved for users who are confident with CSS and wish to create a highly customized display experience.
Adding Content to Zones
Once you've established your desired layout, you can populate each zone with different content, selecting from your existing media, apps, and boards.
In the Playlist Editor, effortlessly rearrange content within zones by using the drag-and-drop functionality.
Here are a few examples of playlist pages created using Playlist Zones and various apps:
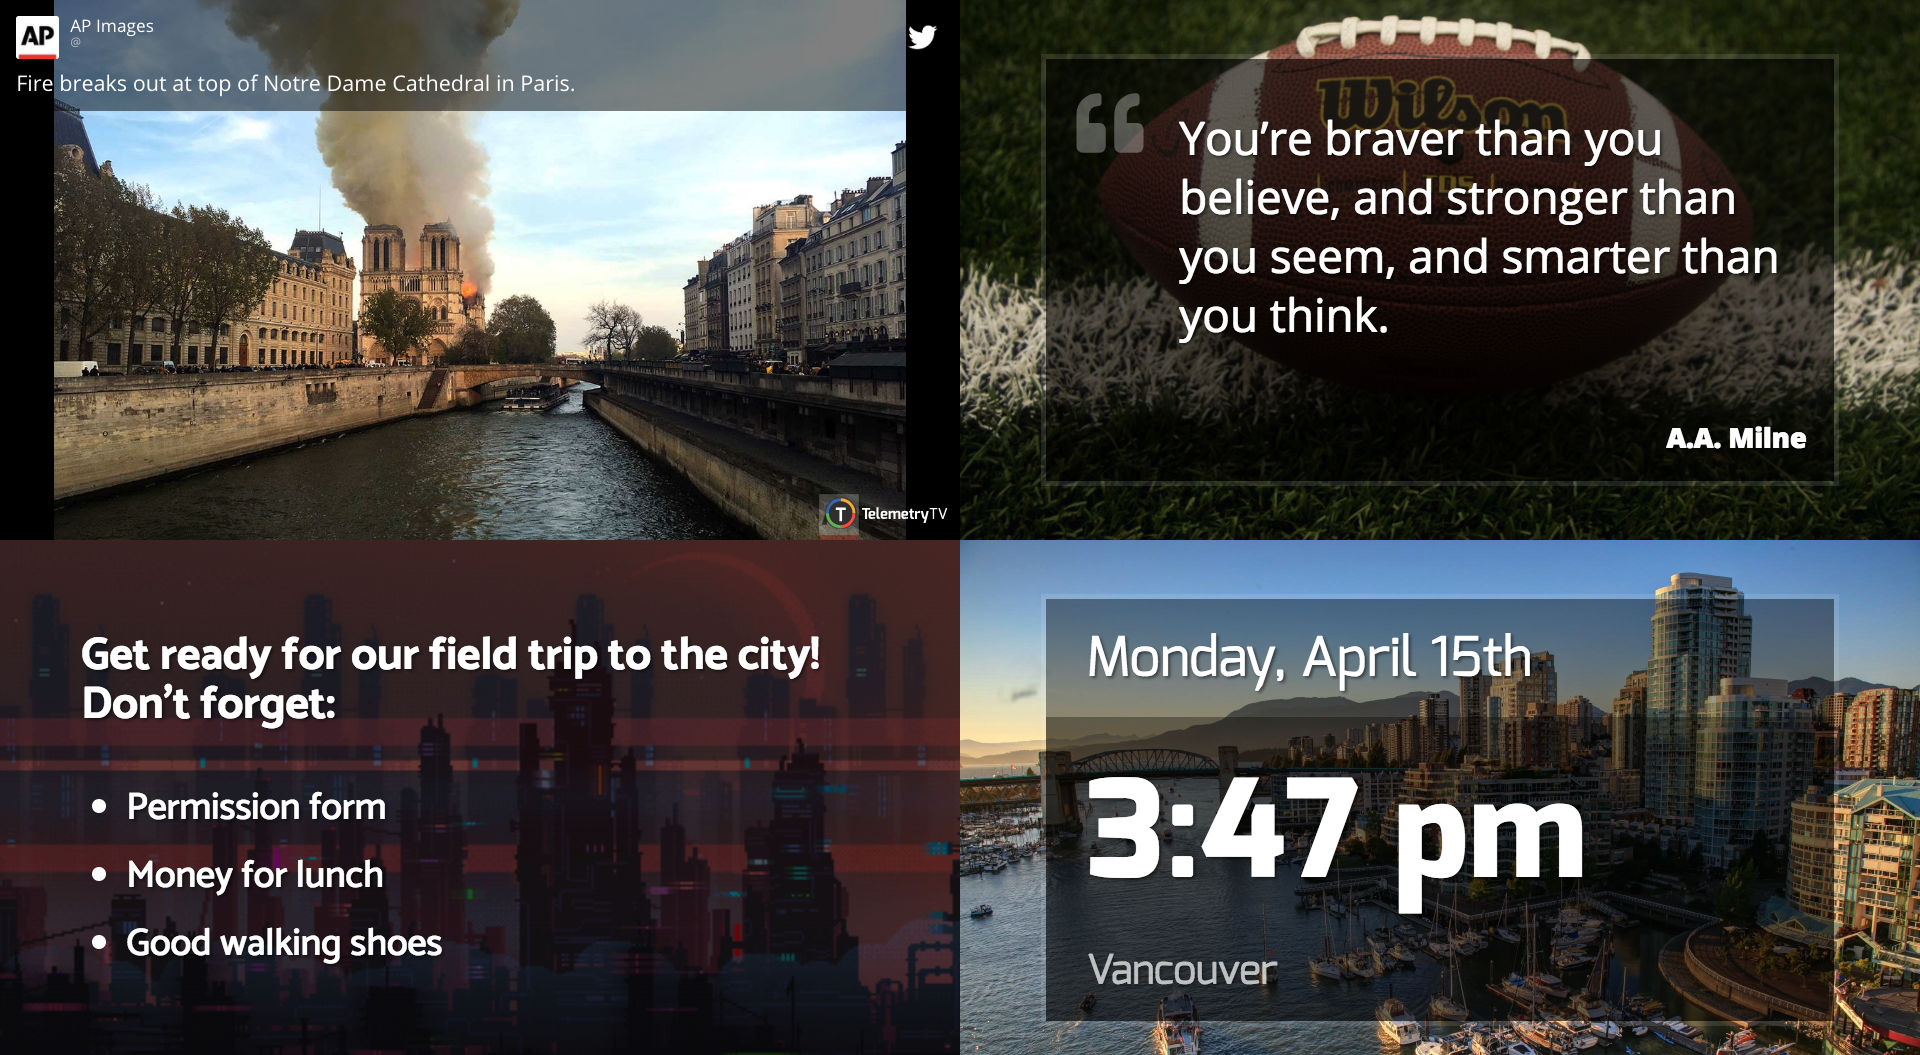
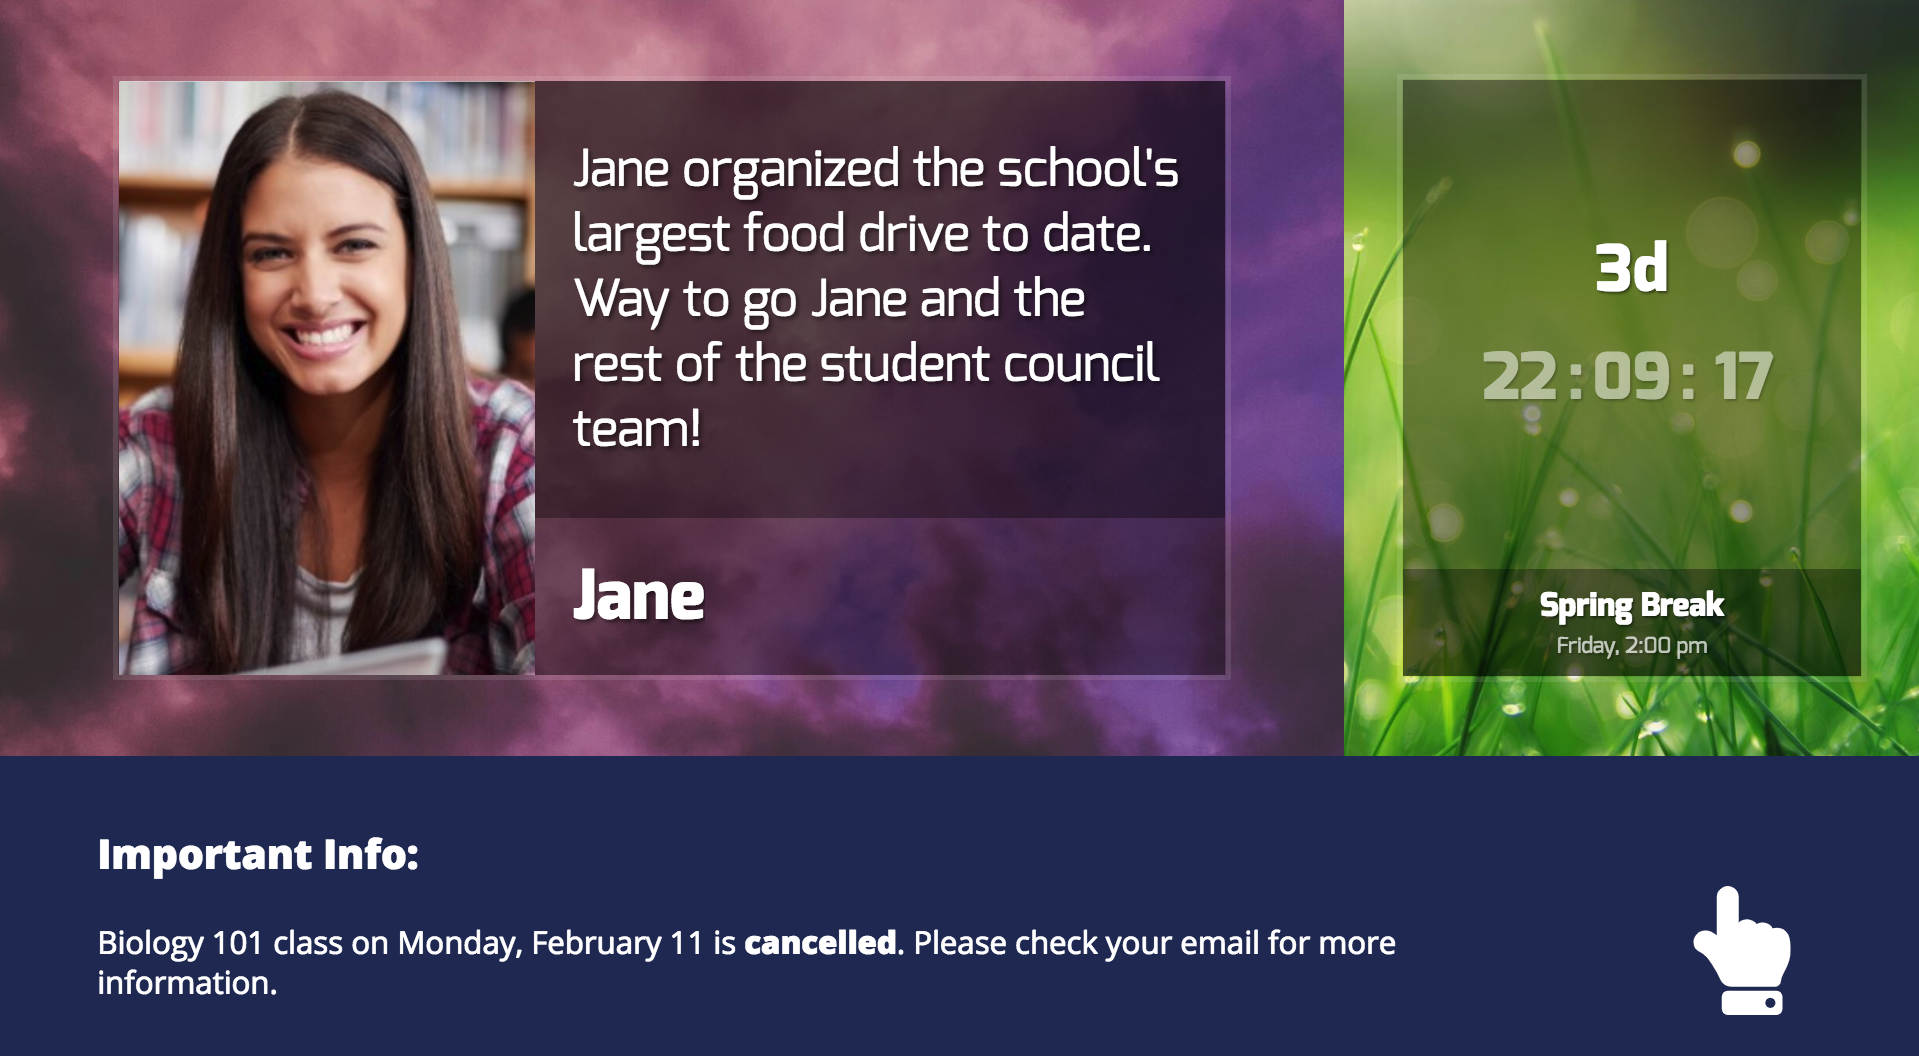
Pro TipUtilize zones when setting up video walls for optimal display.
For further customization of zone layouts, our custom zone CSS templates feature can be utilized by advanced users.
Additionally, this article covers two supplementary features that complement Playlist Zones:
Zone Padding
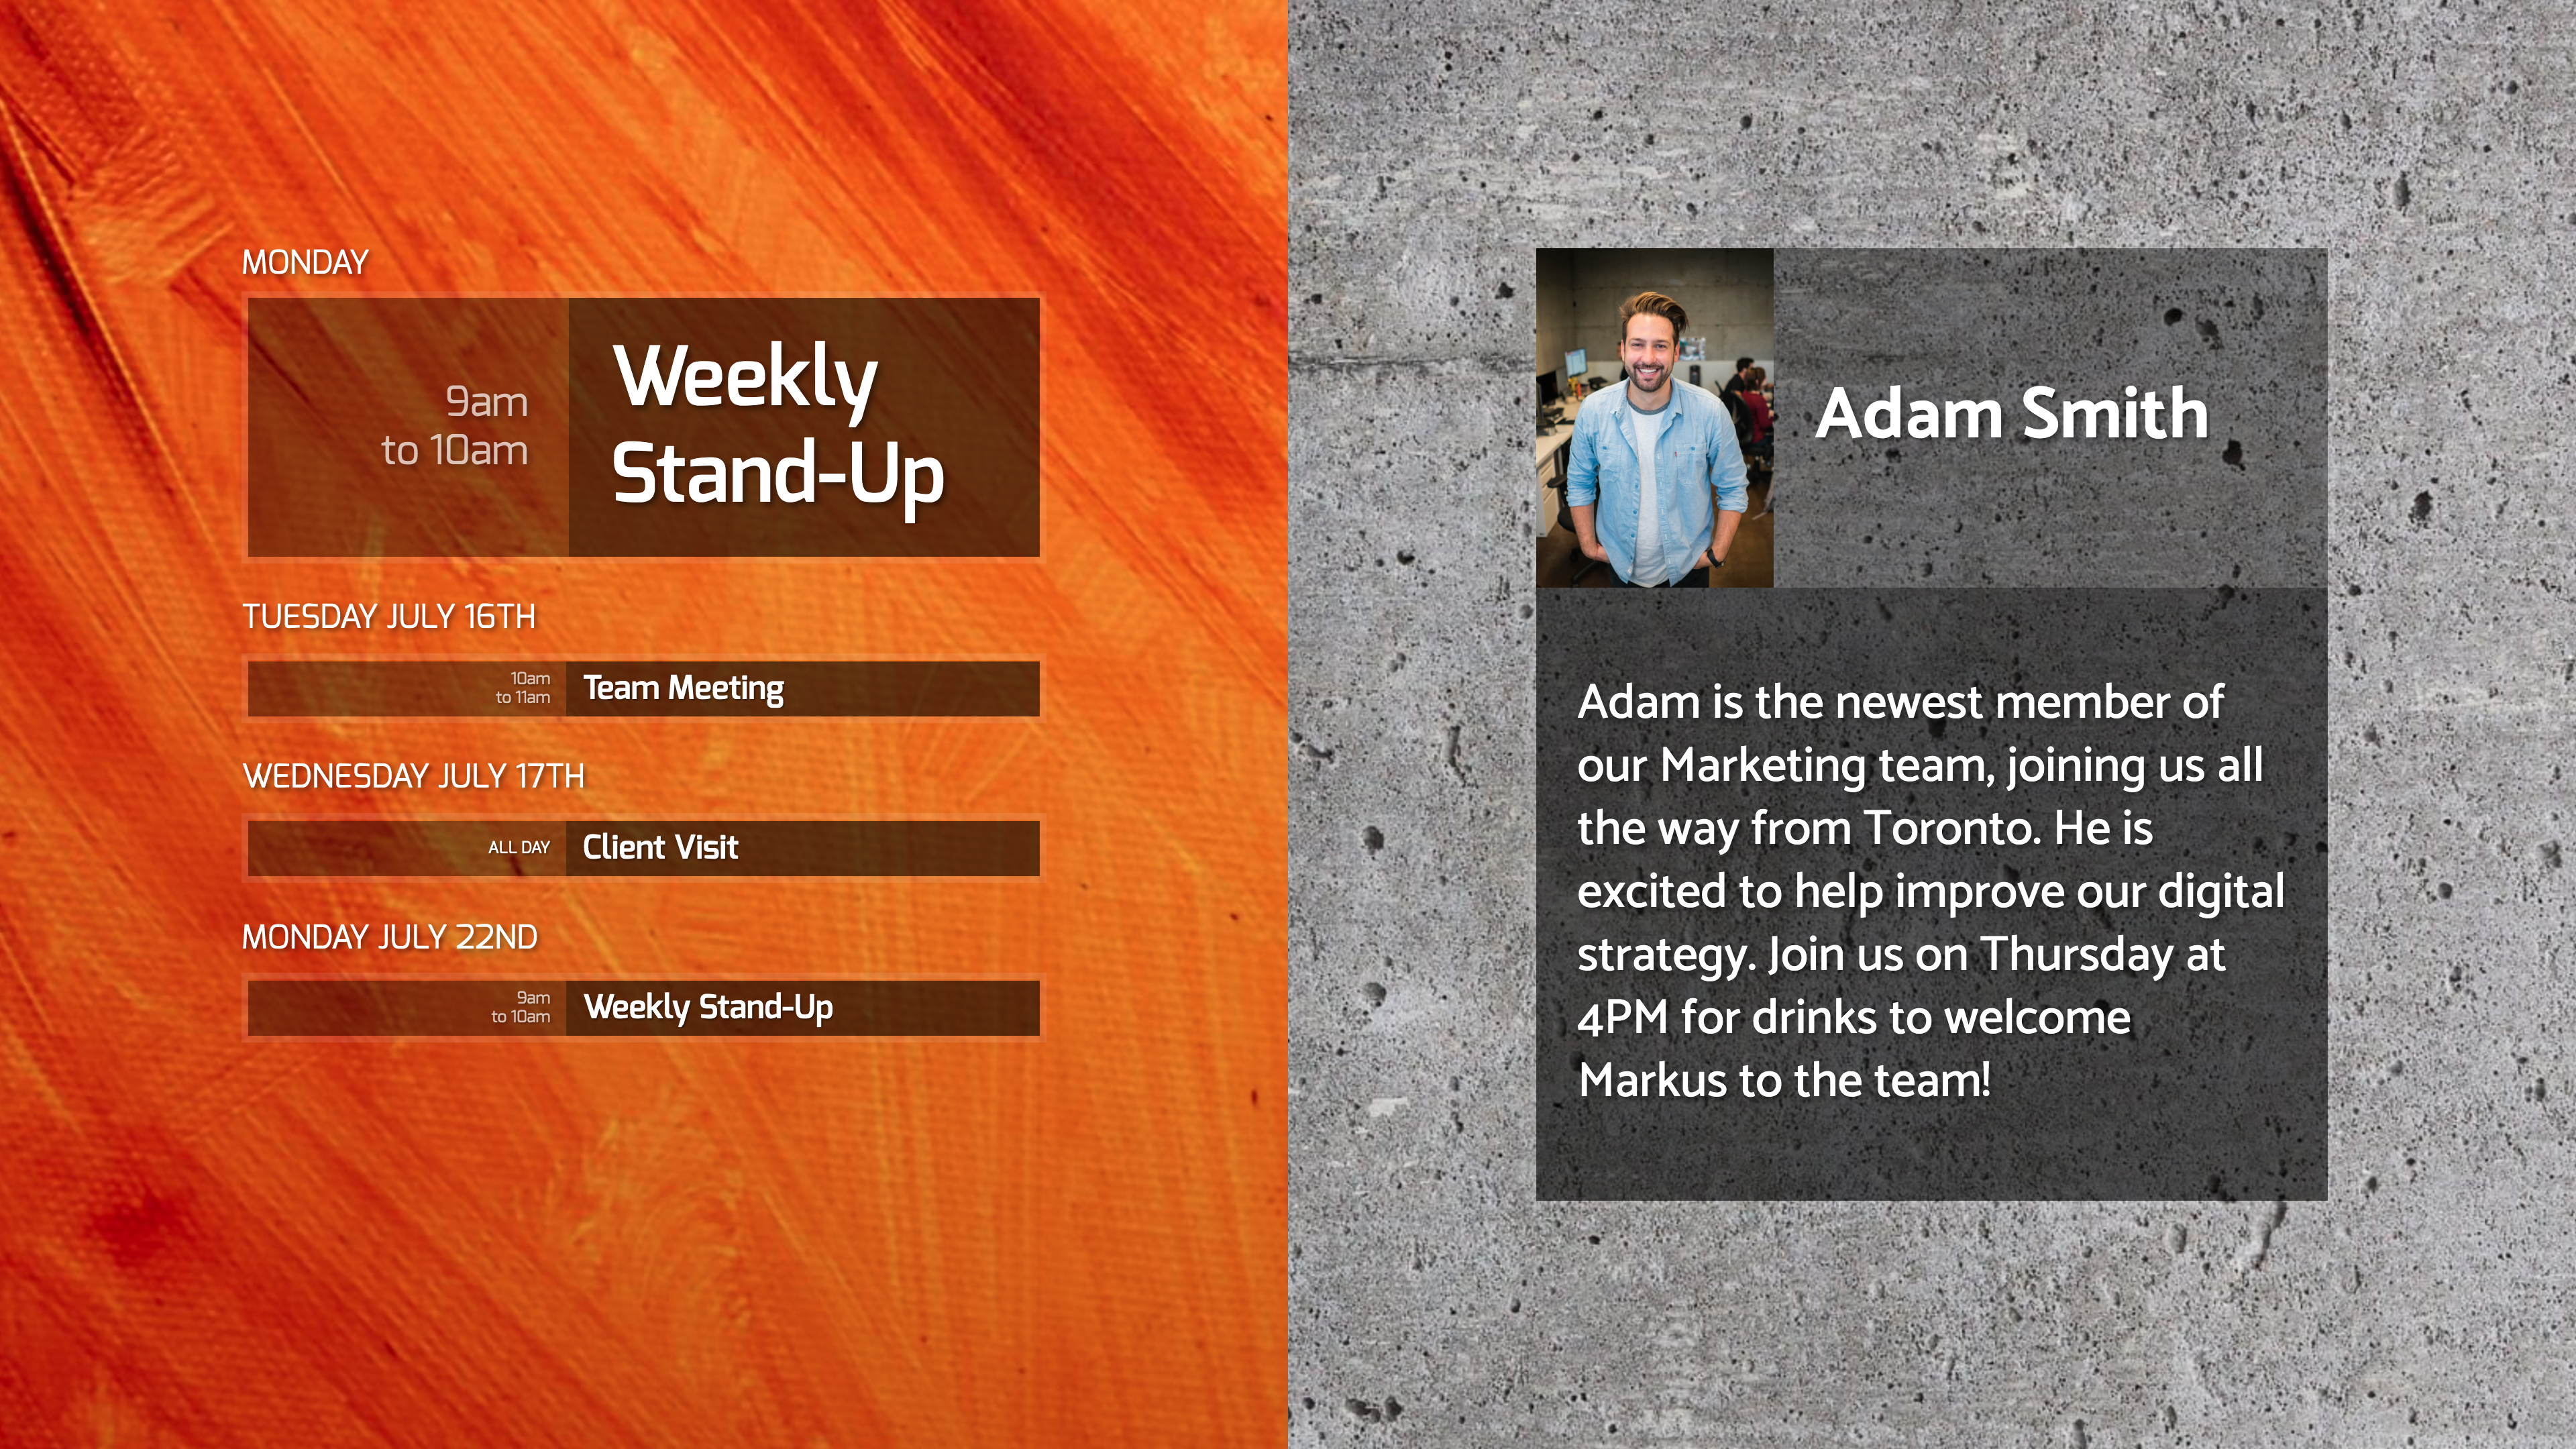
The Zone Padding feature enables you to adjust the margins between your content and the border of the playlist zone.
To access Zone Padding:
- Select the playlist page you wish to edit.
- Open the Playlist Zones drop-down menu and locate the Zone Padding feature.
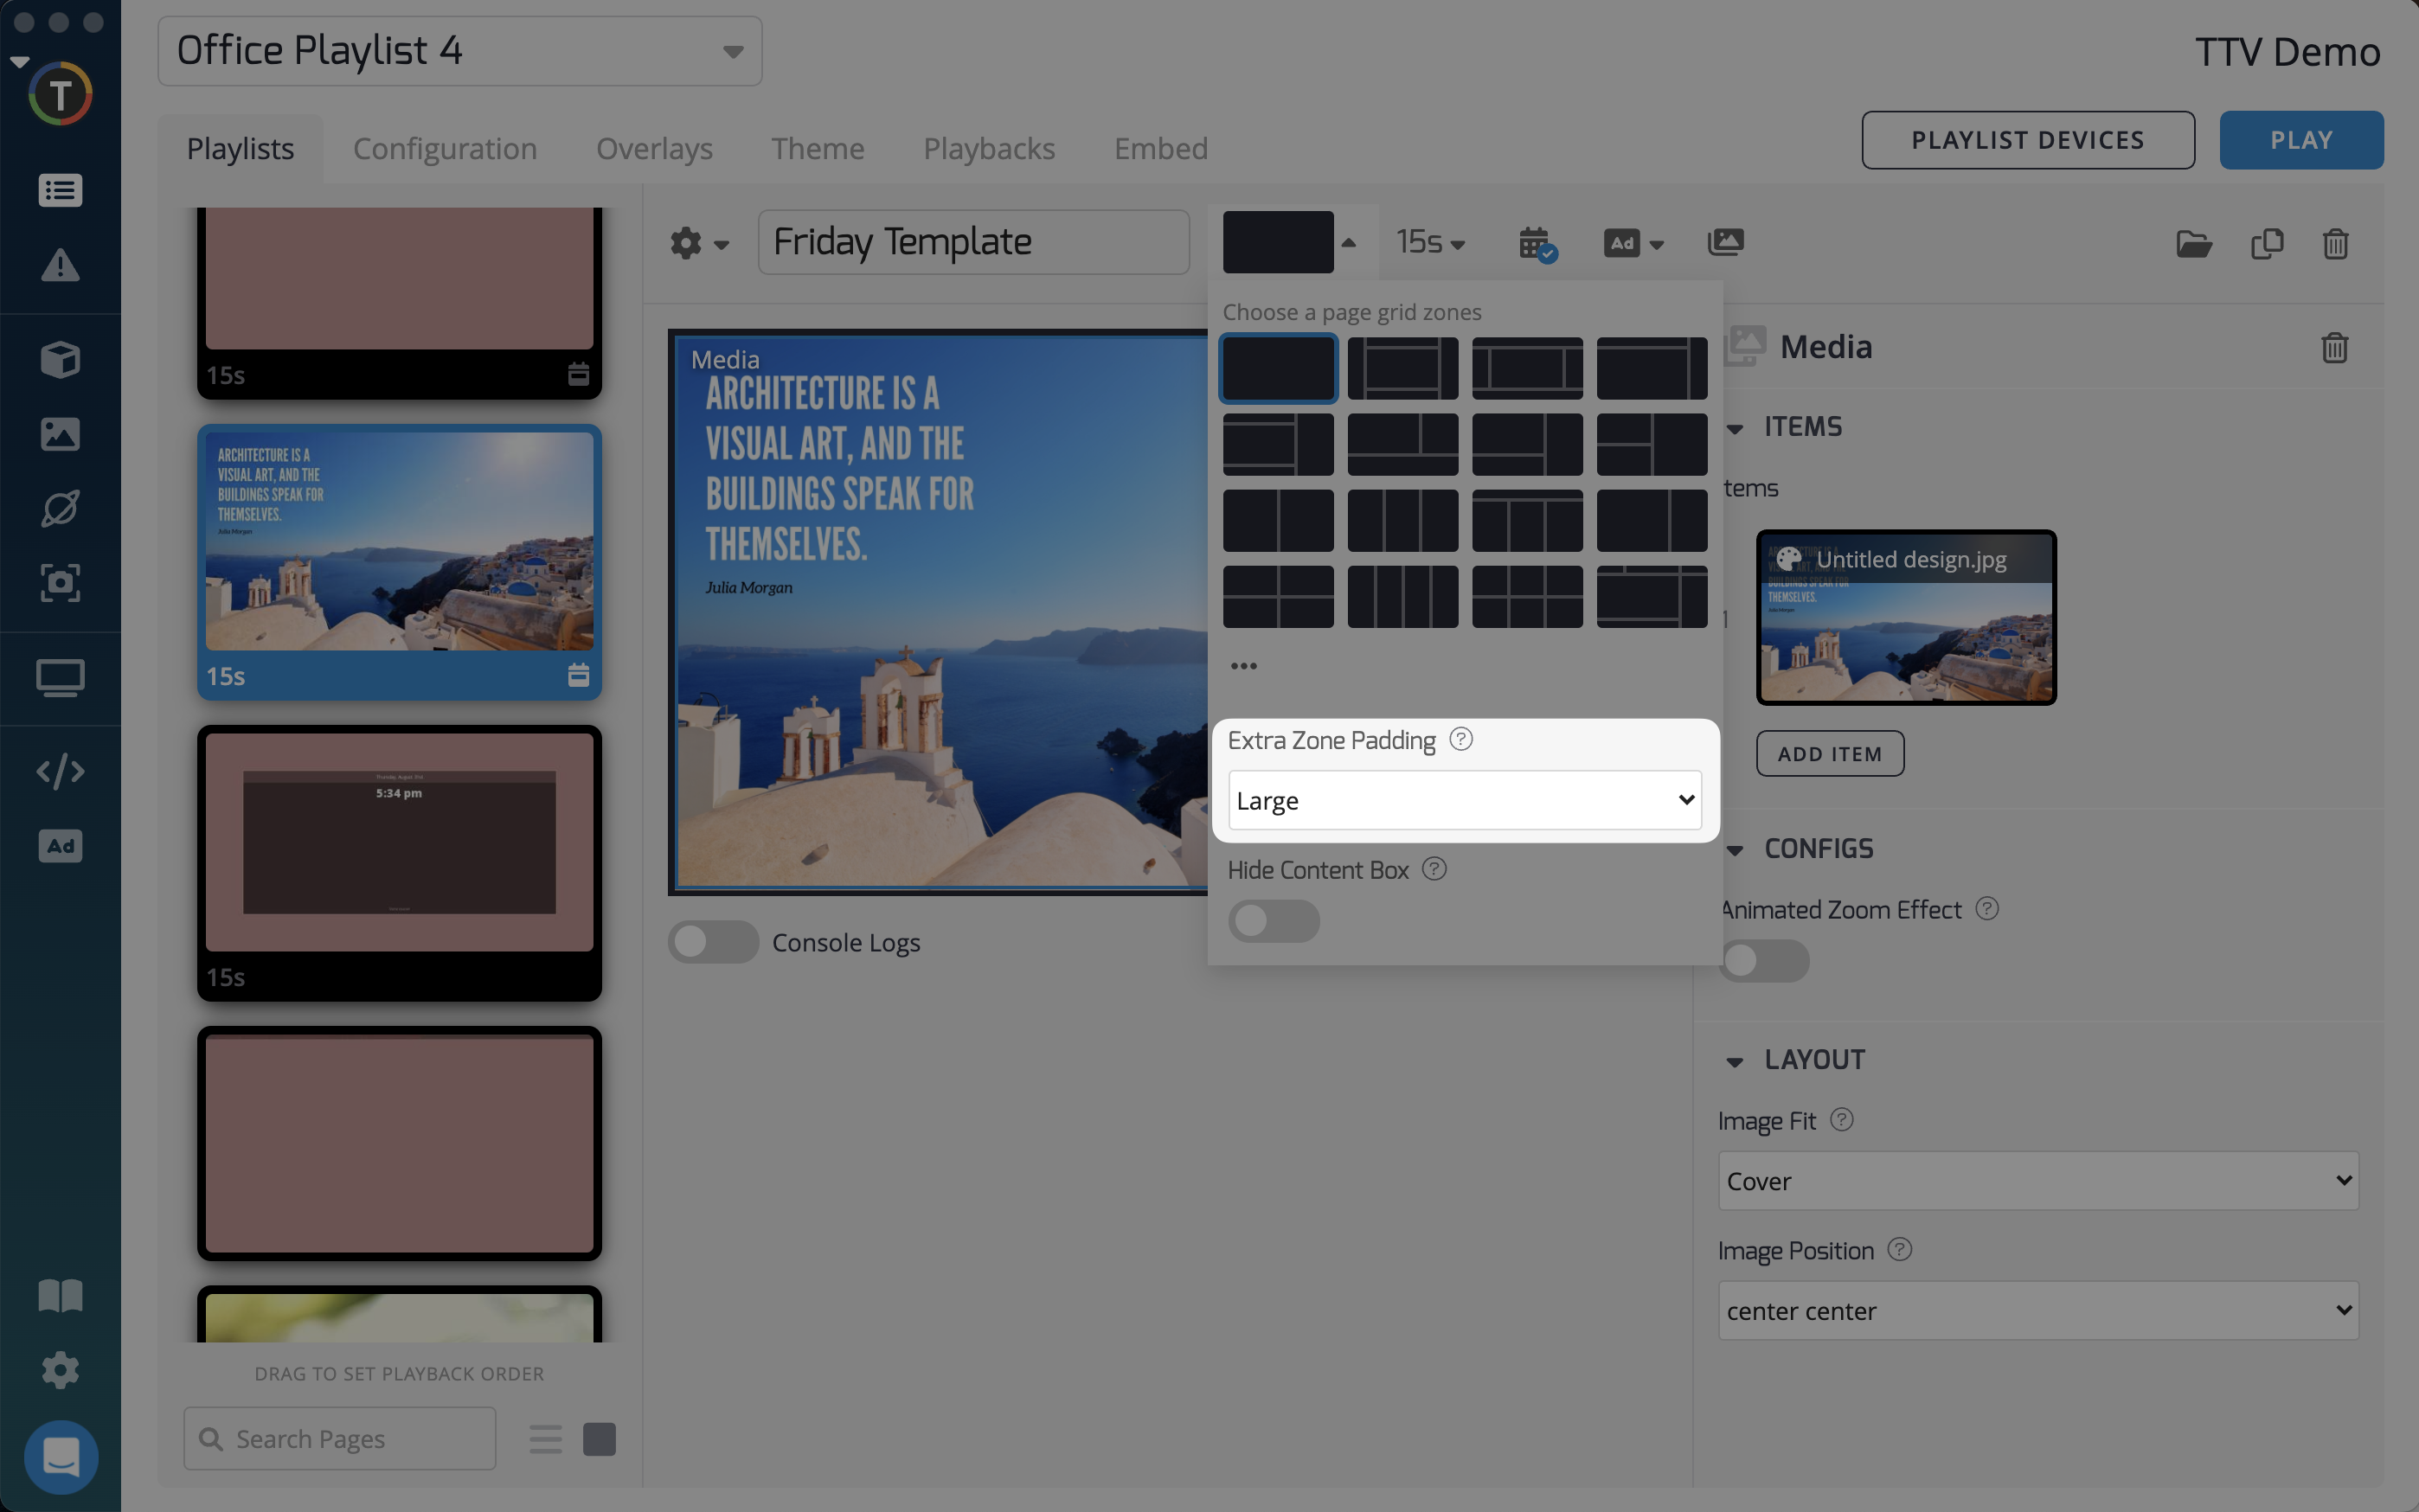
Choose from four different options, but note that certain options may not be suitable for all zone layouts. Here are examples of each option:
- None
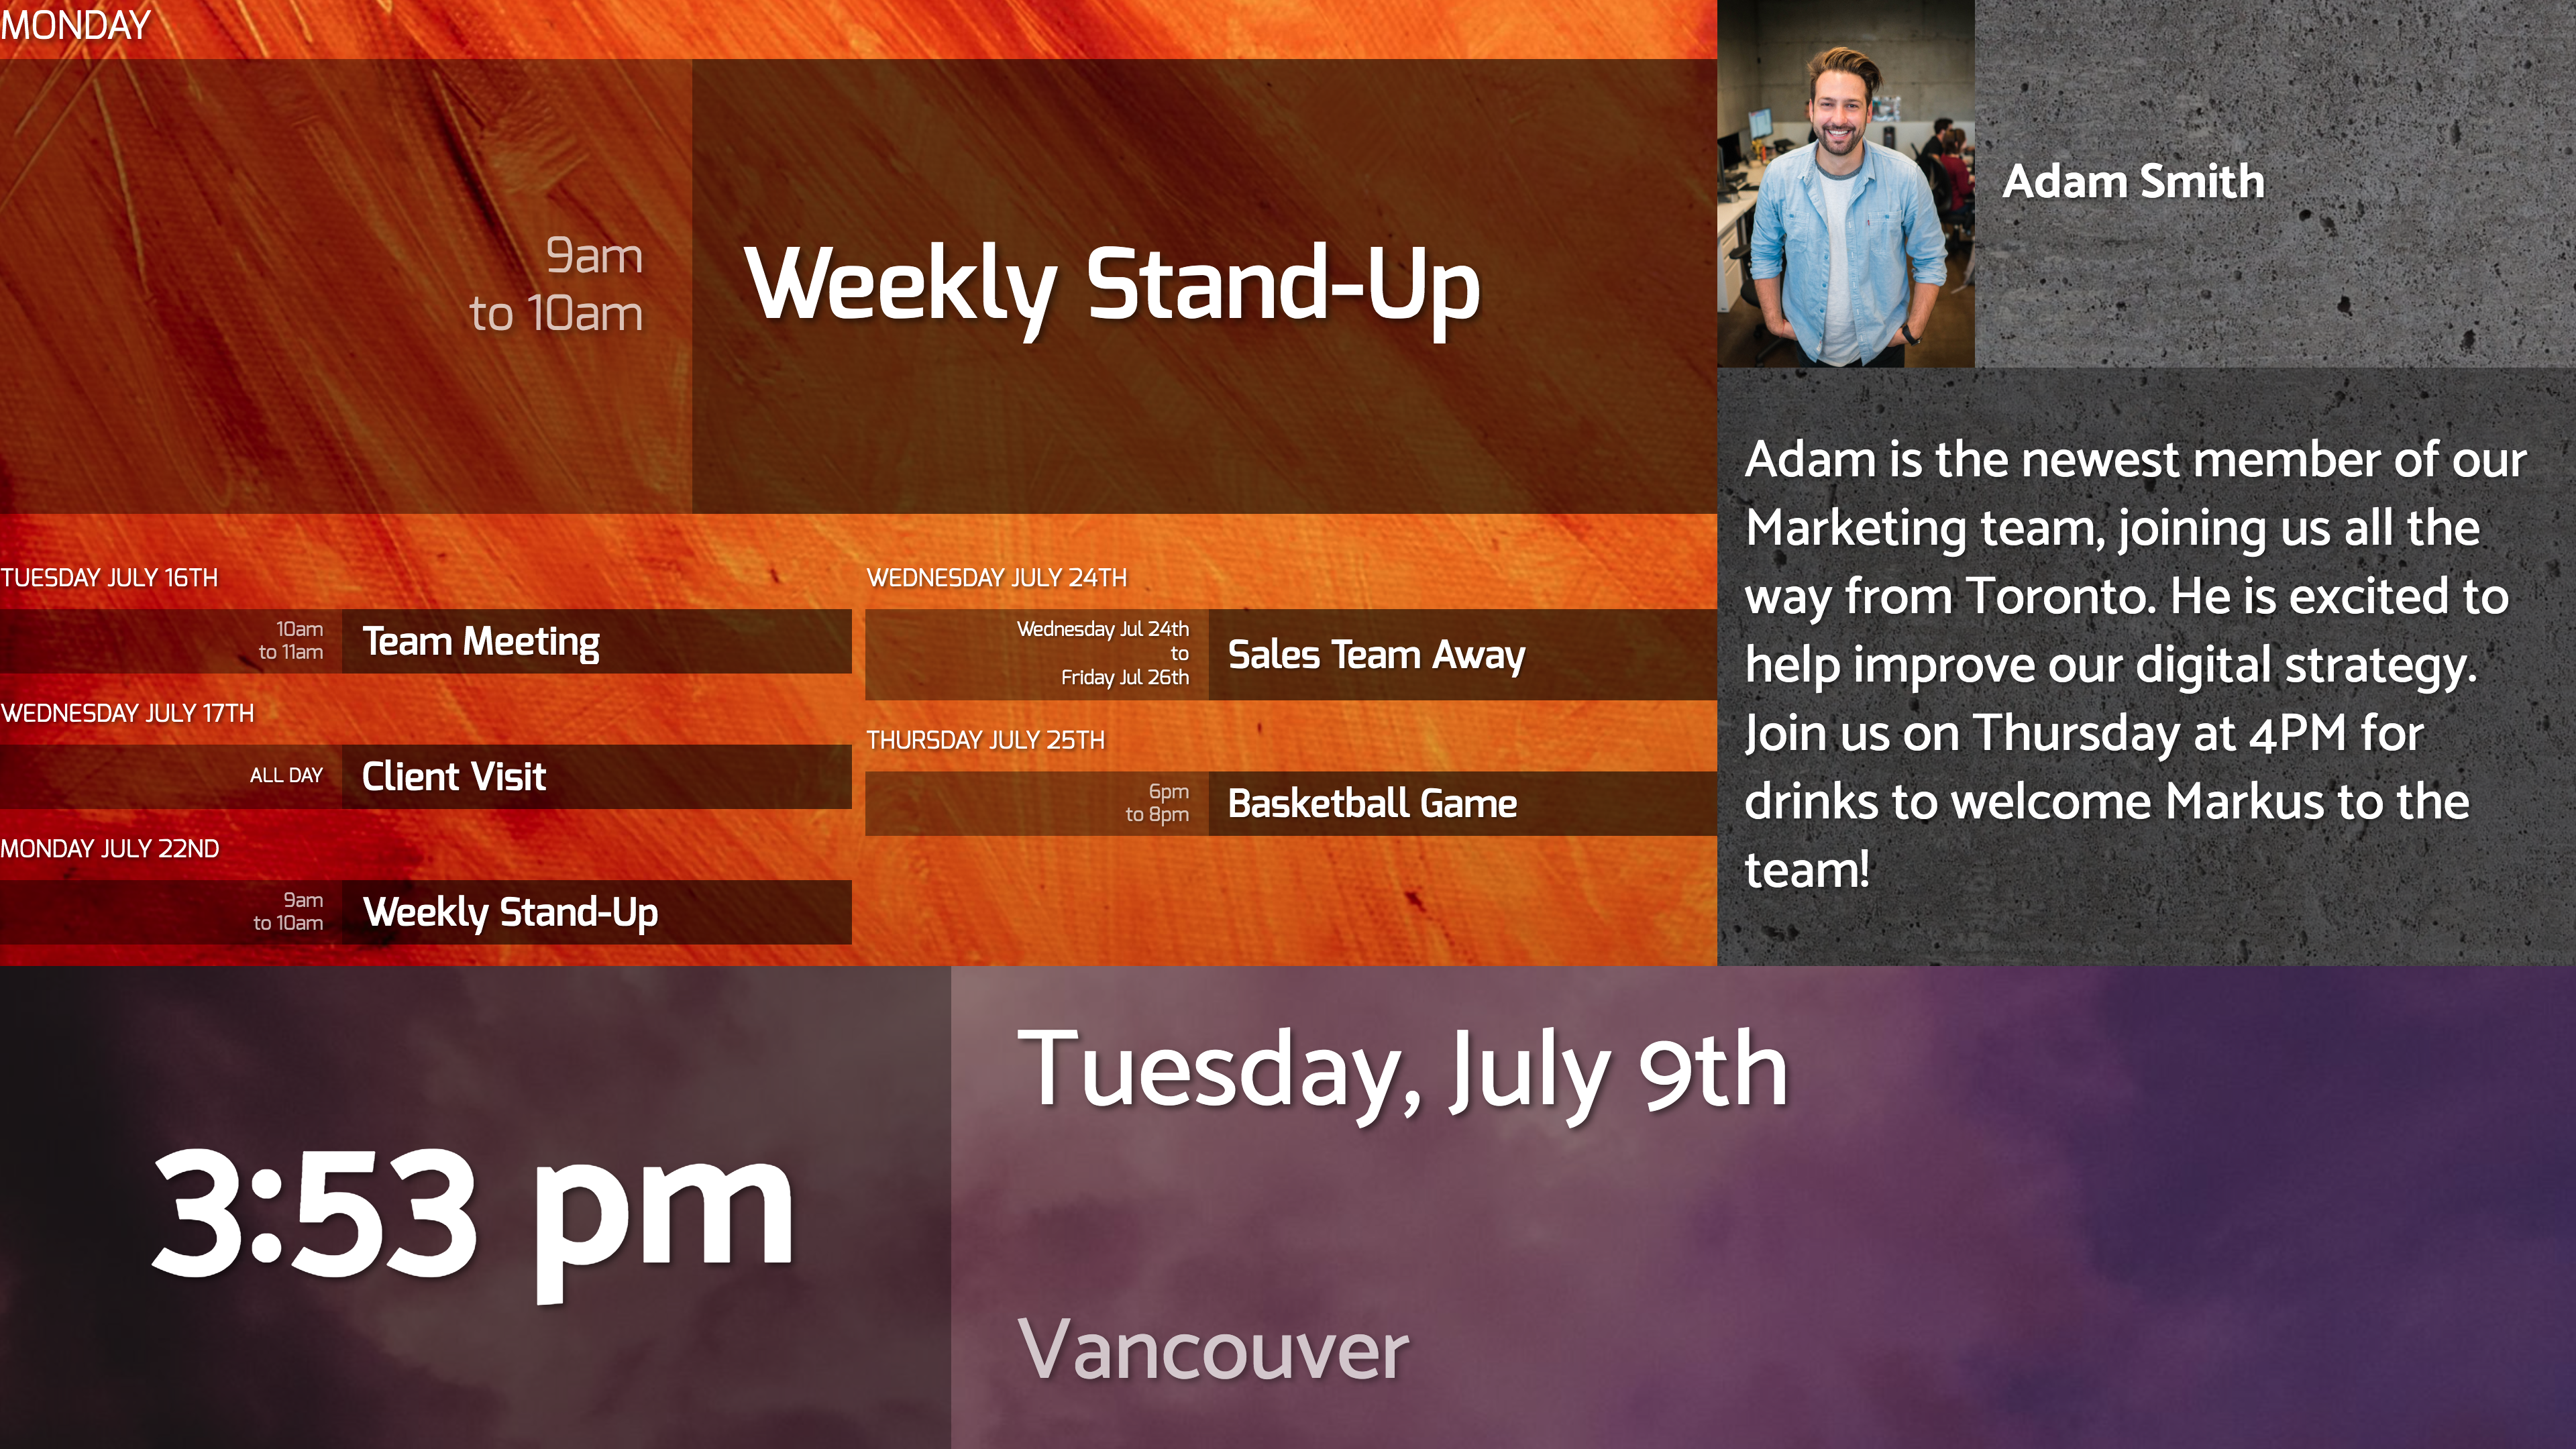
- Small
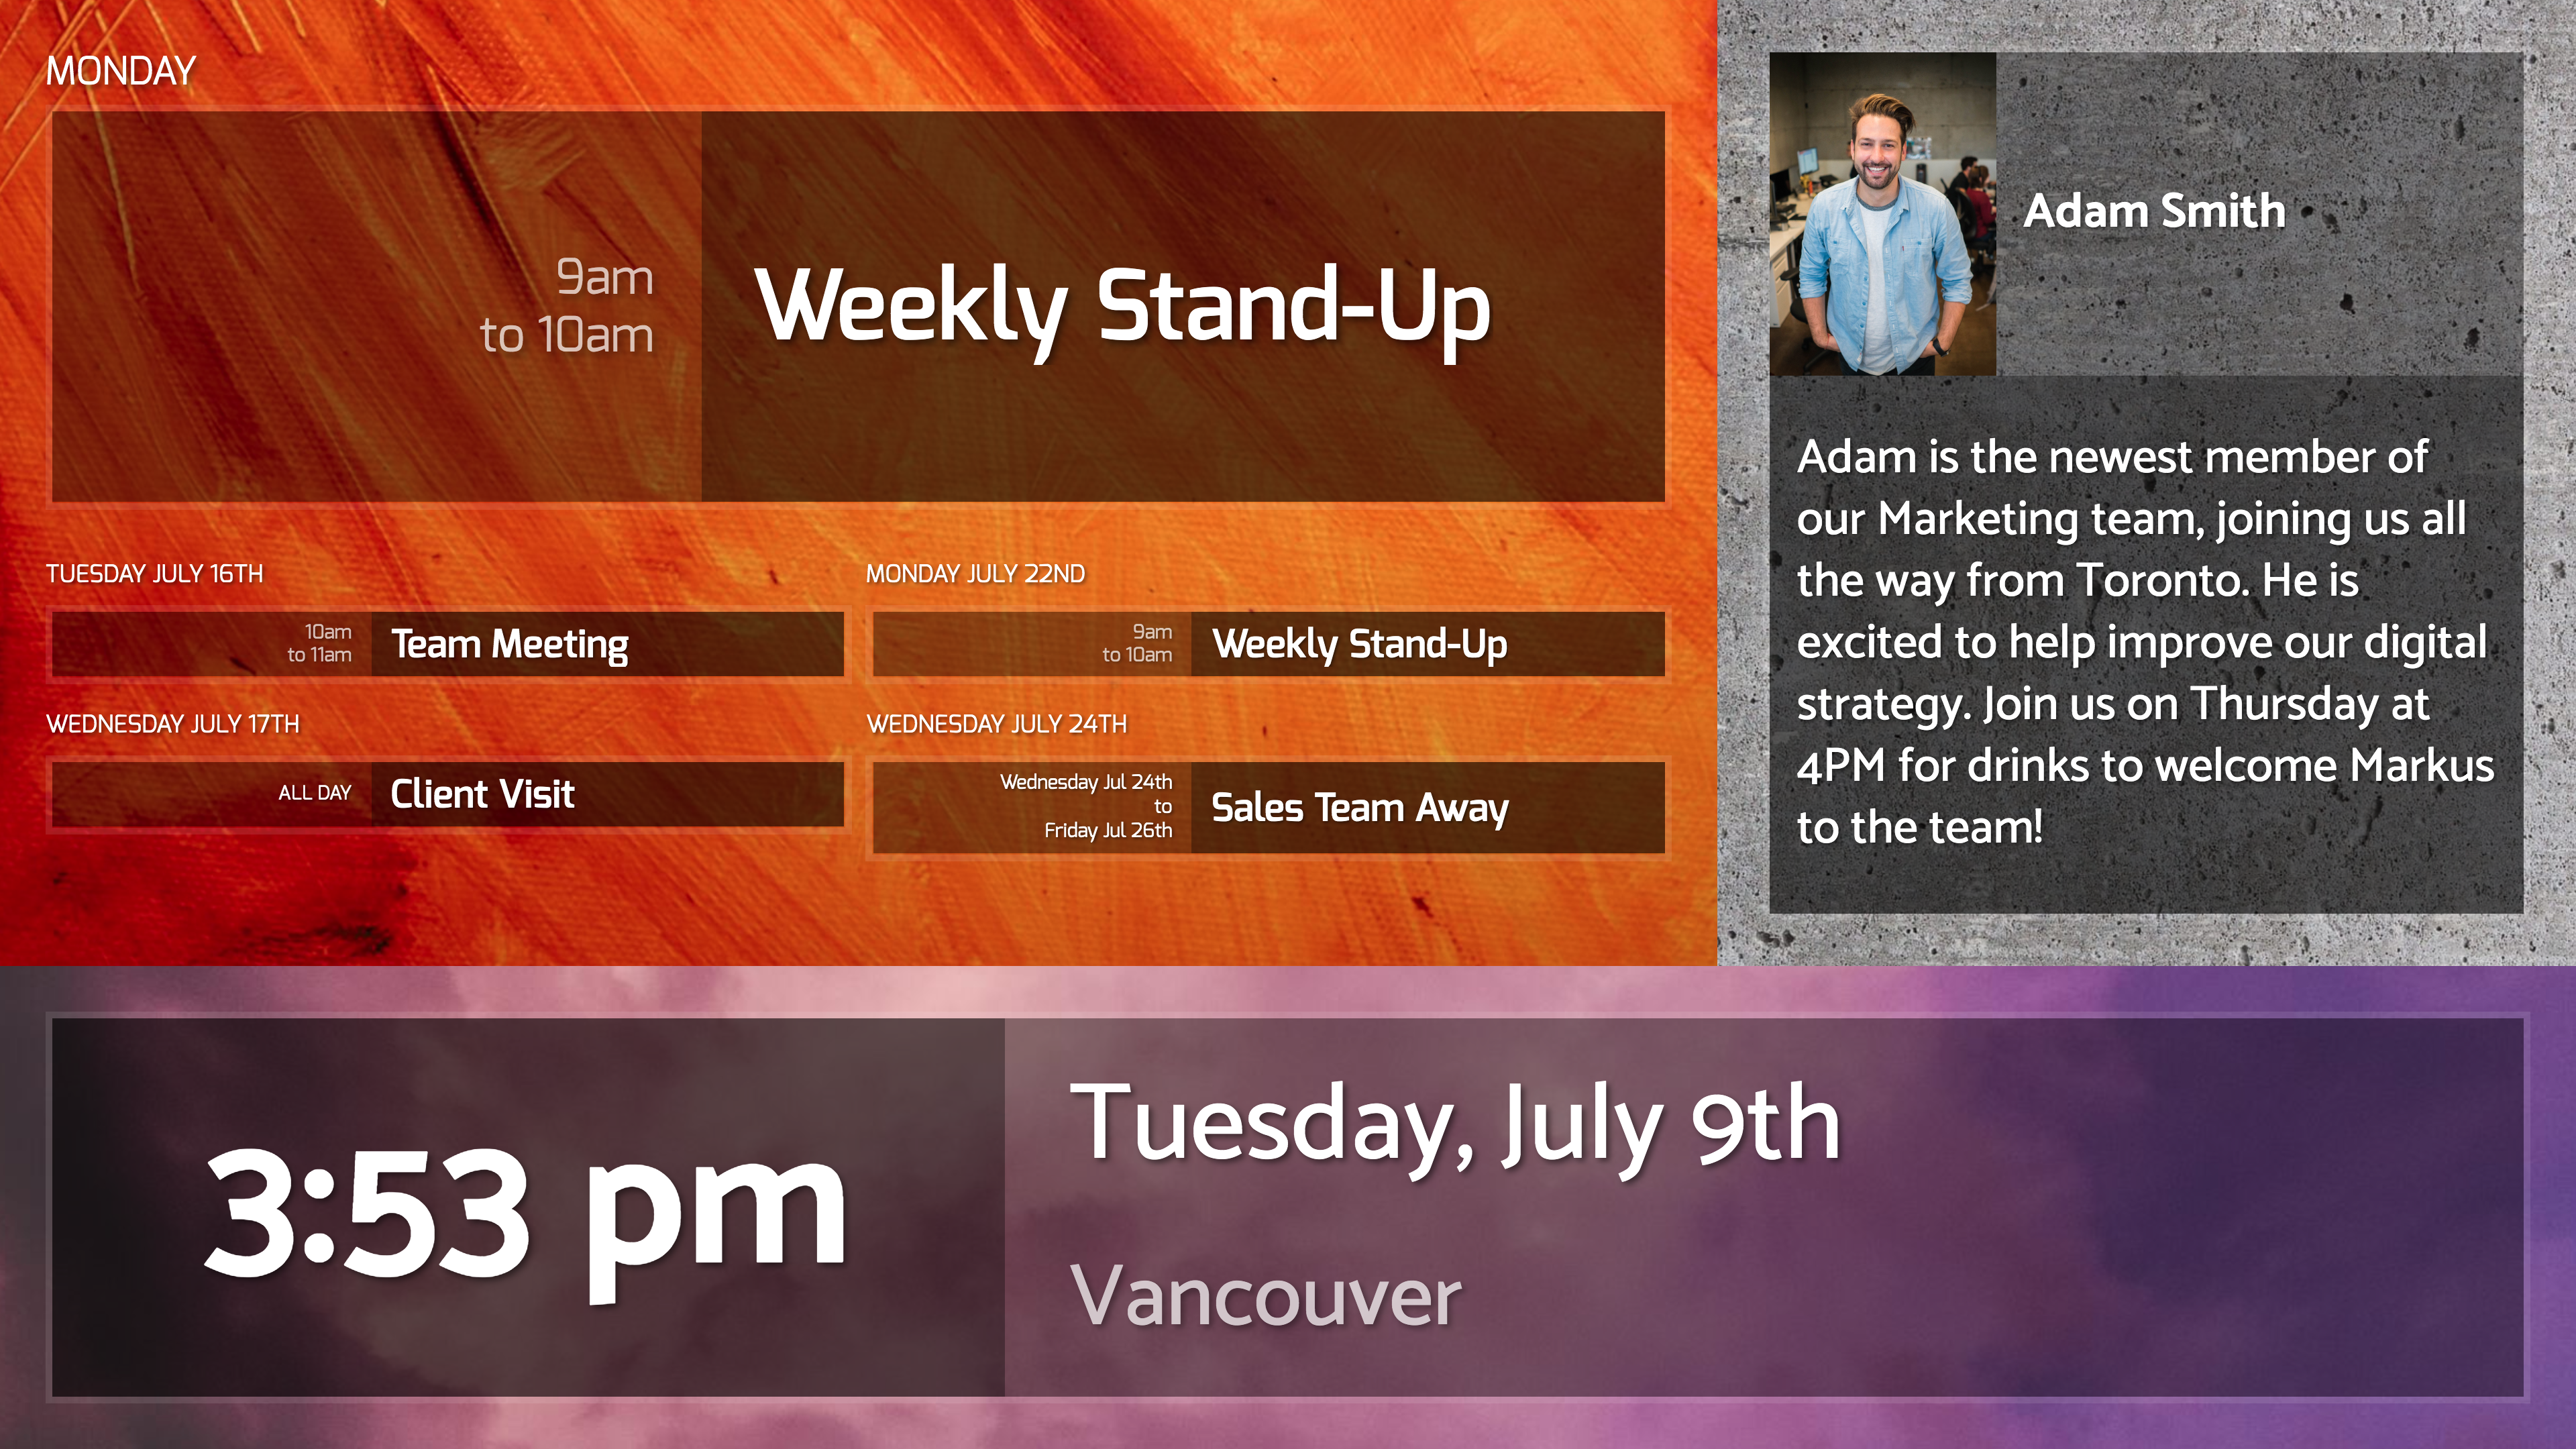
- Medium
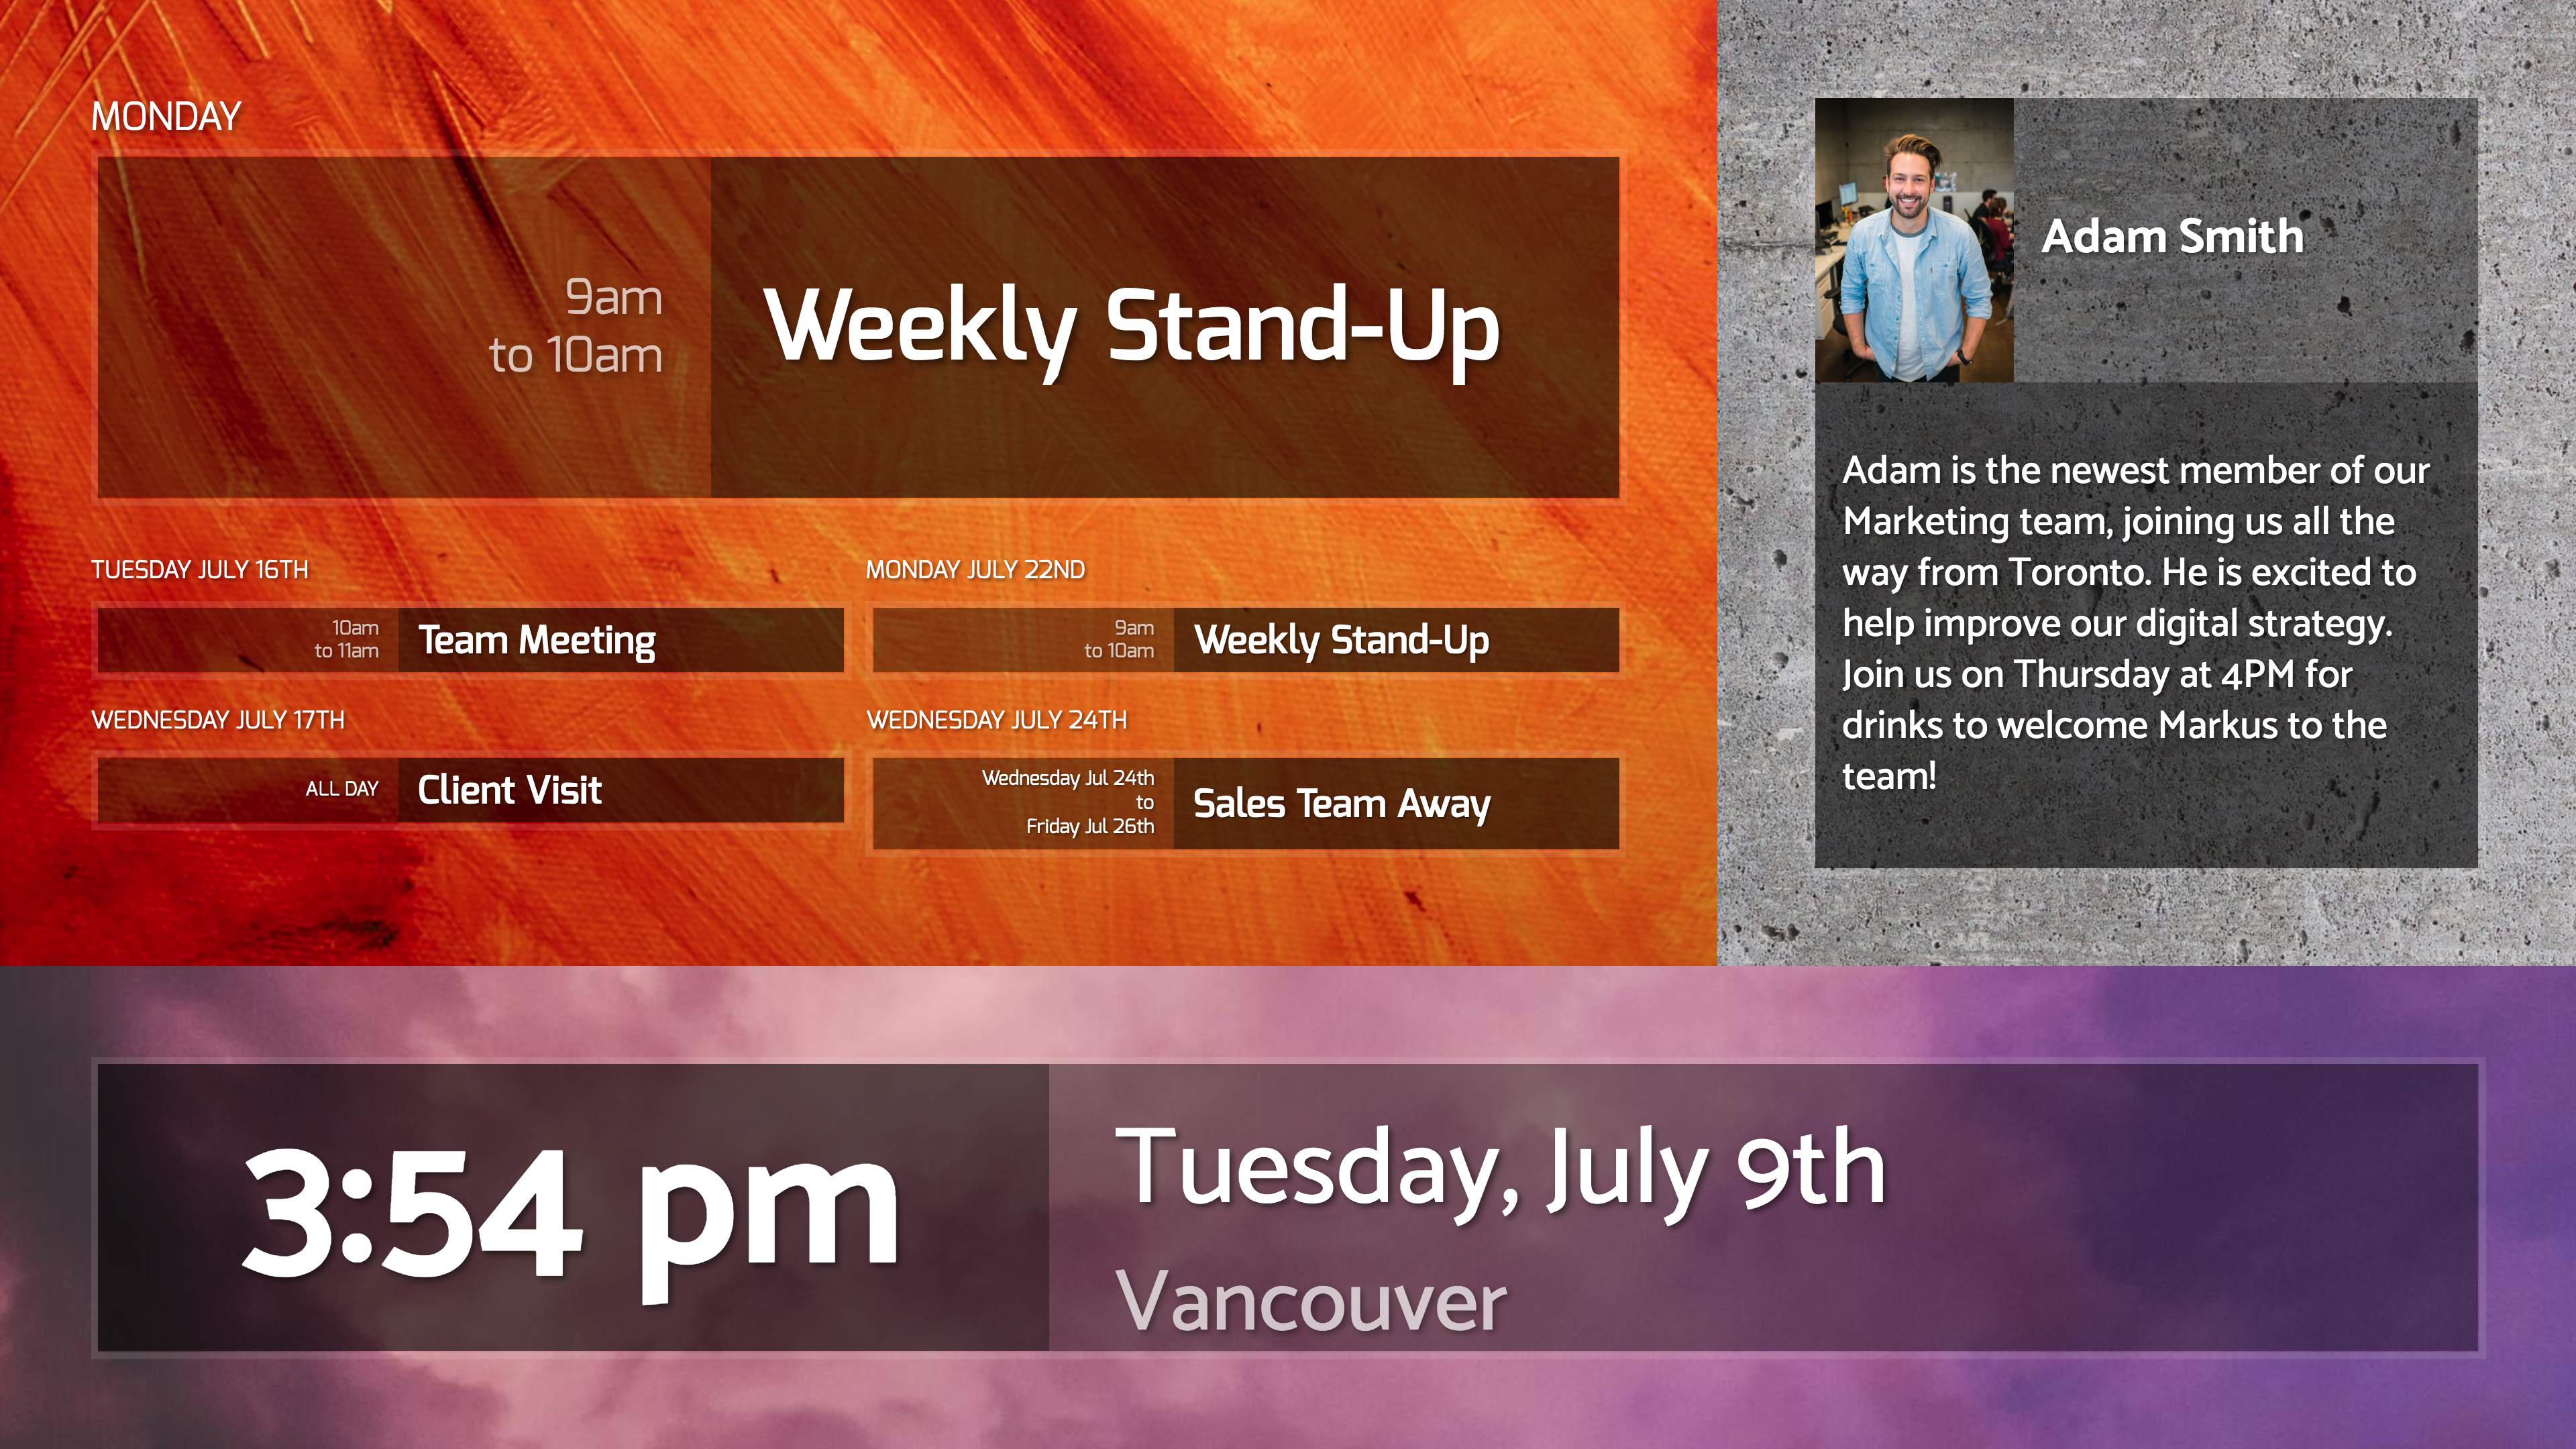
- Large
Page Background
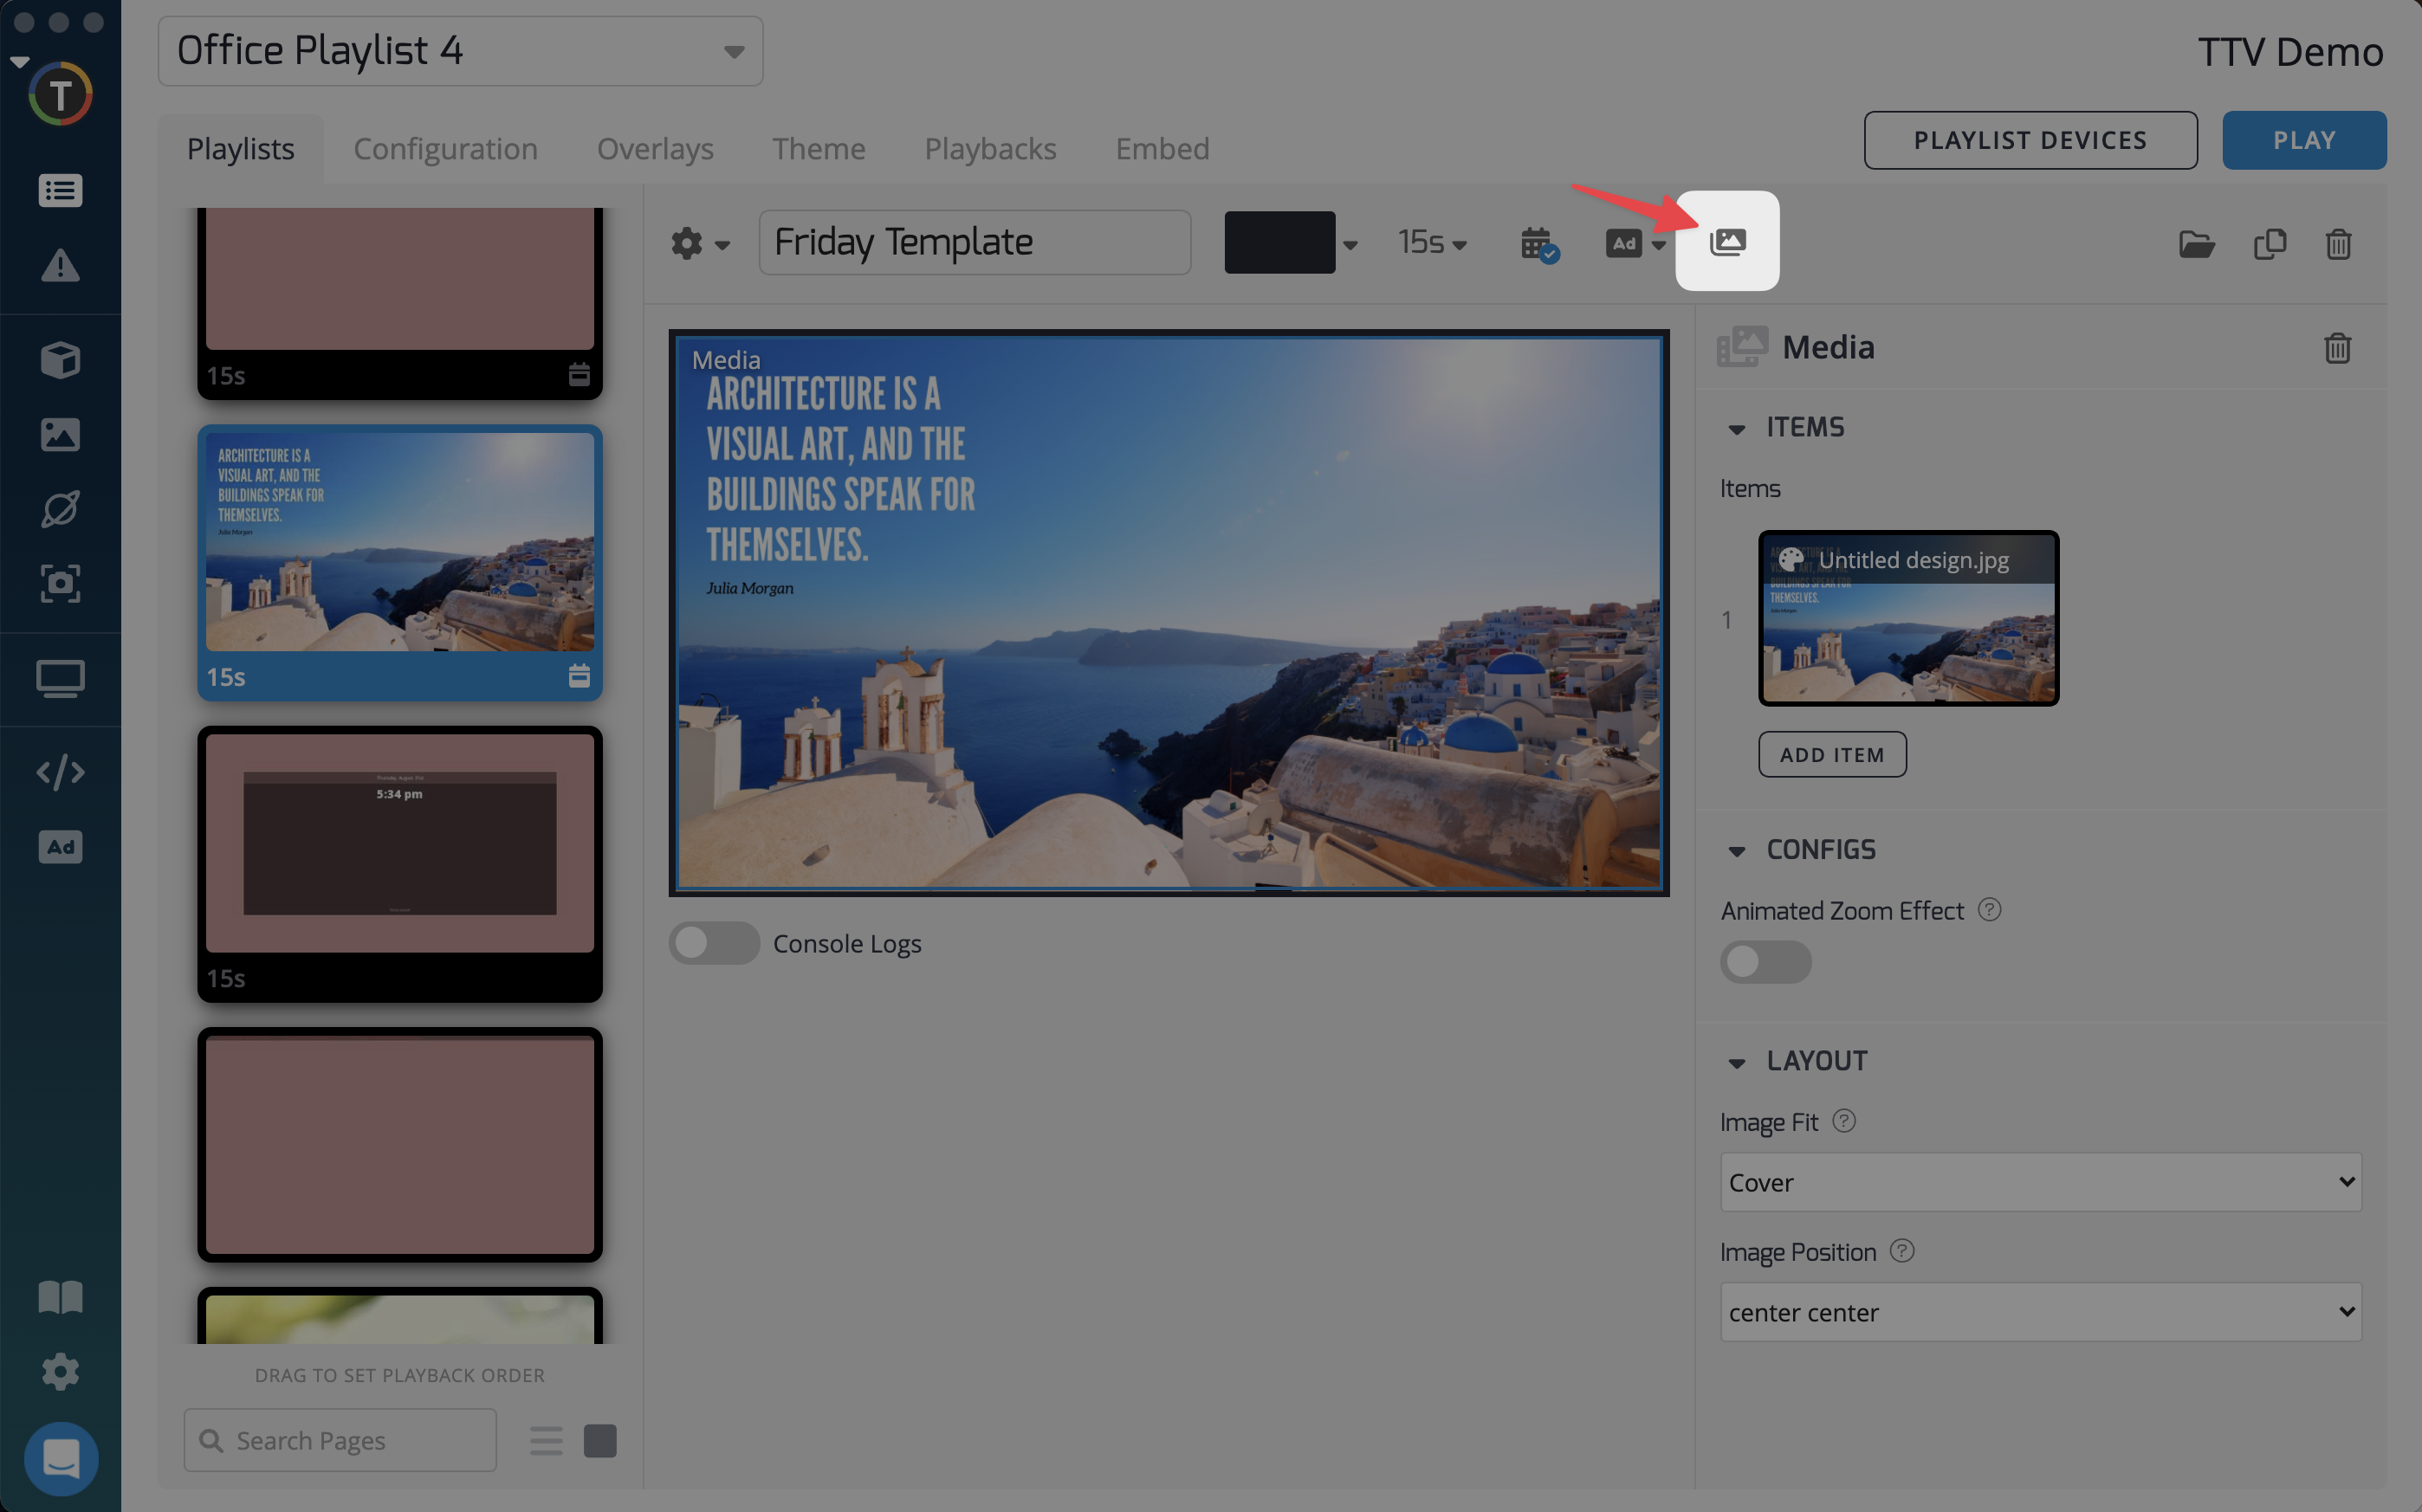
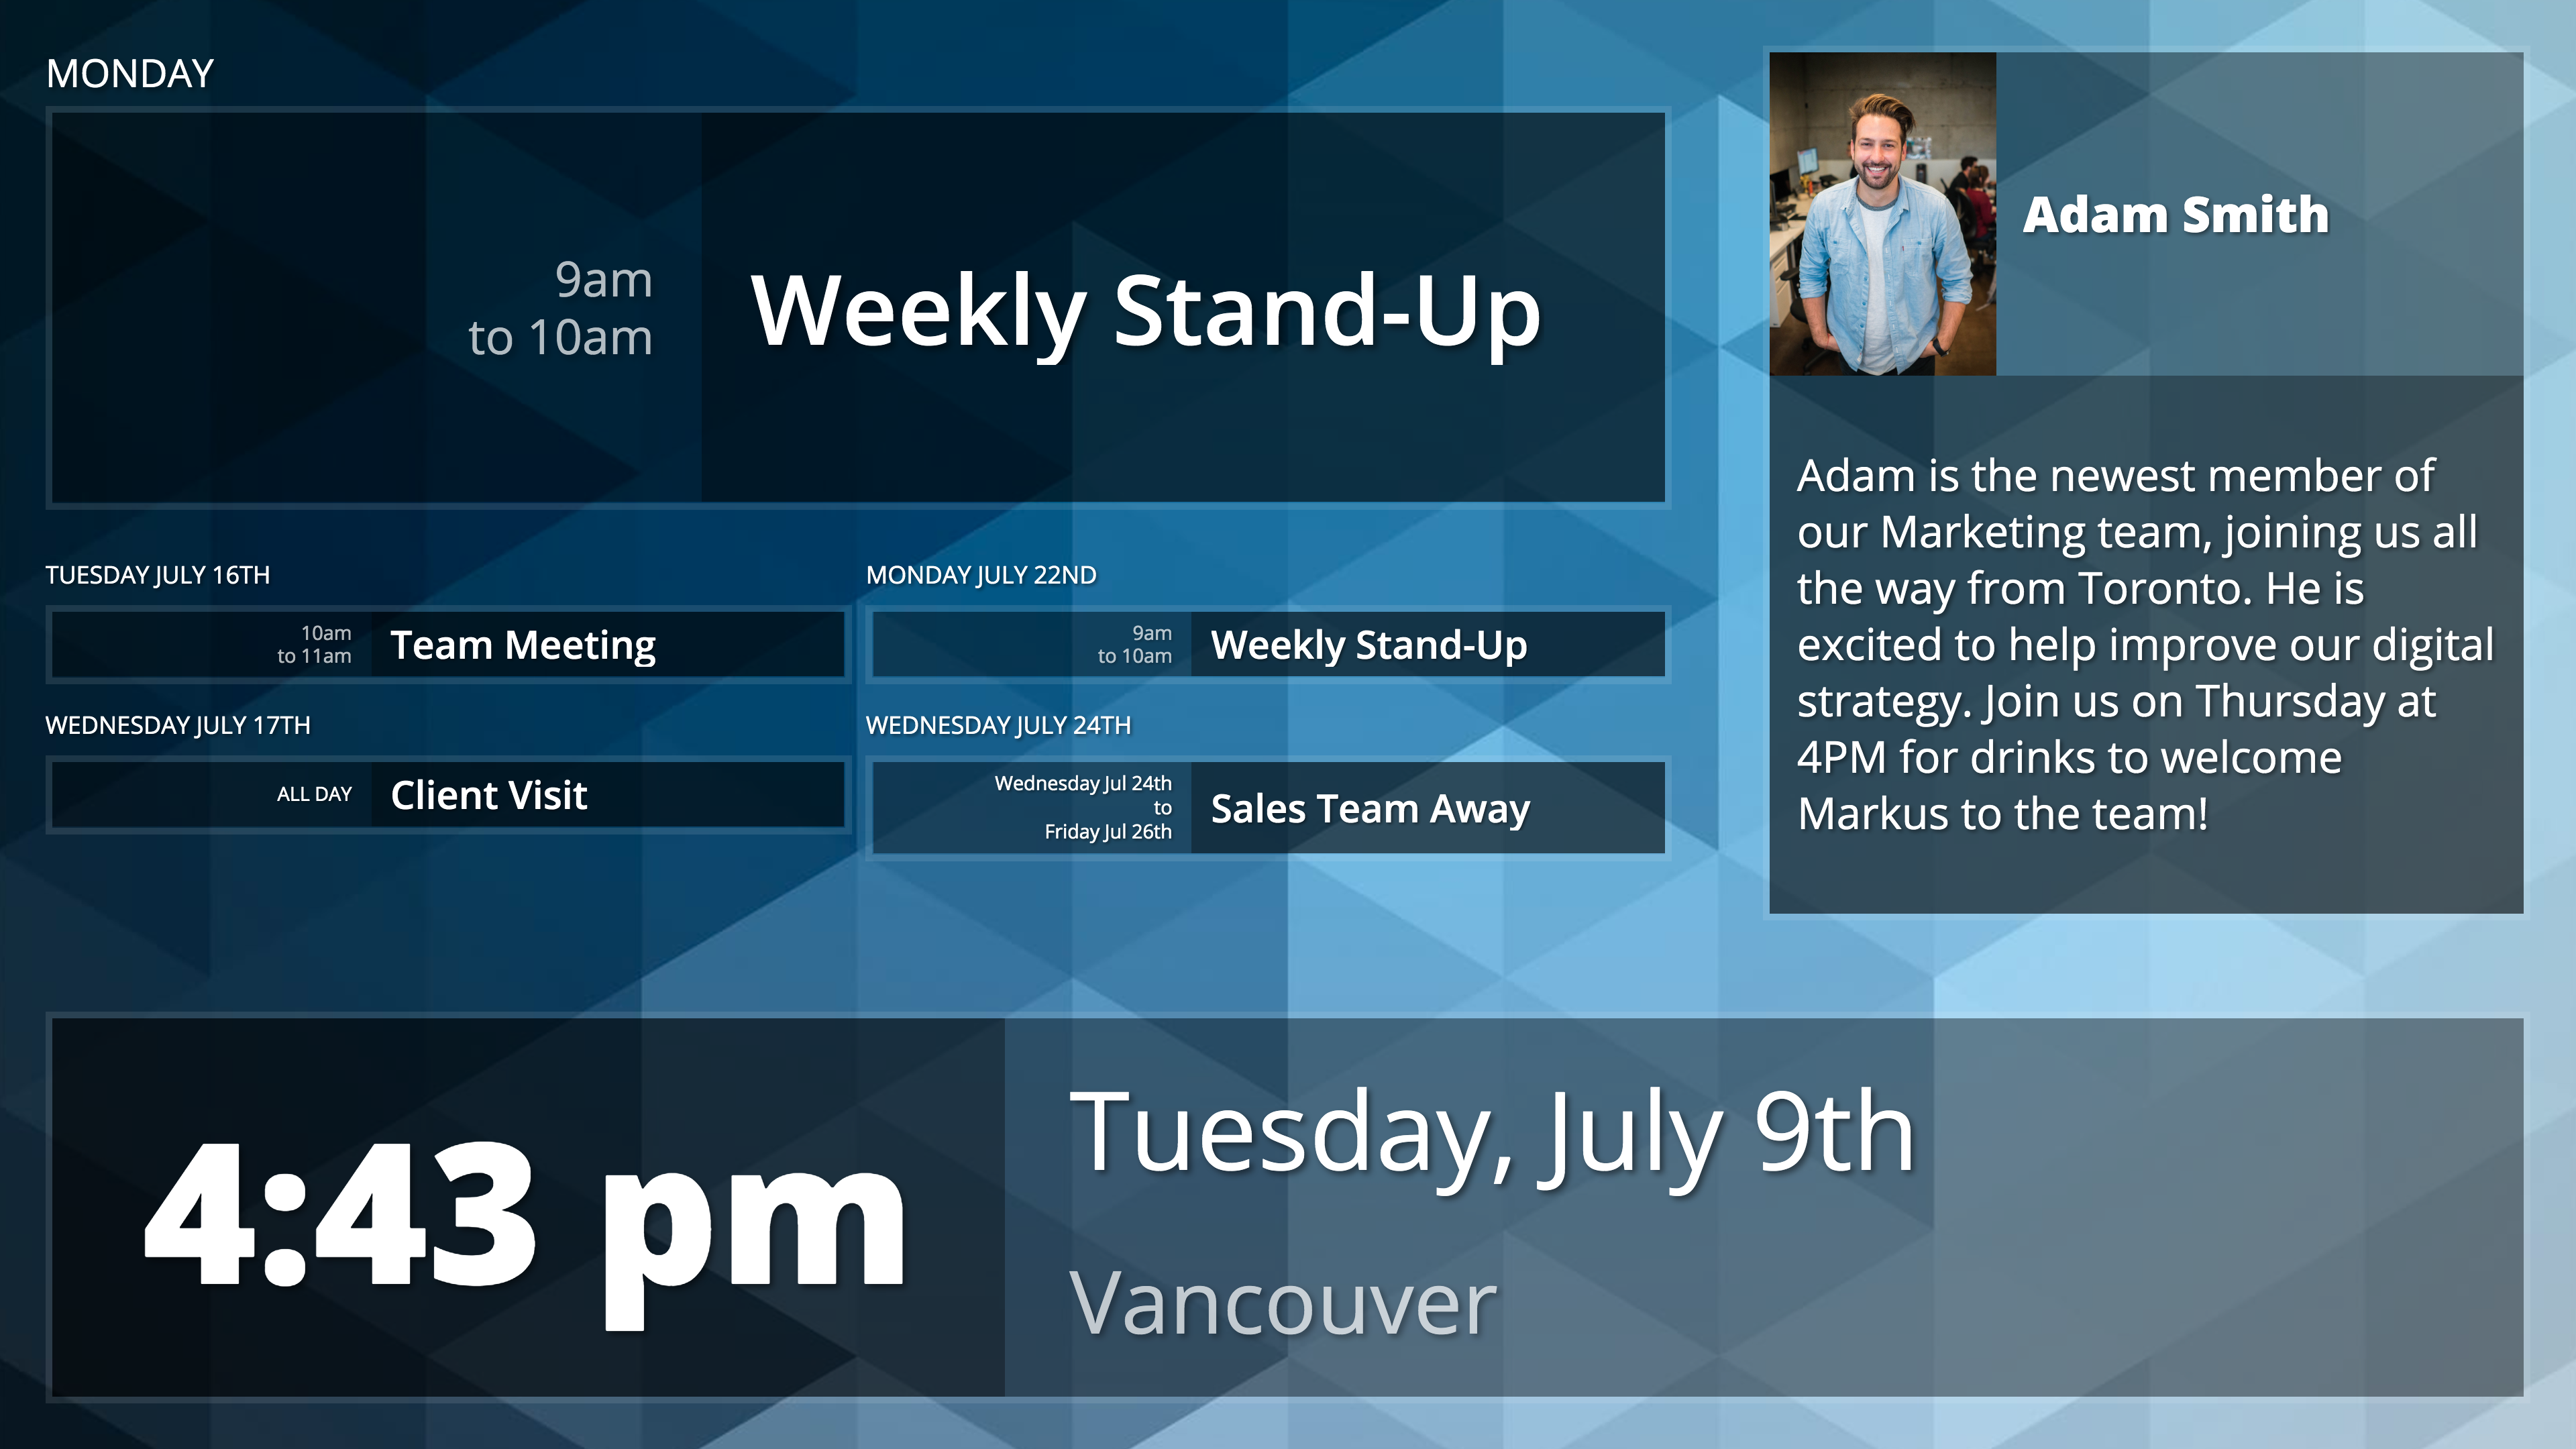
The Page Background feature allows you to assign a unified background to your playlist page, providing a cohesive look to your zones. If no page background is set, the backgrounds will remain as set on each individual piece of content.
To set a page background:
- Select the playlist page where you want to apply the background.
- Click the icon that represents Page Background.
Here's an example of adding a page background to the layout shown above, featuring three different apps:
By leveraging the Playlist Zones feature along with Zone Padding and Page Background options, you can design captivating and dynamic content layouts, offering an immersive visual experience for your audience.
Updated 3 months ago