
Raspberry Pi
A step-by-step guide for installing TelemetryTV Box OS on your Raspberry Pi 4 device
Requirements
To successfully install and run TelemetryTV Box OS, your system must meet the following prerequisites:
- Raspberry Pi 4 or compute module 4 (Raspberry Pi 5 highly recommended)
- Minimum of 2GB RAM
- Minimum of 32GB storage
TelemetryTV Box OS Hardware RequirementsTelemetryTV Box OS is incompatible with earlier Raspberry Pi versions or systems with less than 2GB RAM or less than 32GB storage.
We do support the Raspberry Pi 4, but we strongly suggest deploying on the Raspberry Pi 5 due to performance limitations of the Pi 4.
Though not covered in this guide, you may install TelemetryTV Box OS on a compute module 4 or 5, although we haven't performed specific testing in this context.
SD Card
SD Card EnduranceBe aware that the Raspberry Pi is based on SD card technology and the SD card has limited endurance over time. You will need to be careful to use good quality SD cards or you could see a higher rate of failure of the disk. The compute module has more reliable EMMC storage that may address these issues.
Regardless you may experience a higher incidence of storage issues compared to other platforms so be careful deploying at scale or you may face a larger number of 'truck rolls' than otherwise experienced with other platforms like the TelemetryTV Box.
Your Raspberry Pi 5 requires an SD card of at least 32GB. Ensure it's compatible with Raspberry Pi 5 and fulfills the recommended performance criteria.
Limitations
The Raspberry Pi 5, has limitations in video resolution. Specifically, TelemetryTV doesn't recommend video playback of 4k source videos on these devices, use 1080p videos (whether your TV is 4k or 1080p). This is due to chipset performance limitations.
Encode videos at 1080pFor the best experience with TelemetryTV, use videos encoded at 1080p. This ensures high-quality viewing without overloading the Raspberry Pi's hardware, resulting in smooth video playback.
Installation of TelemetryTV Box OS on Raspberry Pi
Follow the instructions below to install TelemetryTV Box OS on your Raspberry Pi.
1. Download Image
Download the disk image to your personal computer. While it's optimized for the Raspberry Pi 5, this will work on the Raspberry Pi 4 (and may work on earlier Pi's, though we have not tested it).
2. Download Raspberry Pi Imager
Next, download the Raspberry Pi Imager to write the TelemetryTV Box OS image to your SD card.
3. Burn Image to the SD Card
Insert the SD card into your desktop system, install and launch the Raspberry Pi Imager. Follow the instructions under 'Use Custom' to write the TelemetryTV Box OS image onto the SD card.
4. Install SD Card on your Raspberry Pi
Once the image is successfully written, insert the SD card into your Raspberry Pi.
5. Boot your Raspberry Pi
Power up your Raspberry Pi and wait for the boot and startup process to complete.
Use the HDMI0 PortUse the video output next to the power supply (HDMI0) on the Raspberry Pi. The second video output (HDMI1) is only for use when a second screen is connected. This is due to a limitation of the Raspberry Pi.
6. Setup Networking
Upon booting, the configuration screen will be displayed. Here, you can configure the WiFi or Ethernet settings—we recommend using an Ethernet connection for greater reliability. Ensure the network status is active before proceeding.
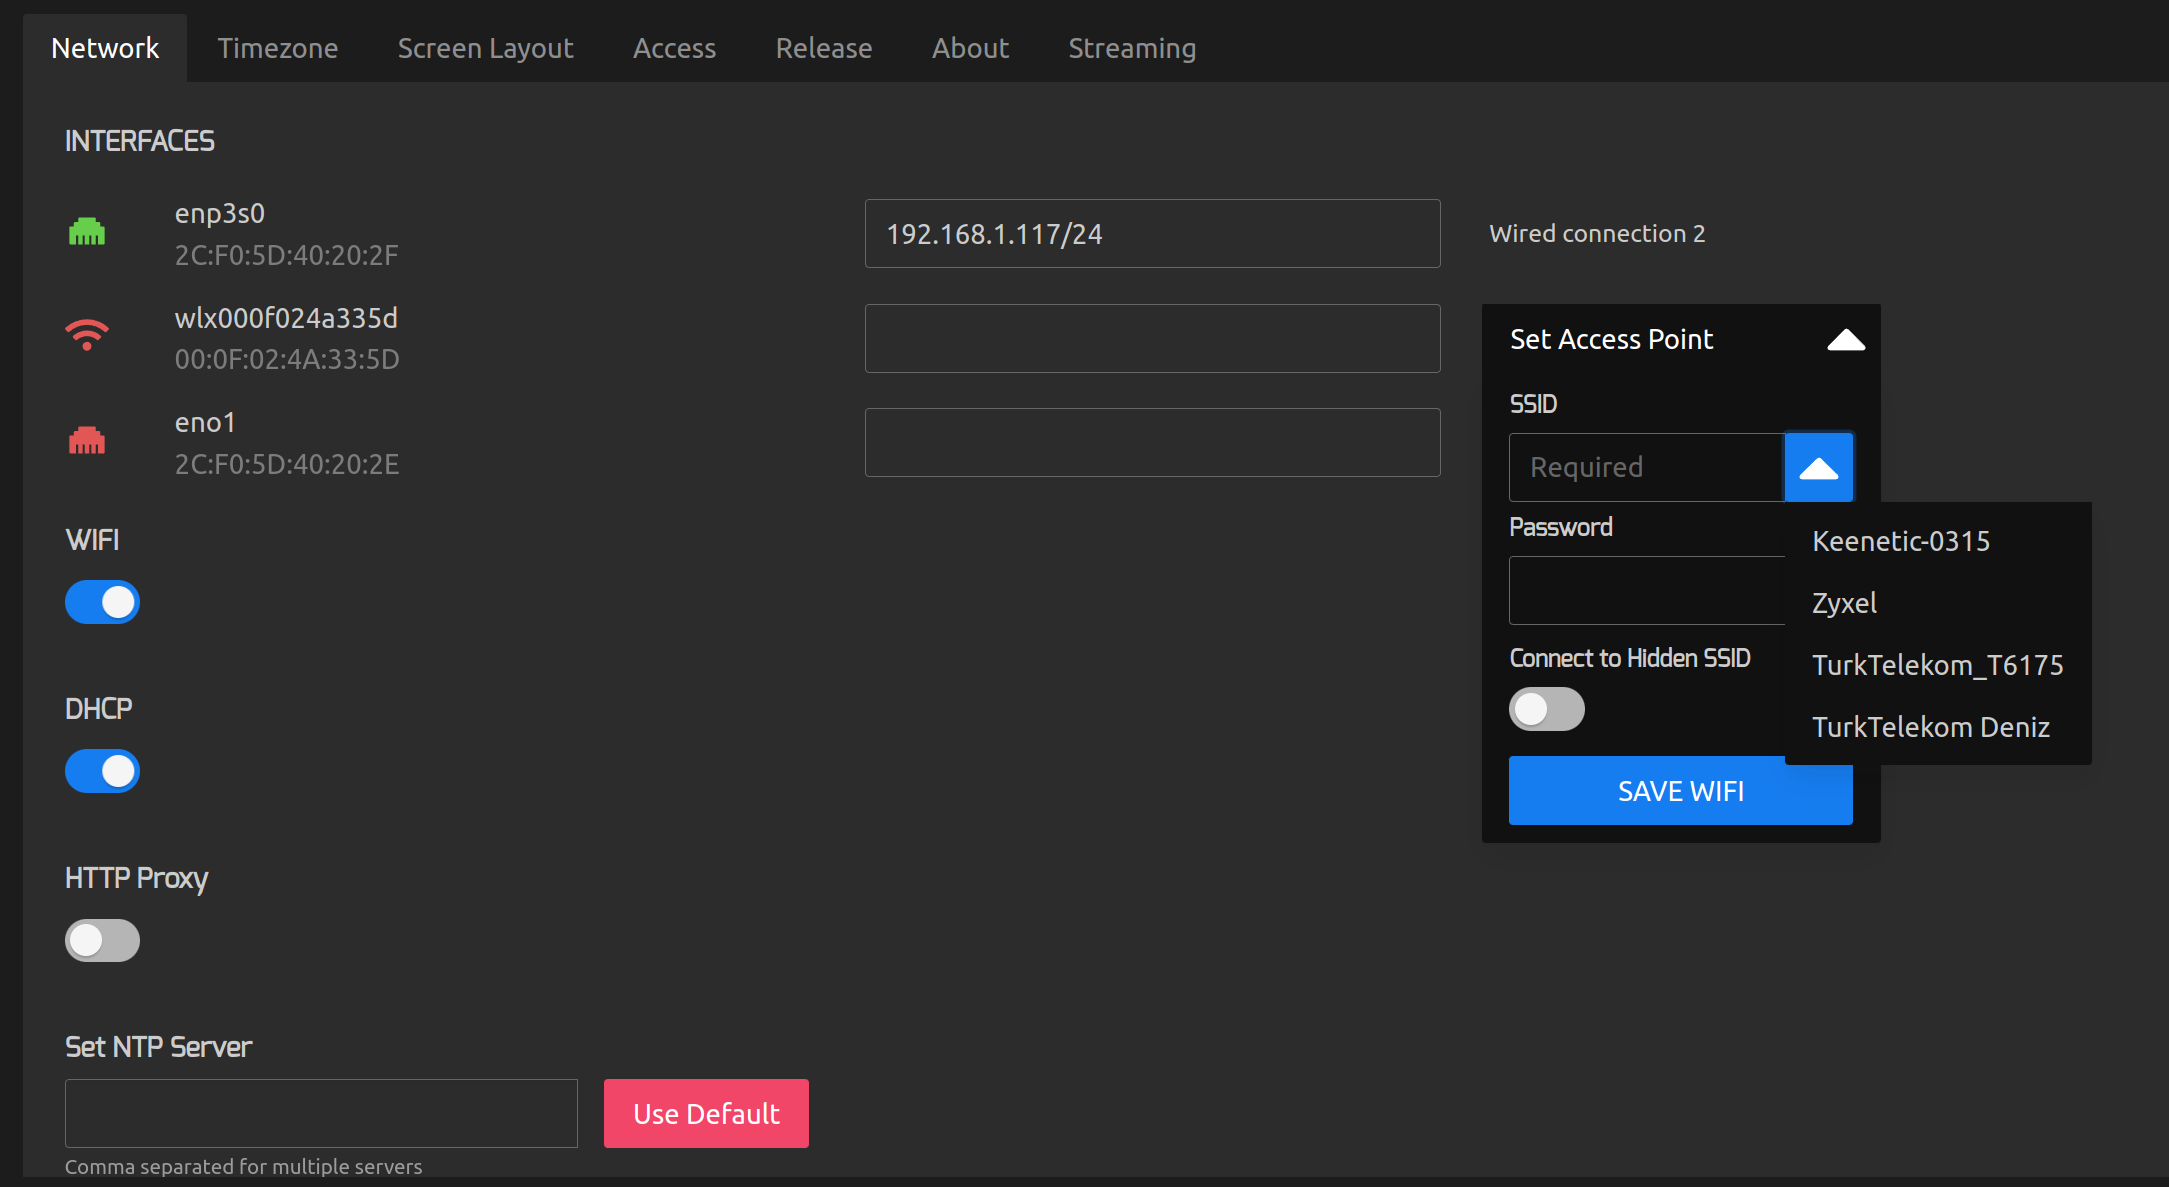
Use an Ethernet ConnectionWe strongly recommend deploying on a wired ethernet connection instead of using WiFi. Wireless can be very unreliable.
If you opt to bypass WiFi and plug in an Ethernet connection instead, the setup screen will auto-advance to the pairing screen after a 30-second timeout.
7. You're Done!
Your device is now ready to be used with TelemetryTV Box OS.
Accessing the TelemetryTV Box OS Setup ScreenIf you need to return to the setup screen at any point, you can right-click to access the application menu or press
Ctrl + Son an attached keyboard.
Pair or Provision your Device with Your TelemetryTV Account
After configuring your WiFi settings, a 6-digit pairing code will be displayed on your device. Either use this code to Pair your device with your TelemetryTV account or Provision your device using a USB
Pairing with a Pairing Code
Follow the steps below or check out our Pairing Guide on how to pair your device with your TelemetryTV account
- Open your TelemetryTV account on your computer.
- Navigate to the devices page.
- Enter the 6-digit pairing code displayed on your device.
Provisioning with USB
Follow the steps below or check out our comprehensive Provisioning Guide on how to Provision with USB.
Updated 7 months ago