
Advertising Campaigns
Using advertising campaigns
The Advertising Campaign feature is not activated for all plans. If you do not see this feature on your account, it may be because this feature is not included on your plan. To check which features are included on your plan, go to Settings, select Billing, and then the Usage Page.
Utilizing TelemetryTV's Advertising Campaigns Feature
TelemetryTV's Advertising Campaigns feature empowers users to efficiently manage and deploy digital advertisements within their playlists, optimizing ad delivery and maximizing audience engagement.
With Advertising Campaigns, TelemetryTV provides users with a powerful tool to streamline ad integration, optimize fill rates, and enhance the advertising experience across digital signage displays.
It is important to note that the retention period for any ad campaign playback data is only 90 days. If you want to retain data longer than 90 days then we recommend you use the Kinesis Firehose feature.
Here's a detailed guide on leveraging this feature to streamline your advertising campaigns:
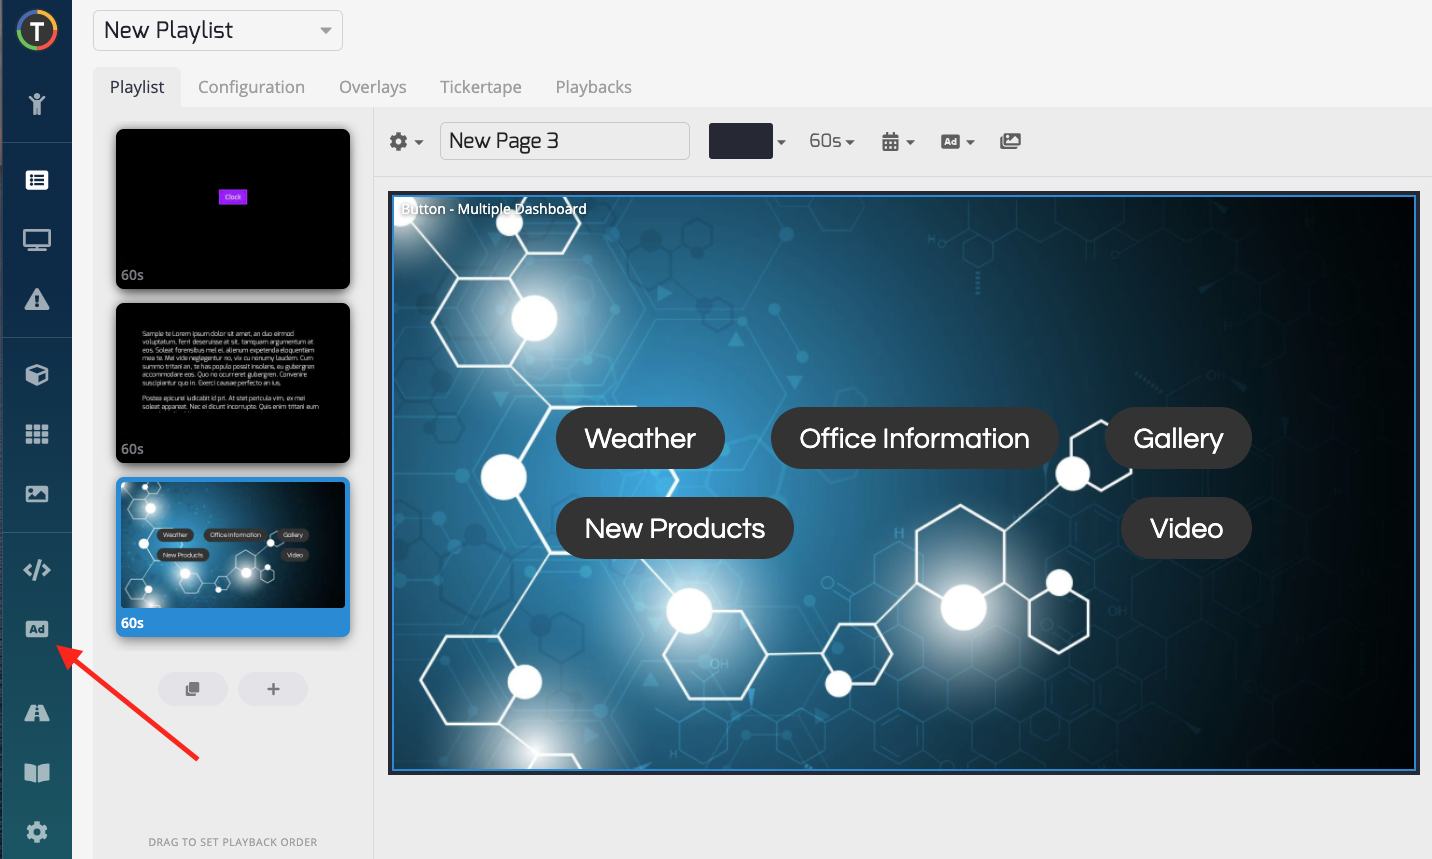
Accessing Advertising Campaigns
- Access the Advertising Campaigns feature by navigating to the Ads icon on the left toolbar.
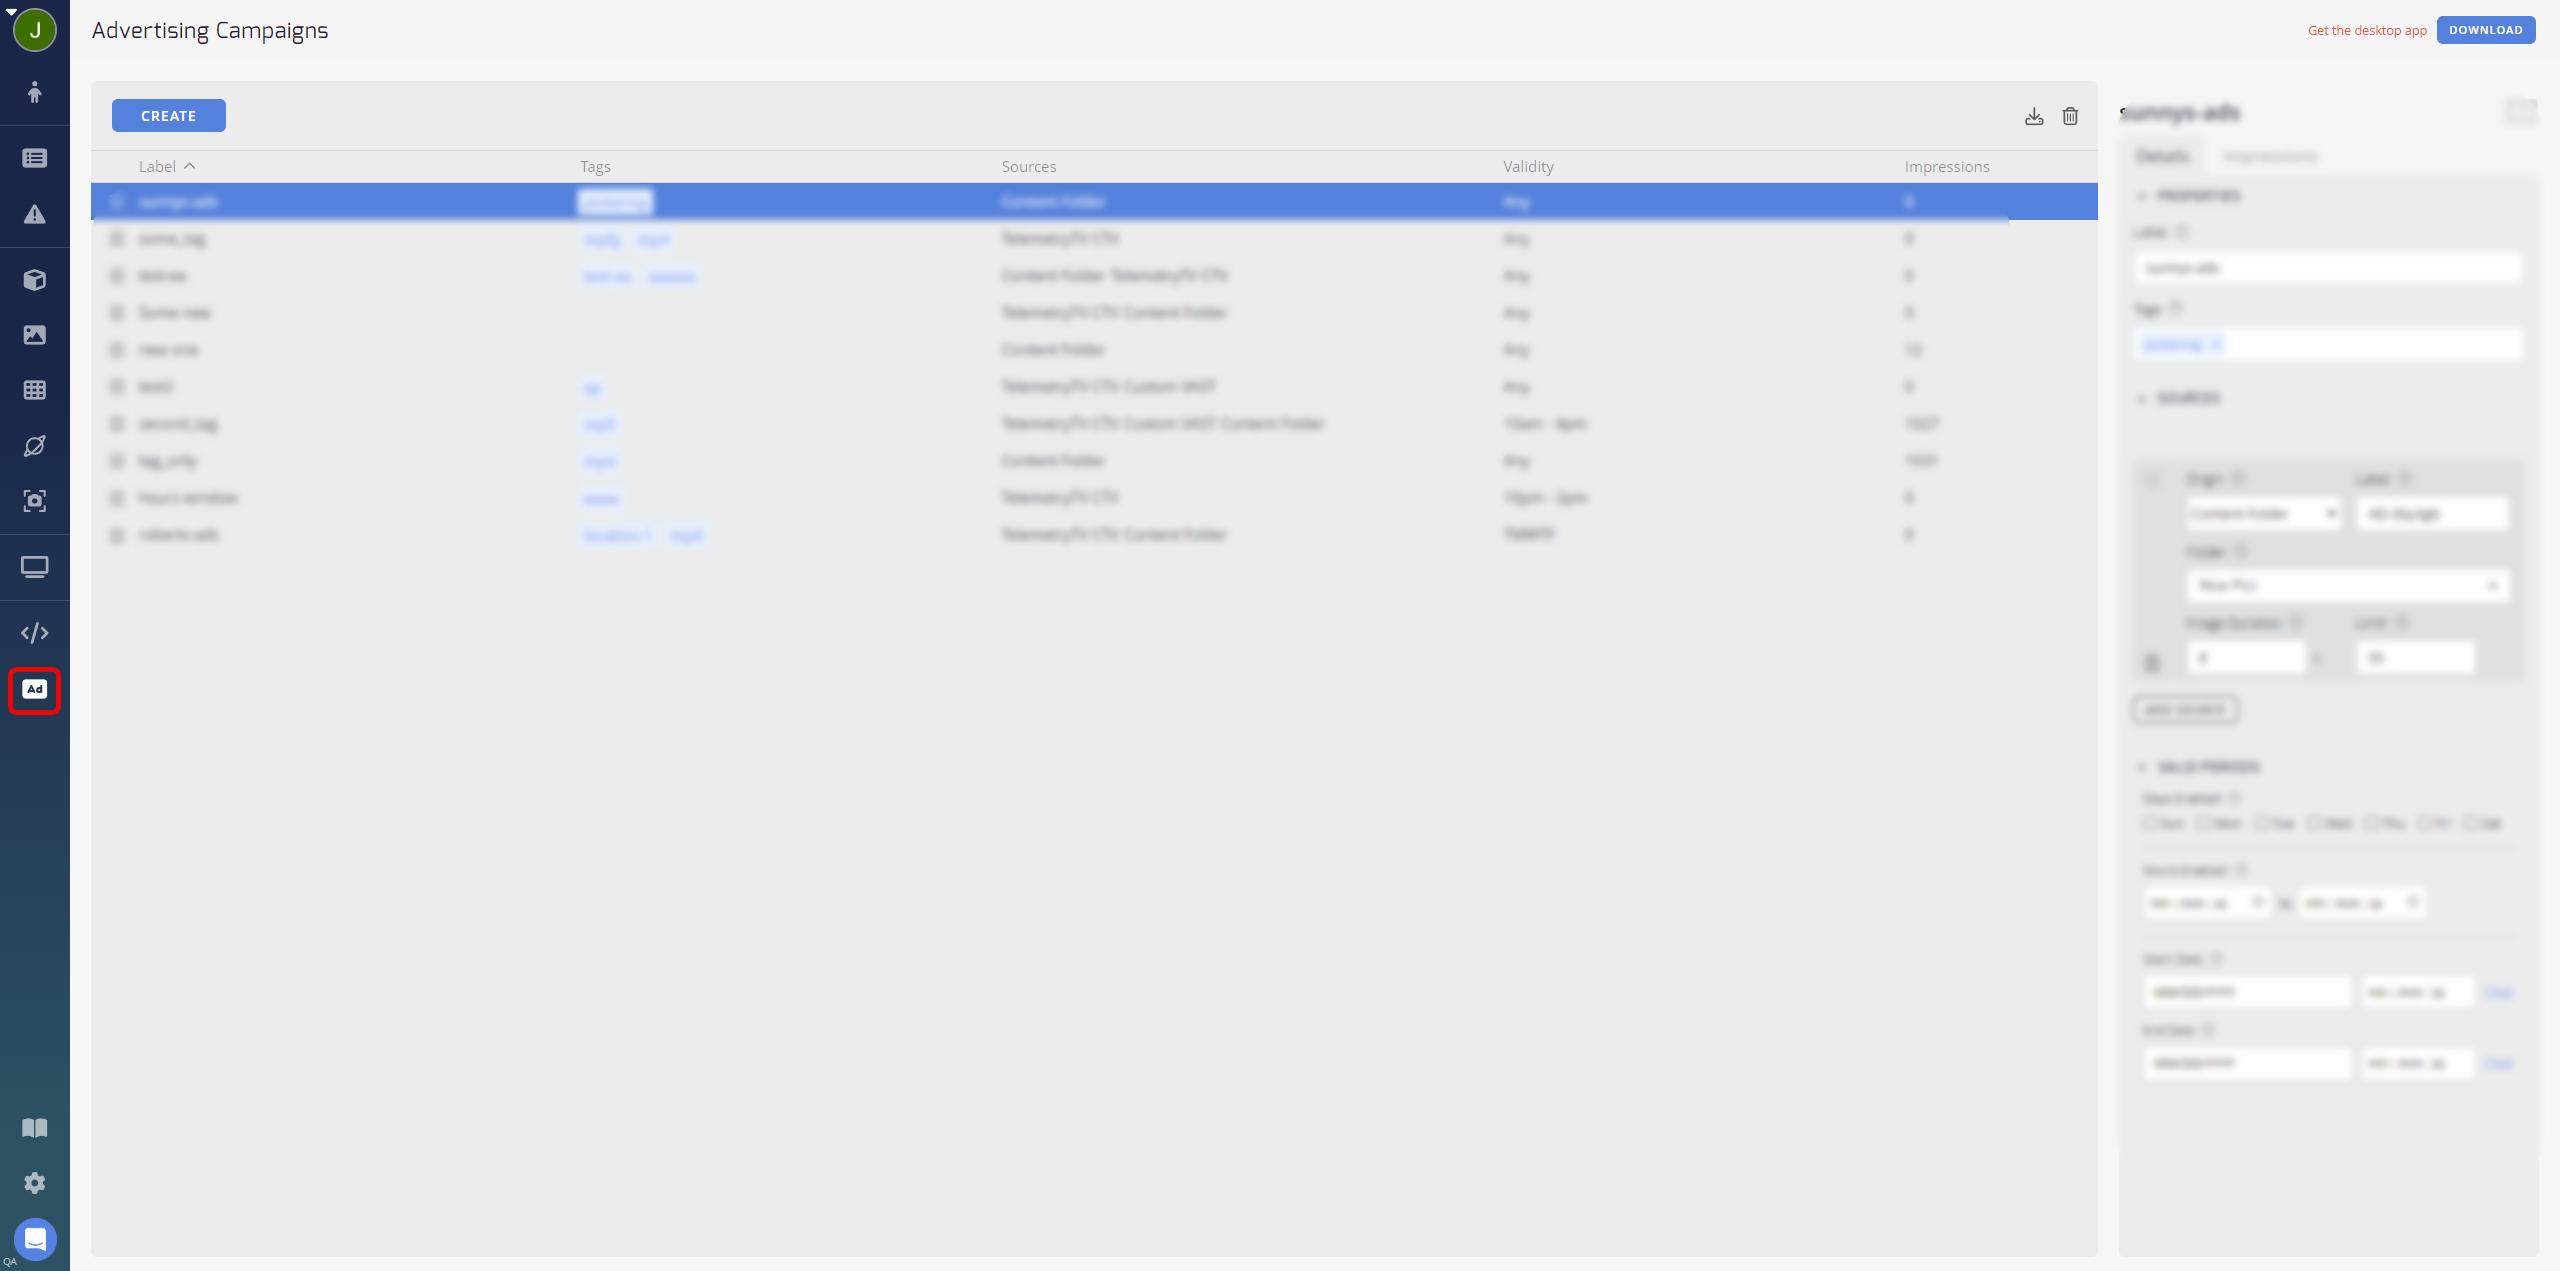
- Select the Create button to initiate a new advertising campaign.
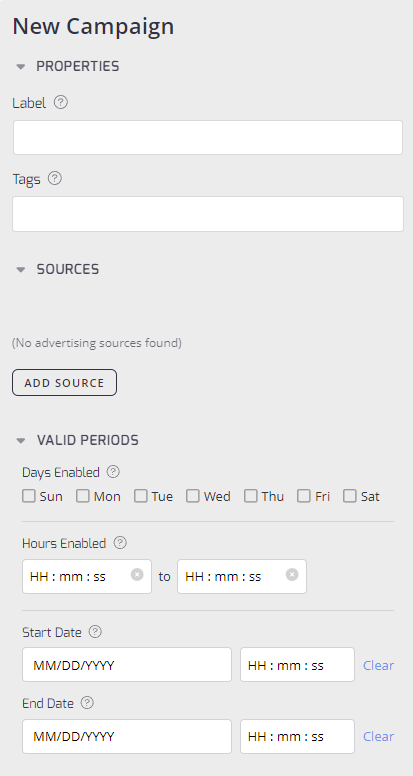
- Enter your Properties settings:
- Label: Assign a name to your campaign for easy identification.
- Tags: Specify tags to determine which devices will display this campaign's content.
Device TagsMake sure your desired Device also has your Advertising Campaign tag enabled. More information on Device Tags can be found here!
- Add Sources from your desired folders.
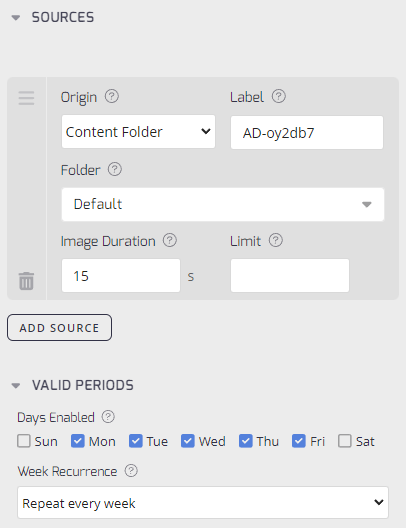
Include sources for your campaign, such as content folders, VAST (following VAST 3.0 protocol), or TelemetryTV's internal CTV advertising sources. Once a source origin is added you can define that sources.
- Origin: Select the origin location of the ad. It can be TelemetryTV CTV, Custom VAST, or Custom Folder. Depending on your selection, the other settings change accordingly:
- TelemetryTV CTV
- There are no settings, other than the overall Label.
- Custom VAST
- URL: Set the VAST Server URL to fetch the ad from.
- Content Folder
- Folder: Sets the content folder to use for the ad source. Select from sources in the drop-down menu.
- Image Duration: Set the maximum duration in seconds for displaying each image.
- Limit: Sets the limit of the number of ads to play for each day. This limit renews on each new day.
- TelemetryTV CTV
- Label: Sets the label for the ad source. Visible for all Origin types.
- If required, click the Add Source button to continue adding more sources for the campaign.
- Select the Campaign Scheduling / Valid Periods for this ad campaign. Ensure that the specific days and hours you want ads from this campaign to display are correctly set.
- Days Enabled: Display ads on the specific days selected in this setting.
- Week Recurrence: Display ads on specific weeks depending on the days enabled. Select either Repeat Every Week or Set Specific Weeks from the drop-down menu.
- When setting specific weeks, you then can select when to repeat during the month, 1st, 2nd, 3rd, 4th, 5th, or 6th week.
- Next set the Hours Enabled and Dates (Start/End):
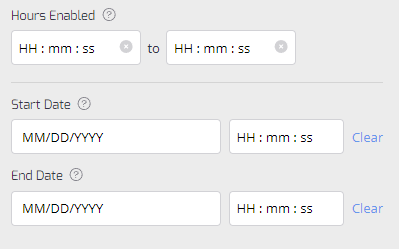
- Hours Enabled: Set a specific range of hours to display the ad.
- Start Date: Specify the date when the campaign should begin.
- End Date: Define the date when the campaign should conclude.
- Click the Create button to finish adding the campaign.
TelemetryTV's Advertising Campaigns feature streamlines the process of managing and deploying digital advertisements within playlists, giving more control of advertising campaigns.
By following these steps, you can create a new Event Campaign with customized properties and scheduling options tailored to your advertising needs.
Understanding Ad Sources
Advertising Campaigns allow users to define a tiered list of Ad Sources, each contributing to your overall ad integration strategy. These sources are categorized into three distinct types:
-
Content Folder: Utilize your own content uploaded within TelemetryTV's interface, offering a seamless integration of your own ad content into your playlists.
-
VAST Tag (Video Ad Serving Template): This format provides a standardized method to inject ads seamlessly into the TelemetryTV ecosystem from external ad providers.
-
TTV CTV (TelemetryTV's Connected TV): Ads provided through TelemetryTV's internal ad providers.
Important Notice Regarding TTV CTV Ad SourcePlease note that TTV CTV doesn't currently automatically remit payments or credits of any kind if you use this source. If you're interested in using this source at scale for advertising, please contact us directly. We're here to assist you in optimizing your advertising campaigns and exploring the full potential of TTV CTV ad integration.
VAST Technical Reference
For advanced integrations, TelemetryTV supports dynamic macro substitution in your VAST URLs. This allows you to pass device-specific data to your ad server for precise targeting and tracking.
VAST URL Macro Reference
When configuring your Custom VAST URL, you can append the following query parameters. The player will dynamically replace these variables with the actual values from the playing device at runtime.
| Macro | Description |
|---|---|
$device.id | The unique identifier for the device making the request. |
$device.asset_id | The specific asset ID assigned to the device. |
$device.name | The display name assigned to the device in the TelemetryTV dashboard. |
$device.serial_number | The hardware serial number of the device. |
$device.description | The text from the device's description field. |
$account.id | The unique ID of your TelemetryTV account. |
$account.name | The name of your account or organization. |
Tracking URL Macros
TelemetryTV strictly adheres to IAB standards for tracking events. Ensure your VAST XML response includes the following macros in the <Impression> and <Tracking> URLs to enable accurate reporting.
[RANDOM]or[CACHEBUSTING]: Replaced with a random 8-character UUID. This prevents the ad server or CDN from caching the tracking request, ensuring every impression is counted.[TIMESTAMP]: Replaced with the current date and time in ISO 8601 format at the moment the event is fired.[ERRORCODE]: Used specifically in<Error>tracking URLs. It is replaced with the specific VAST error code (e.g.,900,901) to help diagnose playback issues.
Example Configurations
1. Basic Device Targeting
Pass the device ID to track which screen is showing the ad.
https://adserver.example.com/vast?device_id=$device.id
2. Contextual Targeting
Pass the device name and description to serve ads relevant to the screen's location (e.g., "Lobby" or "Cafeteria").
https://adserver.example.com/vast?location=$device.name&context=$device.description
3. Cache-Busting & Asset Tracking
Combine asset IDs with a cache-busting parameter (if your ad server requires it in the request URL).
https://adserver.example.com/vast?asset=$device.asset_id&cb=[RANDOM]
Technical Notes
- Case Sensitivity: All macros are case-sensitive. You must use
$device.id(lowercase), not$Device.Id.- Empty Values: If a macro field (like
$device.description) is empty on the device, it will be replaced with an empty string.- Encoding: TelemetryTV automatically URL-encodes the substituted values to ensure the request remains valid.
Optimizing Advertising Fill Rate
One of the key feature of Advertising Campaigns is its ability to optimize ad fill rates efficiently. By sorting Ad Sources from most to least desired, based on fill rate preferences, users can ensure a consistent flow of ads throughout their playlists.
In cases where the highest-tiered Ad Source does not fulfill an ad request, advertising Campaigns seamlessly populate the occurrence with an ad from a lower tier, maximizing fill rates and enhancing overall ad impressions.
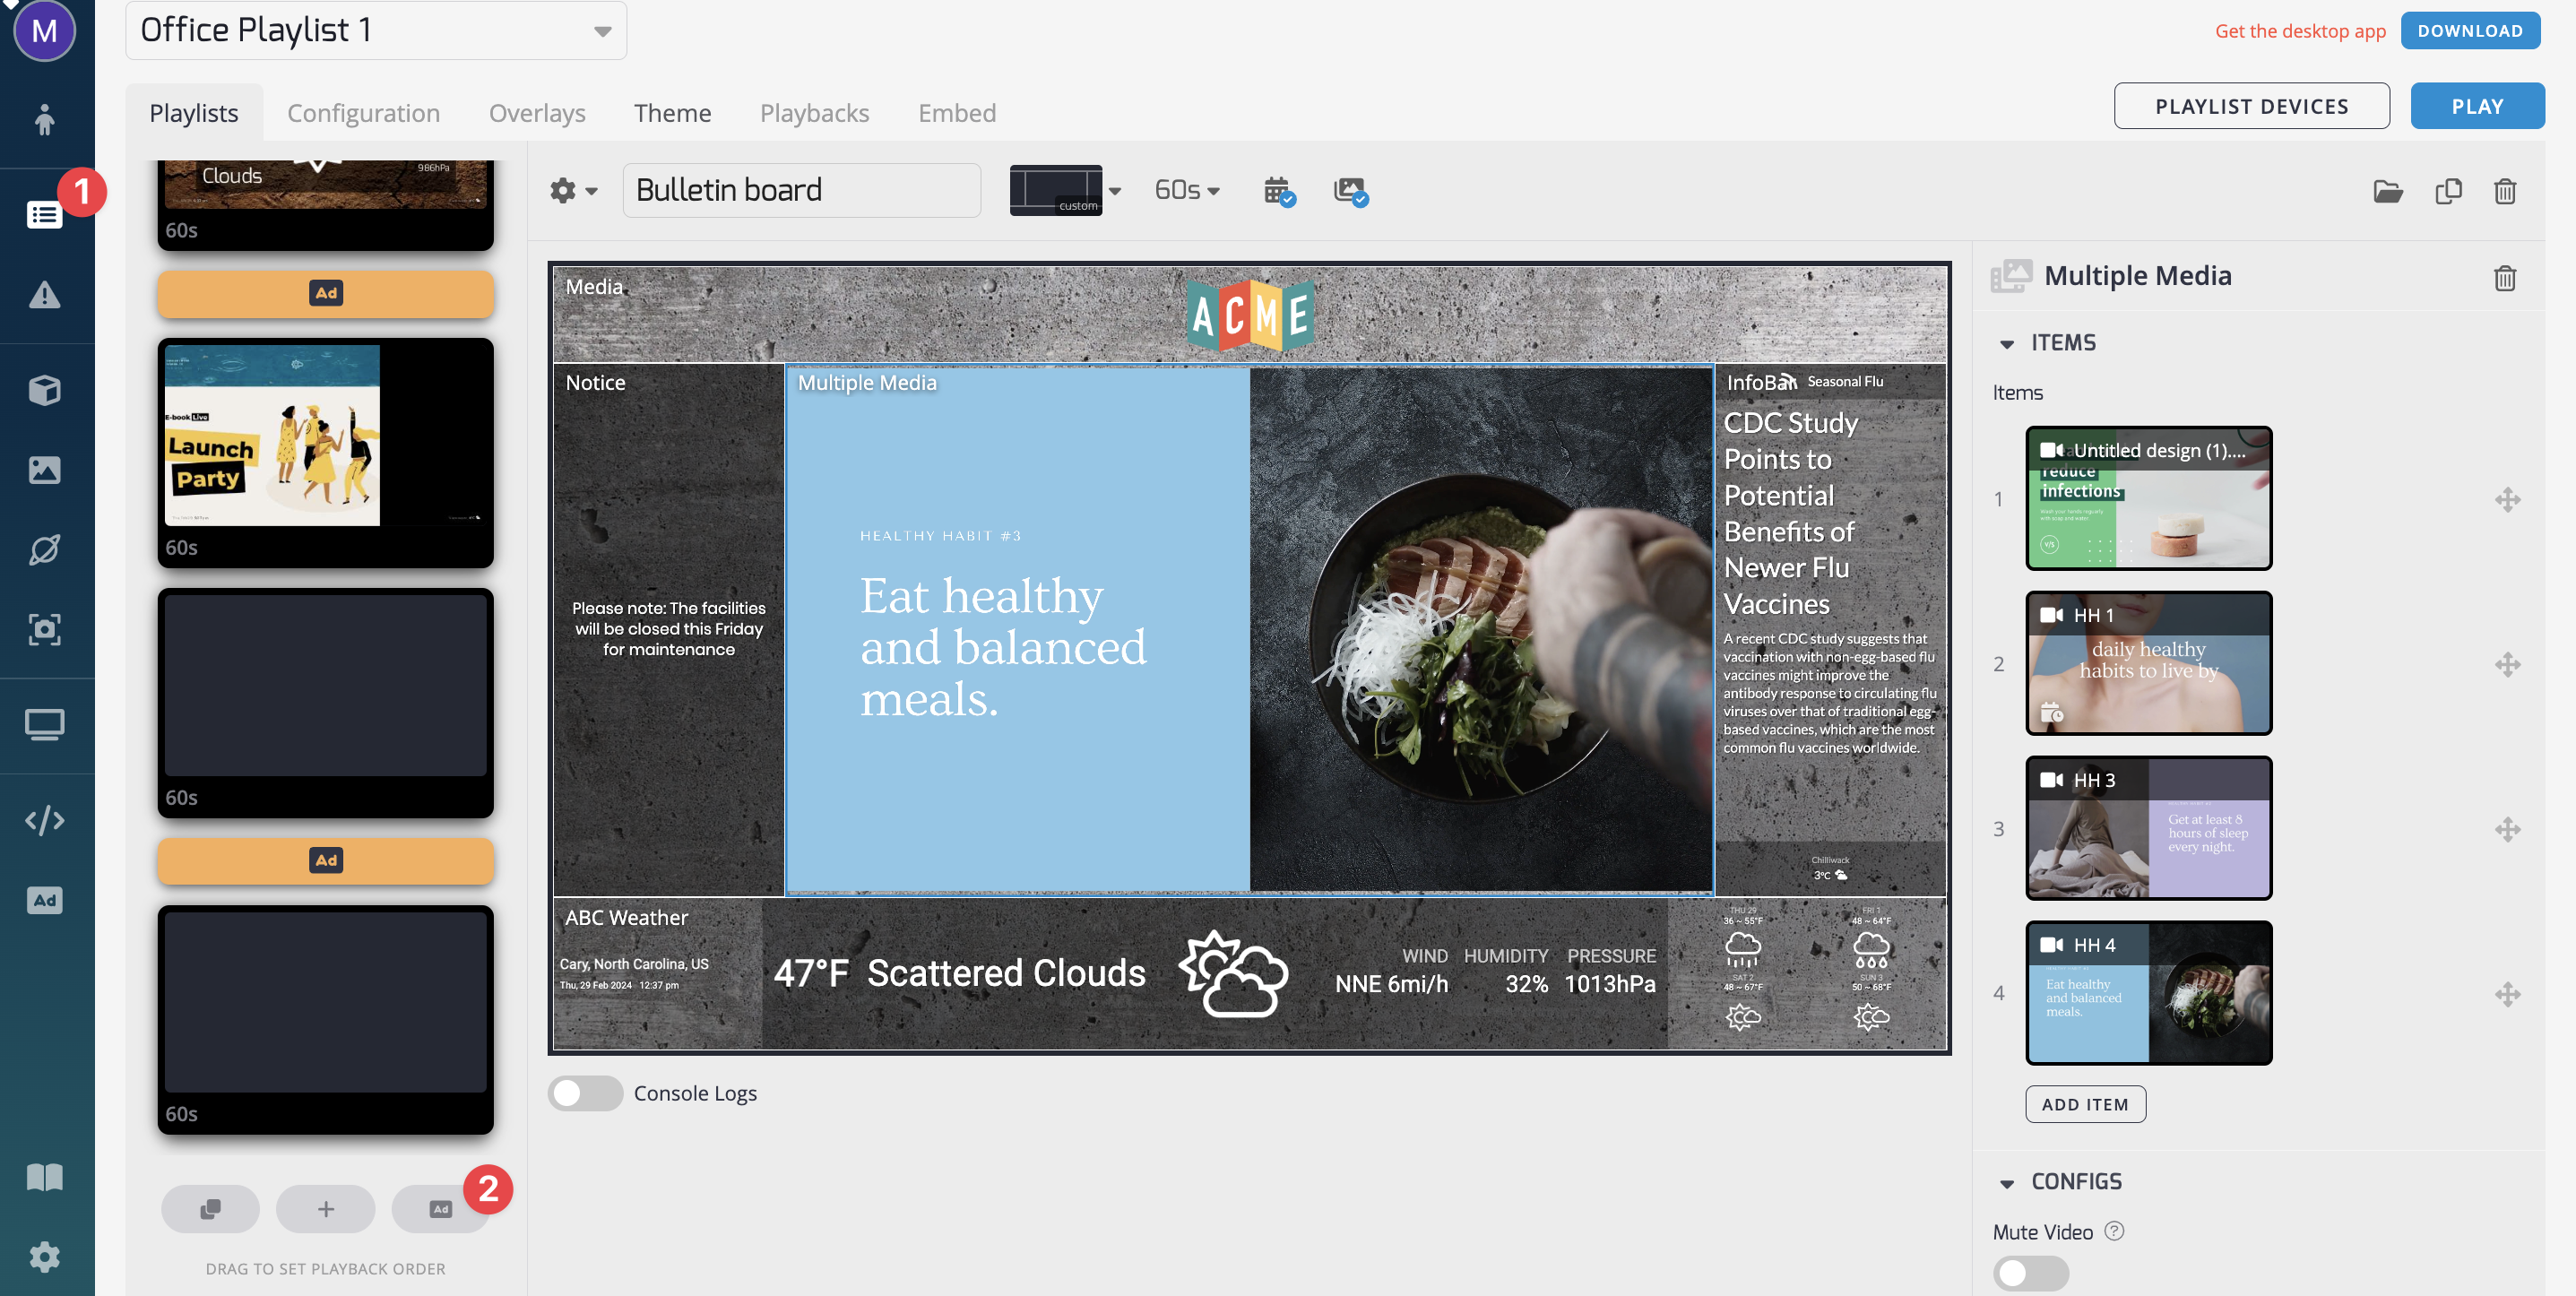
Placing Ads in Your Playlist
-
Ordering Ads:
- Once campaigns are created, ads can be placed into your desired playlists order, representing opportunities for ads to play during scheduled playback.
- Through Advertising Campaigns you can control how often Ads play during a Playlist.
Make Sure To Watch The Time!Ads won't play during content only before/after. If you have a desired number of ads you want to play in an hour make sure your content is configured in a way that will allow the ad occurrences.
Example: If you have two 30-minute videos you can play ads between those two videos. If you have a 1-hour video you wont have any room for ads to play that hour.
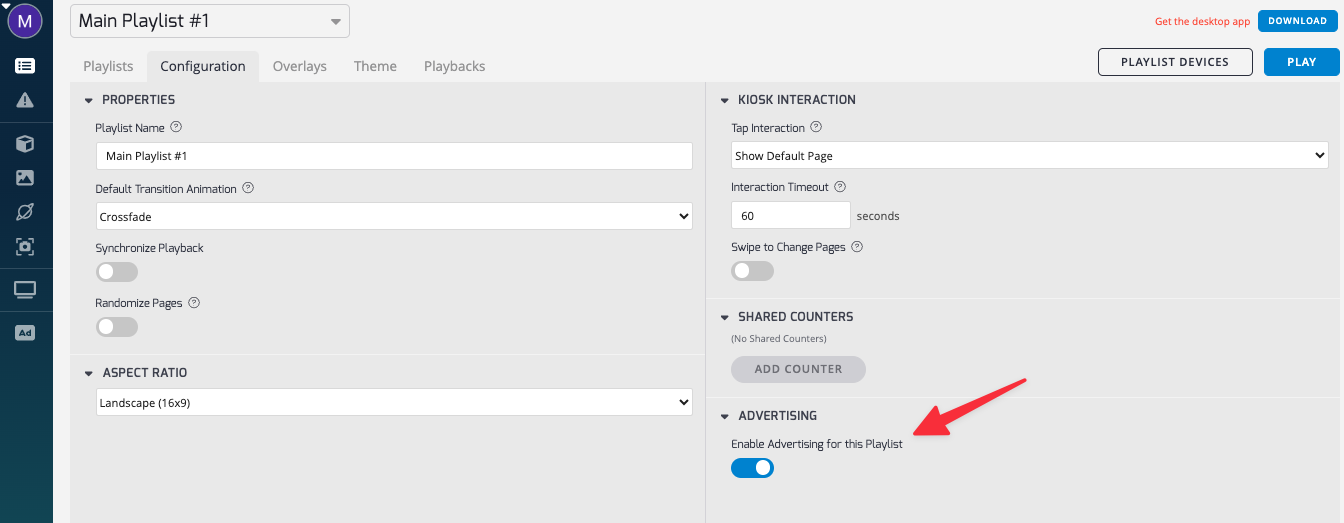
- To enable Advertising Campaigns with Sources make sure to toggle the ”Enable advertising for this Playlist” on playlist configuration page. TelemetryTV also supports Advertising Campaigns without Ad Sources when "Enable advertising for this Playlist" is toggled off
Ad Campaign Limits
To ensure optimal performance and manageability, TelemetryTV has set the following limits for advertising campaigns and their related assets:
- Campaign Limit: A single account can manage up to 100 advertising campaigns at one time.
- Ad Source Limit: Within each advertising campaign, you can utilize up to 10 unique ad sources. This ensures a diverse mix of content while maintaining manageability.
- Tag Limit: For each ad source, you can assign up to 10 tags. Tags help in categorizing and optimizing the ad source for better performance and easier management.
Limit Display
The Limit Display feature, similar to tags, allows you to limit content on the page level to specific device organizations. Although it mirrors a function of tags, it is a very impactful feature for organizations that already use device orgs and do not need granular tagging rules.
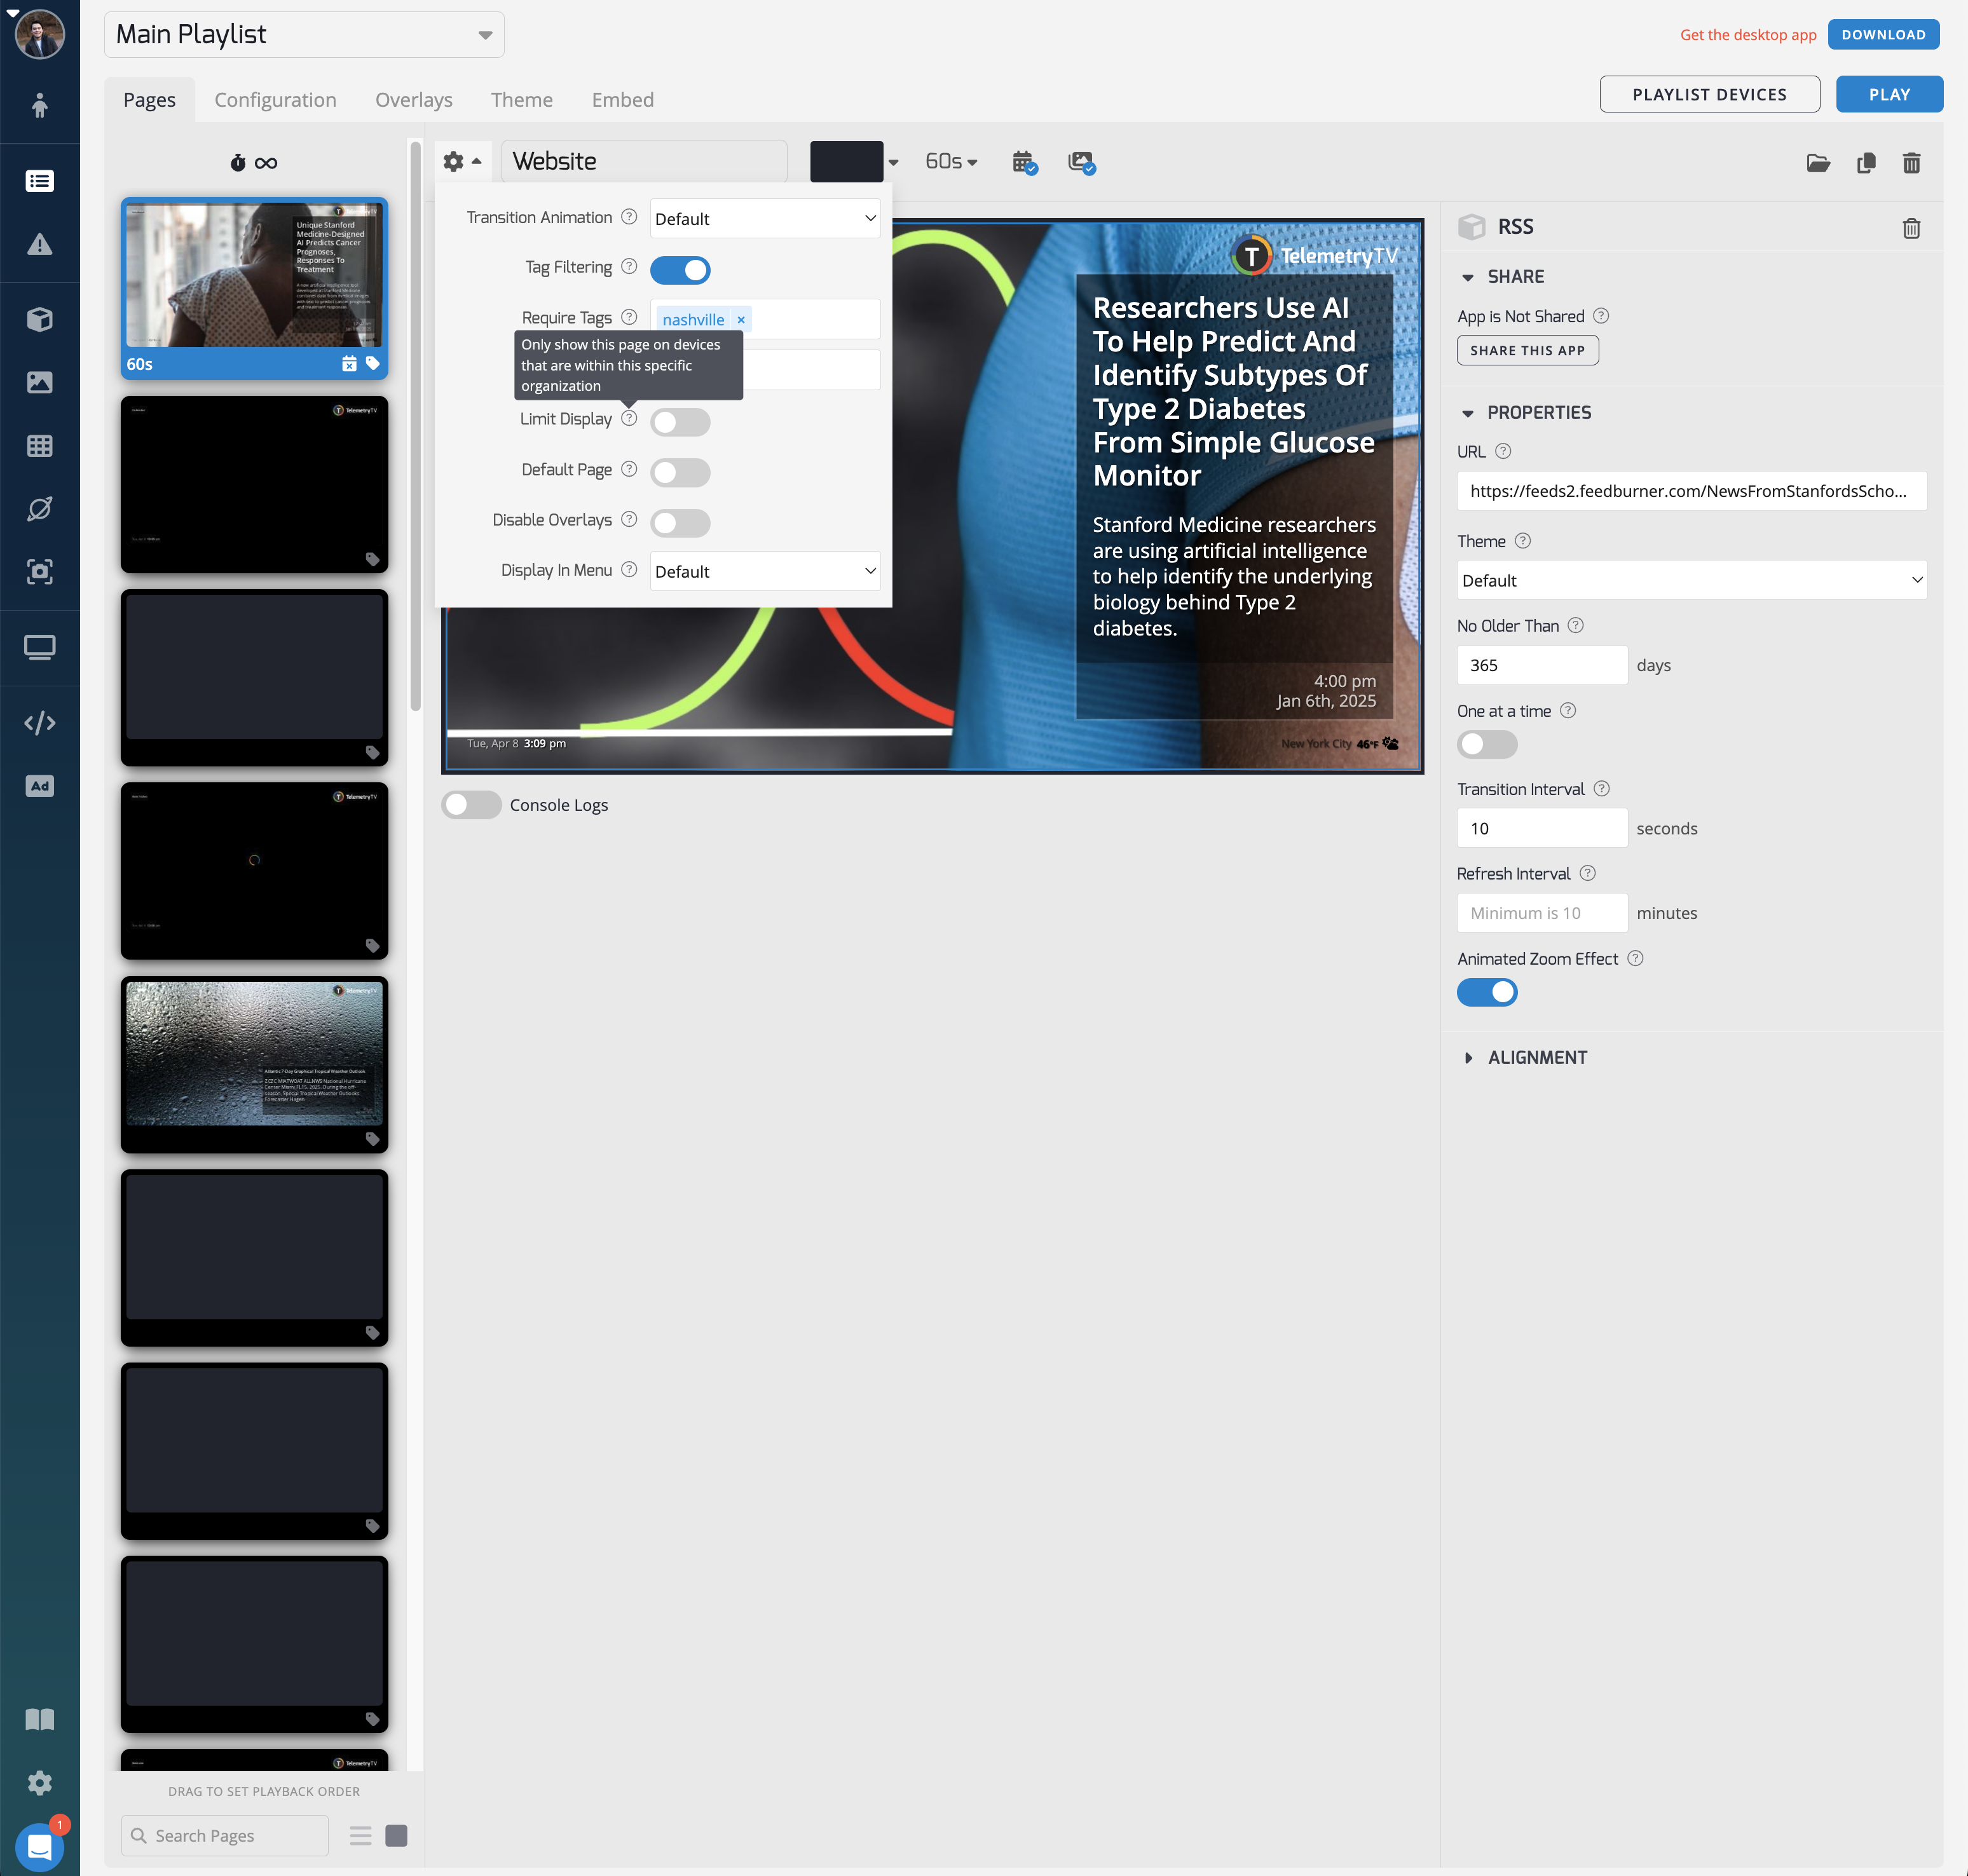
On the page level, simply enable the "Limit display" setting, then select the device organization that you would like the page to play at.
Ad Campaign Metrics
- Access metrics for an Advertising Campaign by clicking the Ad Campaign icon in the left-hand toolbar.
- The metrics page provides detailed information about the pages in your Advertising Campaign, including display duration, device/screen information, and timestamps.
-
Icons at the top convey global information about the selected Ad Campaign, including the period, total playbacks, total devices involved, and total time elapsed.
-
Detailed information for each Campaign-related page includes timestamp, device, location, page name, playlist, and duration.
Exporting Advertising Campaign Metrics
-
Click the Export CSV button in the top-right corner of the Advertising Campaign Metrics dashboard.
-
The exported .csv file includes:
- Timestamp of log entry
- Start and end timestamps of page playback
- Event type (usually playback)
Updated 6 months ago