
Managing Droid-1 (Android)
Device installation and setup instructions
Installation
Before starting these setup instructions, go here for more Android information and installation instructions.
The TelemetryTV Droid-1 device already has the agent installed so you can skip the setup completely.
Third party android device issues are not supported by TelemetryTV. Such devices need to be certified through our Certified Devices Program.
Device Setup
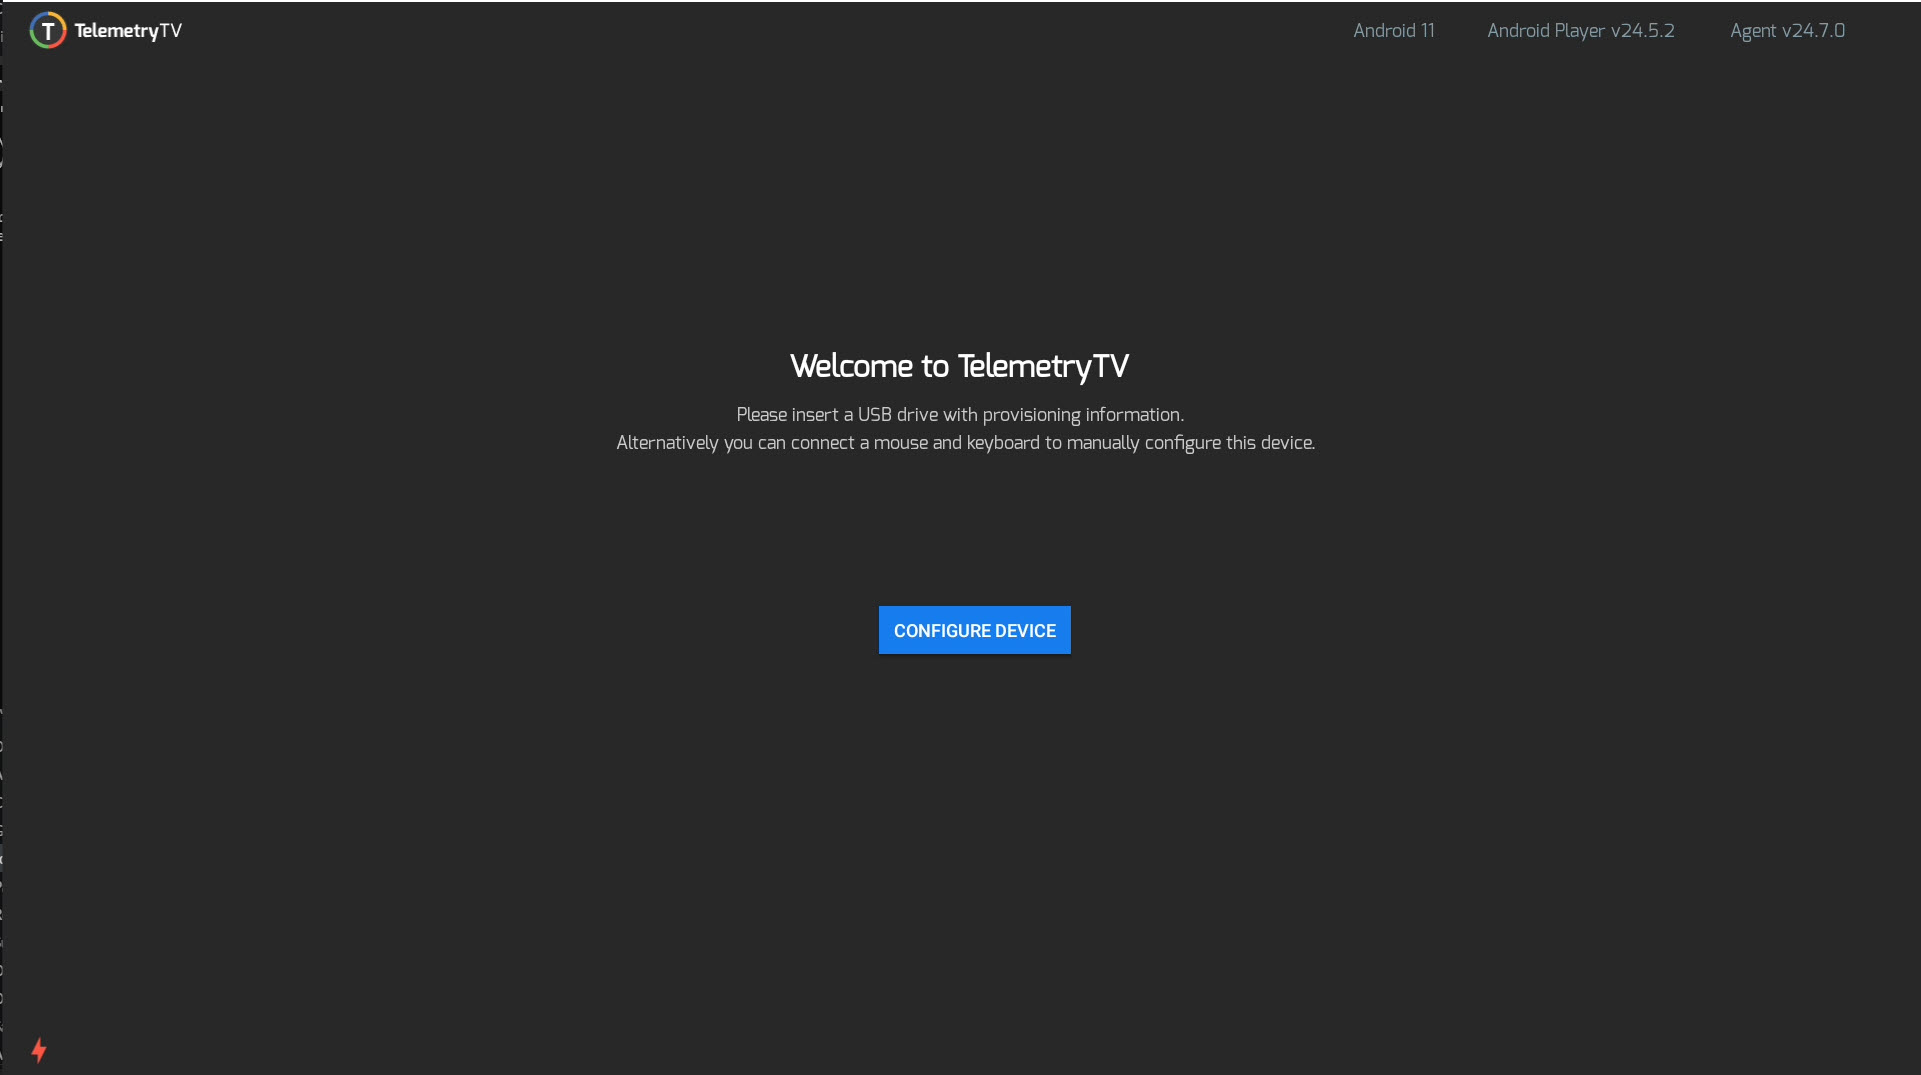
Plug in your device and on initial boot you are greeted with the TelemetryTV Welcome screen:
To connect to the network you can do one of the following methods:
- Use a Provisioning USB stick to automatically connect to a WiFi network.
- Manually connect to a WiFi network on your device.
- Set up using an Ethernet cable.
Using a USB Provisioning Stick
If you are using this method, go to the Provisioning instructions first to understand how it works.
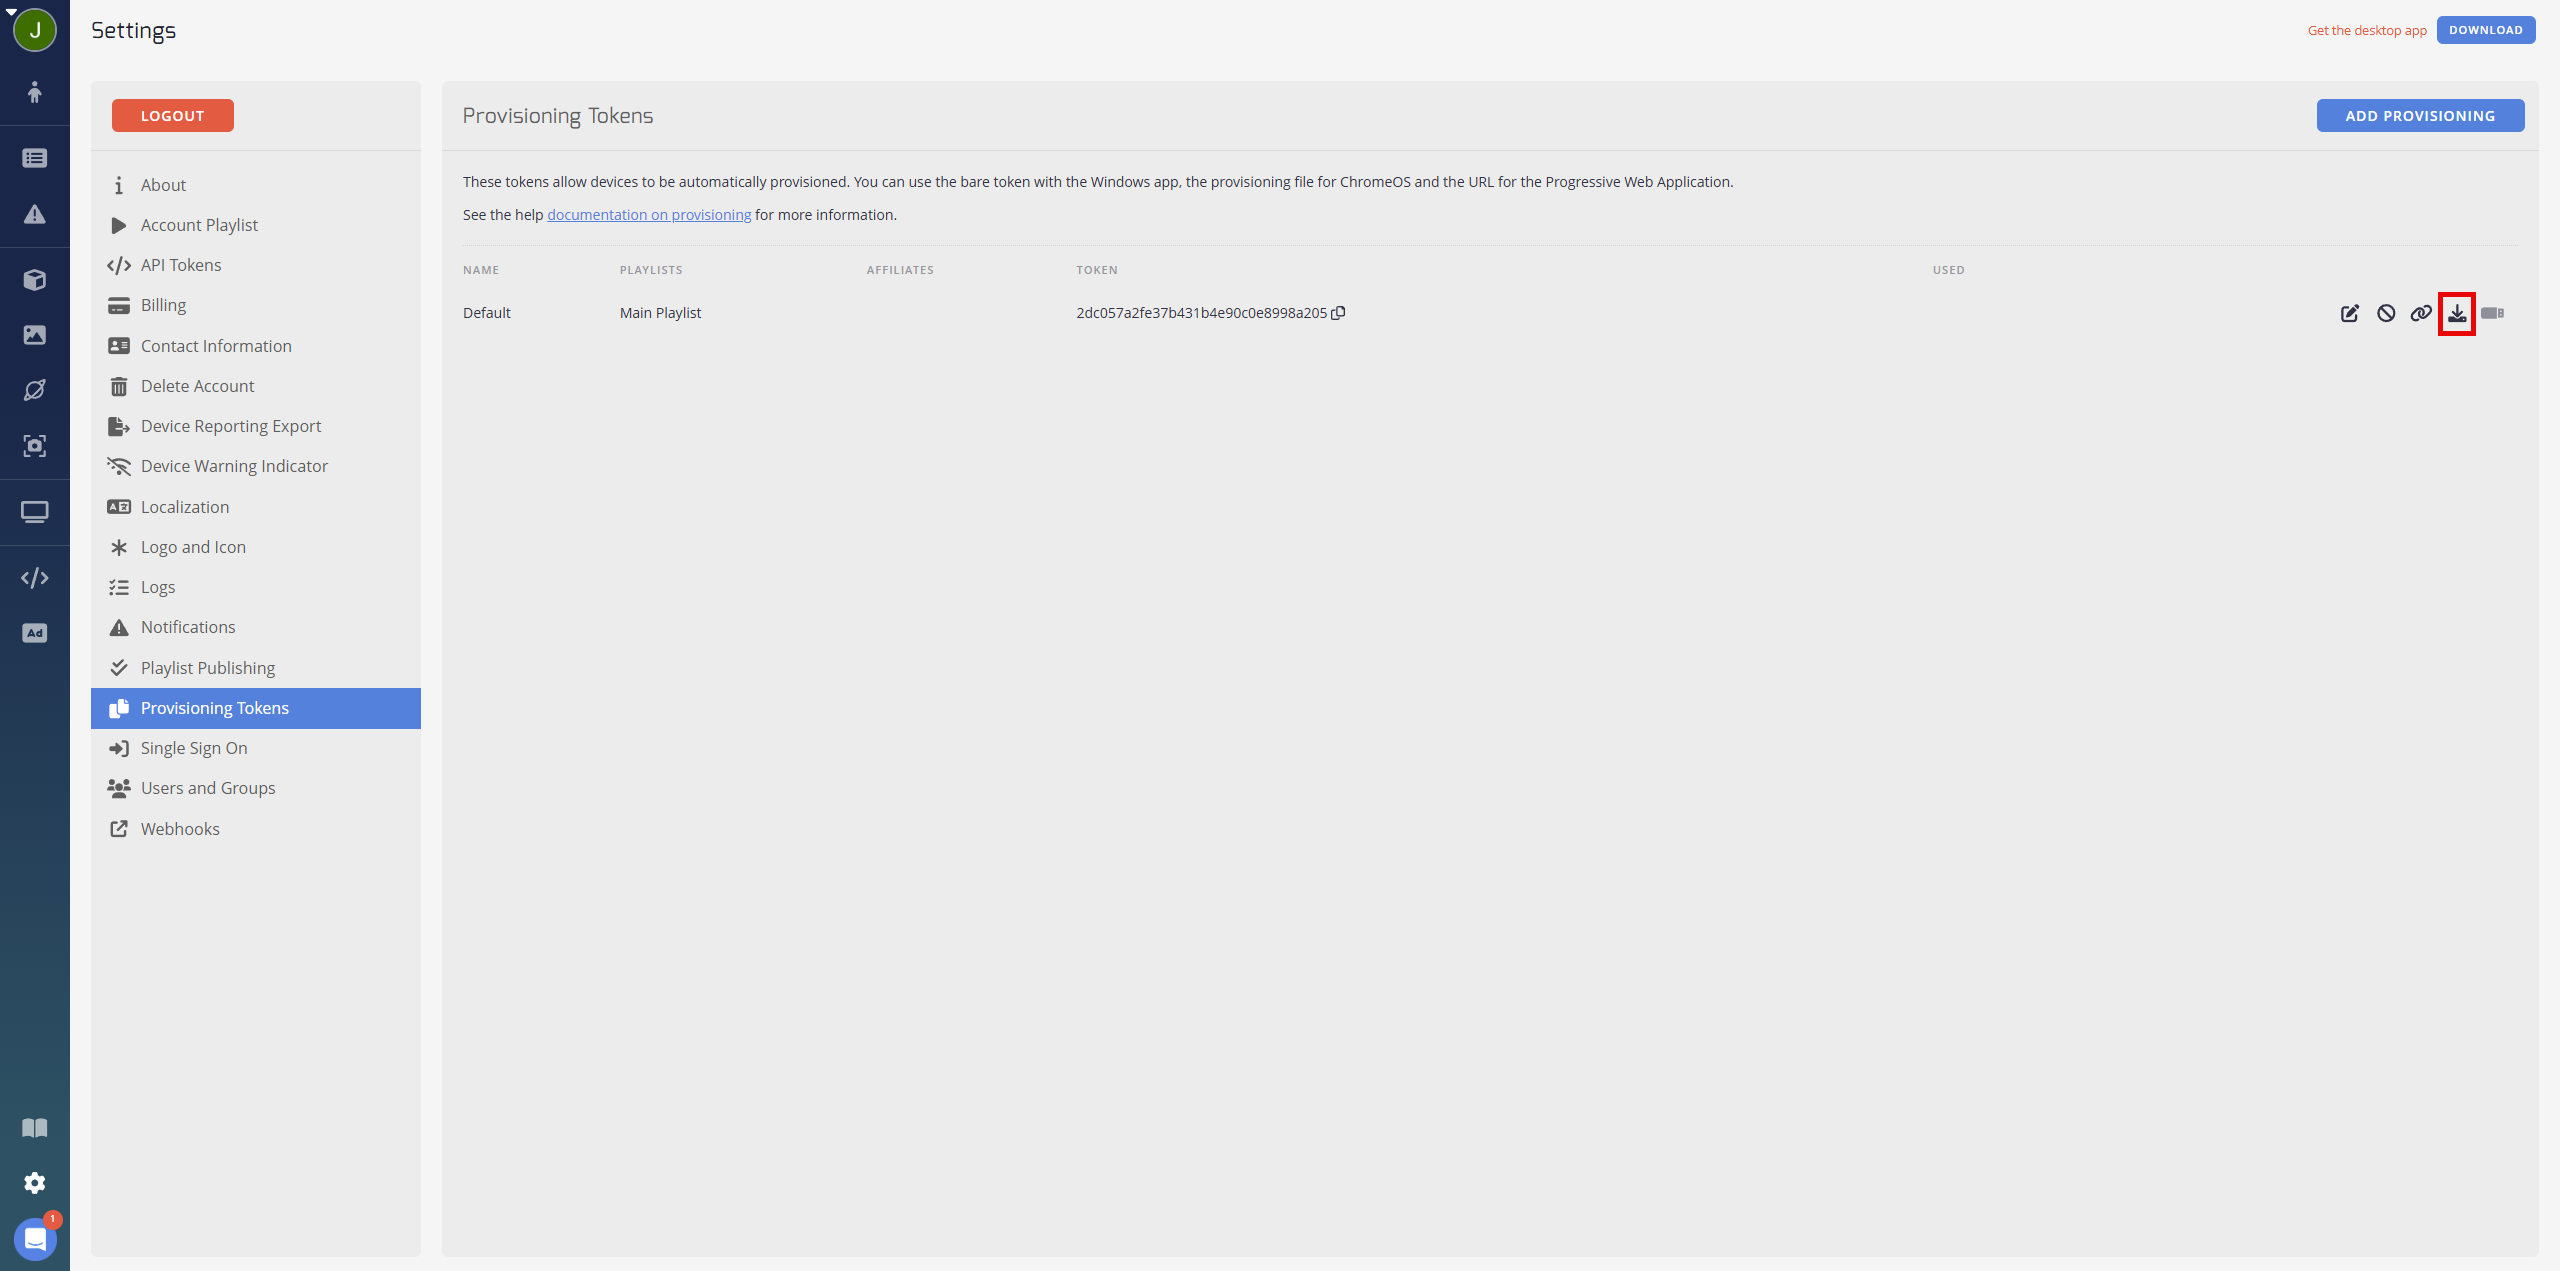
- Download the provisioning file directly. You must be logged in for the link to work. If not, login and then go to Settings and select the Provisioning Tokens option. Click the download link on the right to download the file.
- Place the provisioning file in the root directory of the USB drive, make sure there are no other files on the USB and that the USB is FAT32 formatted.
- Insert your USB while on the initial boot screen.
- The device connects to the WiFi network if the WiFi configuration is set in the provisioning file.
- Otherwise connect to a WiFi network manually or insert an Ethernet cable.
- Once connected to a network and setup completes, it switches applications to our media player to play your playlist if the playlist is already set in the provisioning file. If a playlist is not in the provisioning file then you are taken to the Pairing Code page.
For more information on Pairing a device, go here.
Manually Connect to a WiFi Network on Your Droid-1 Android Device
To manually connect, you need to add a keyboard and mouse first.
- Connect your keyboard and mouse using USB.
- Click CONFIGURE DEVICE using your mouse or press Enter on your keyboard.
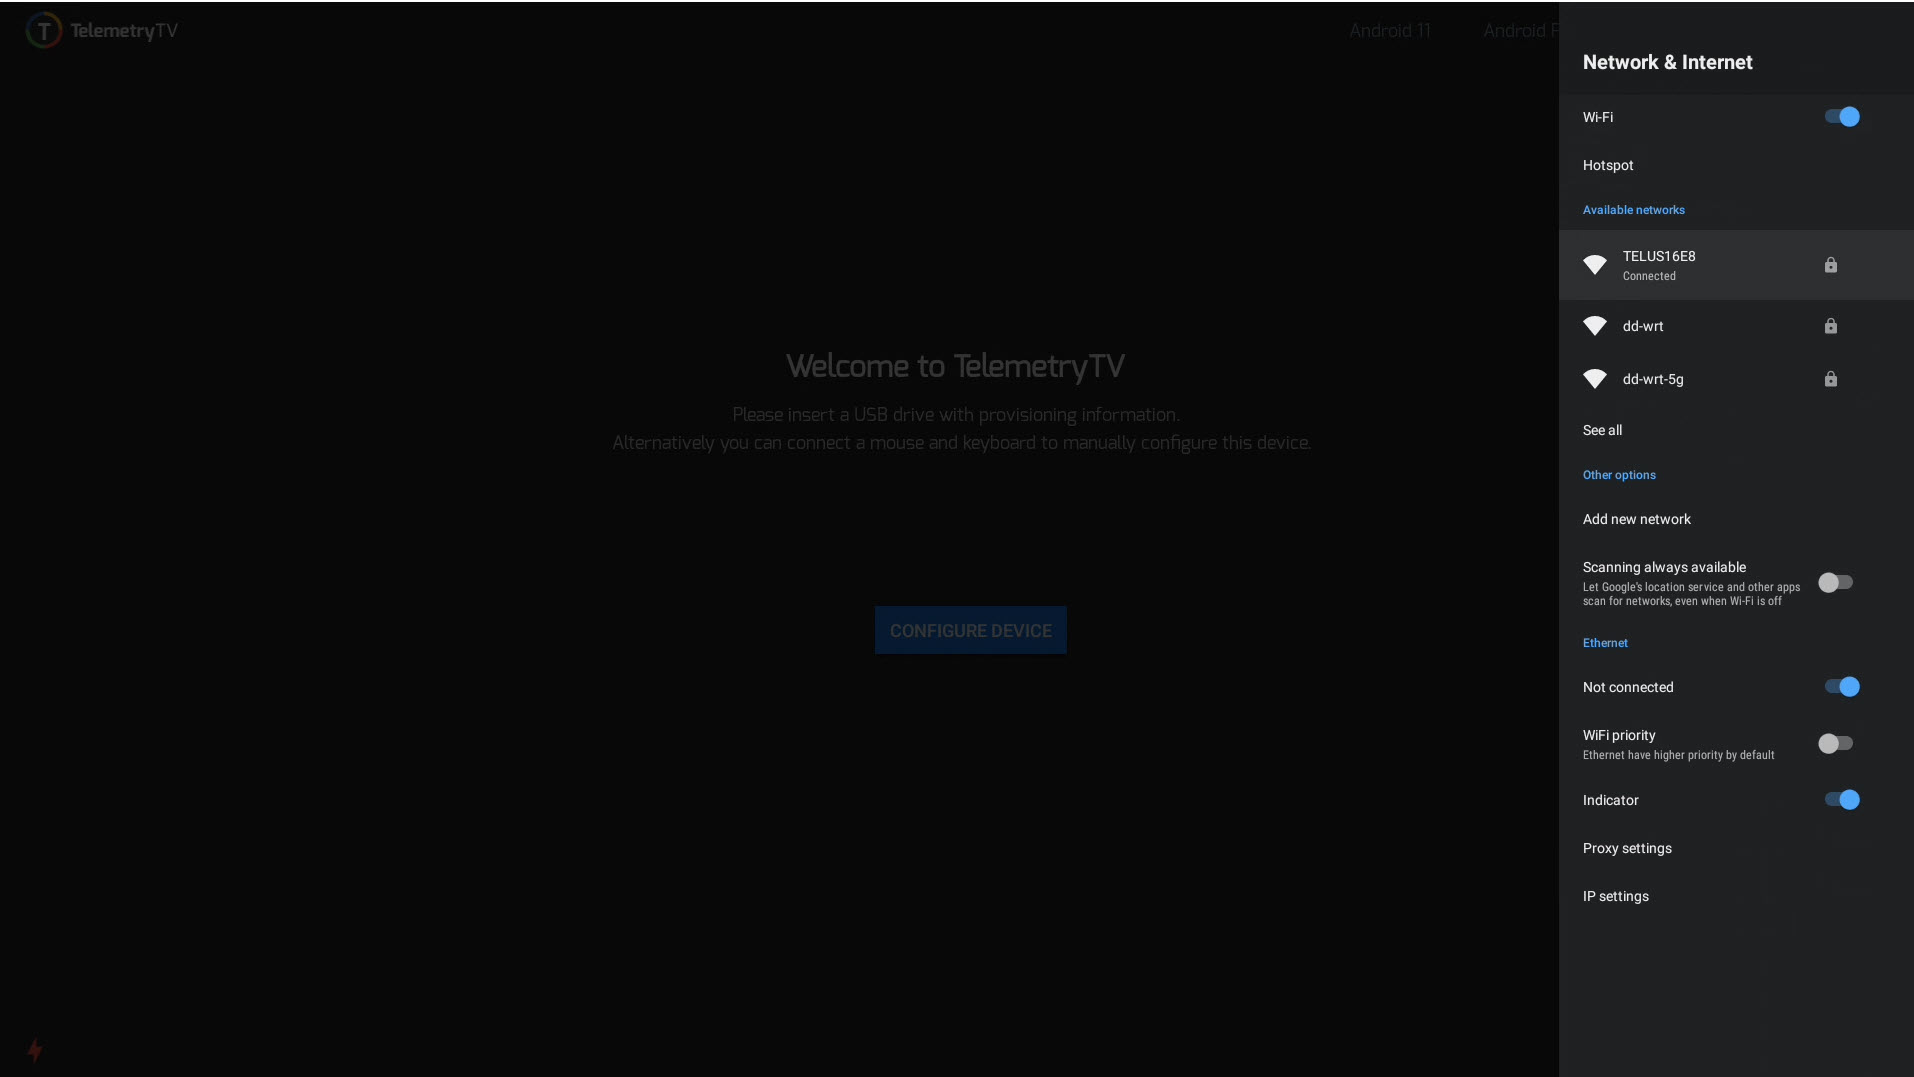
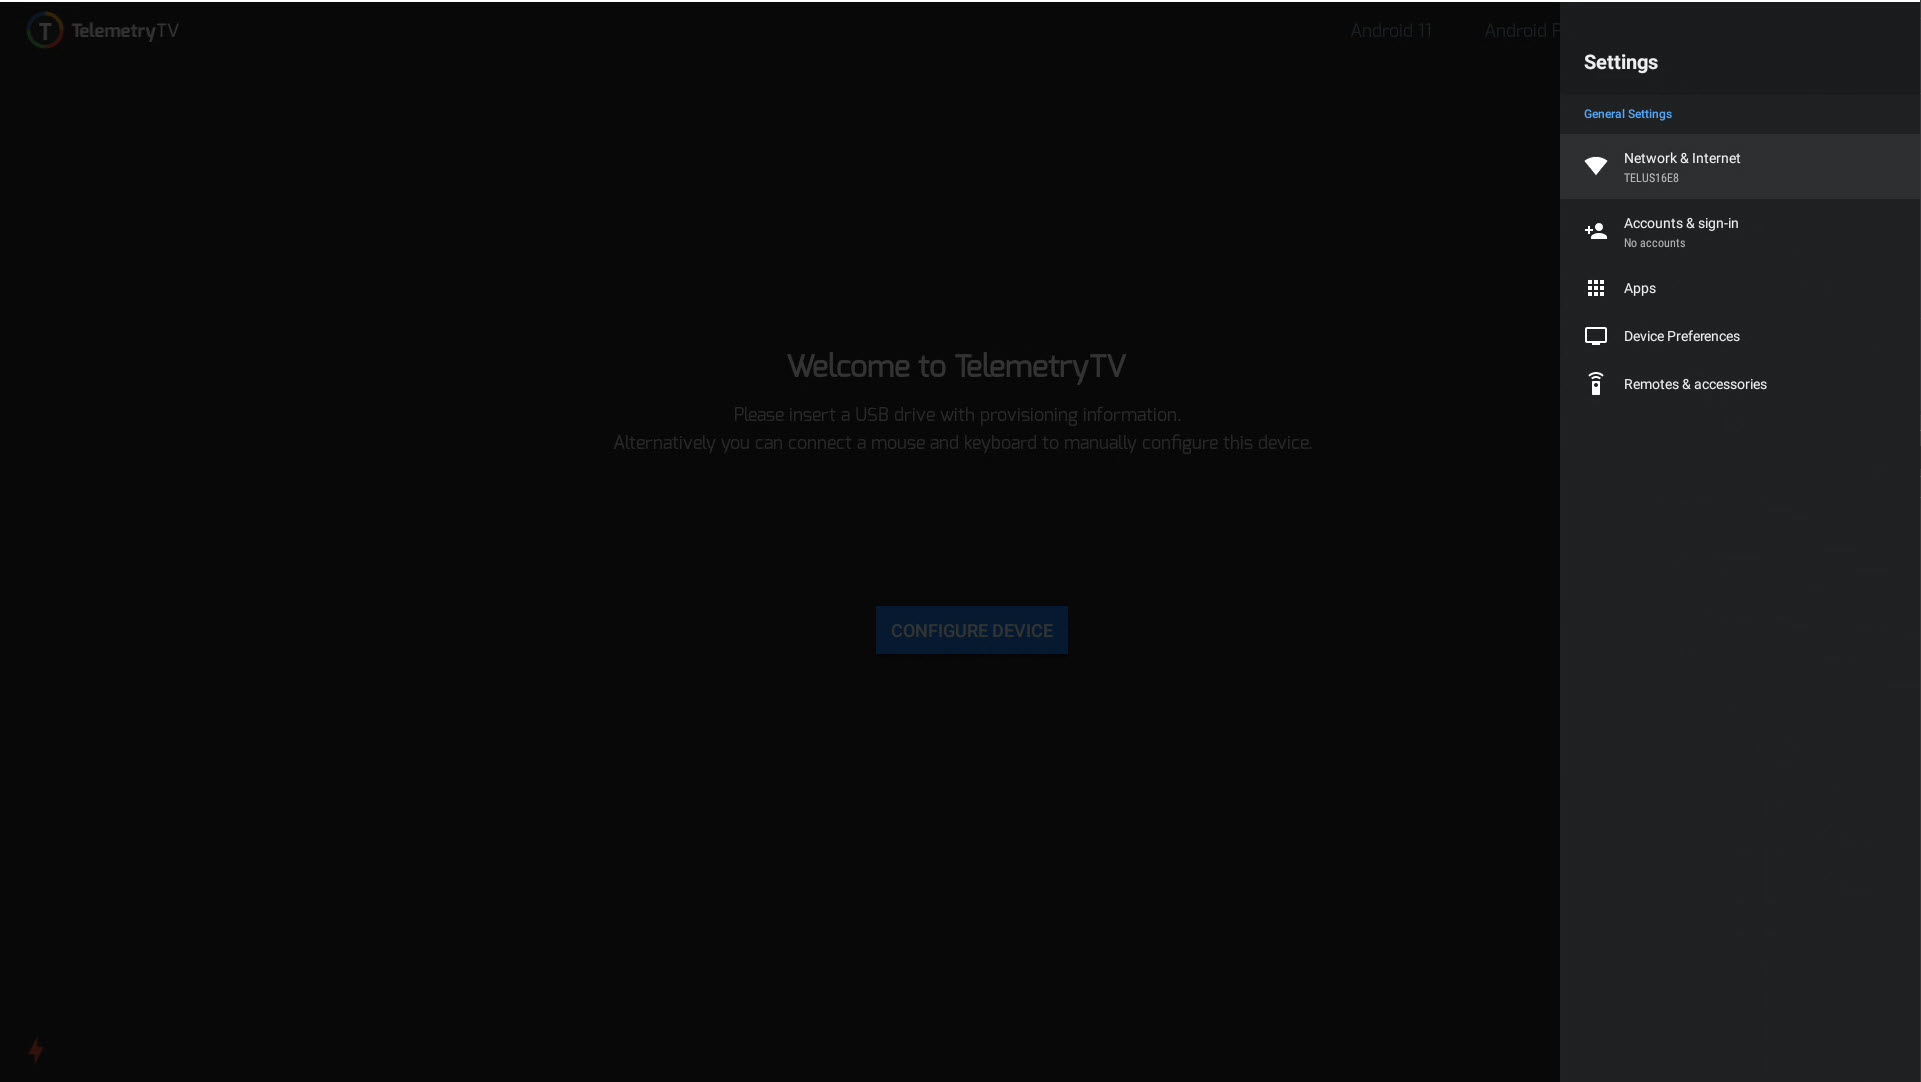
- Select Network and Internet.
- Select the WiFi network you want to connect to and enter your password.
- Once connected to the network, setup automatically resumes and a Pairing Code page is displayed.
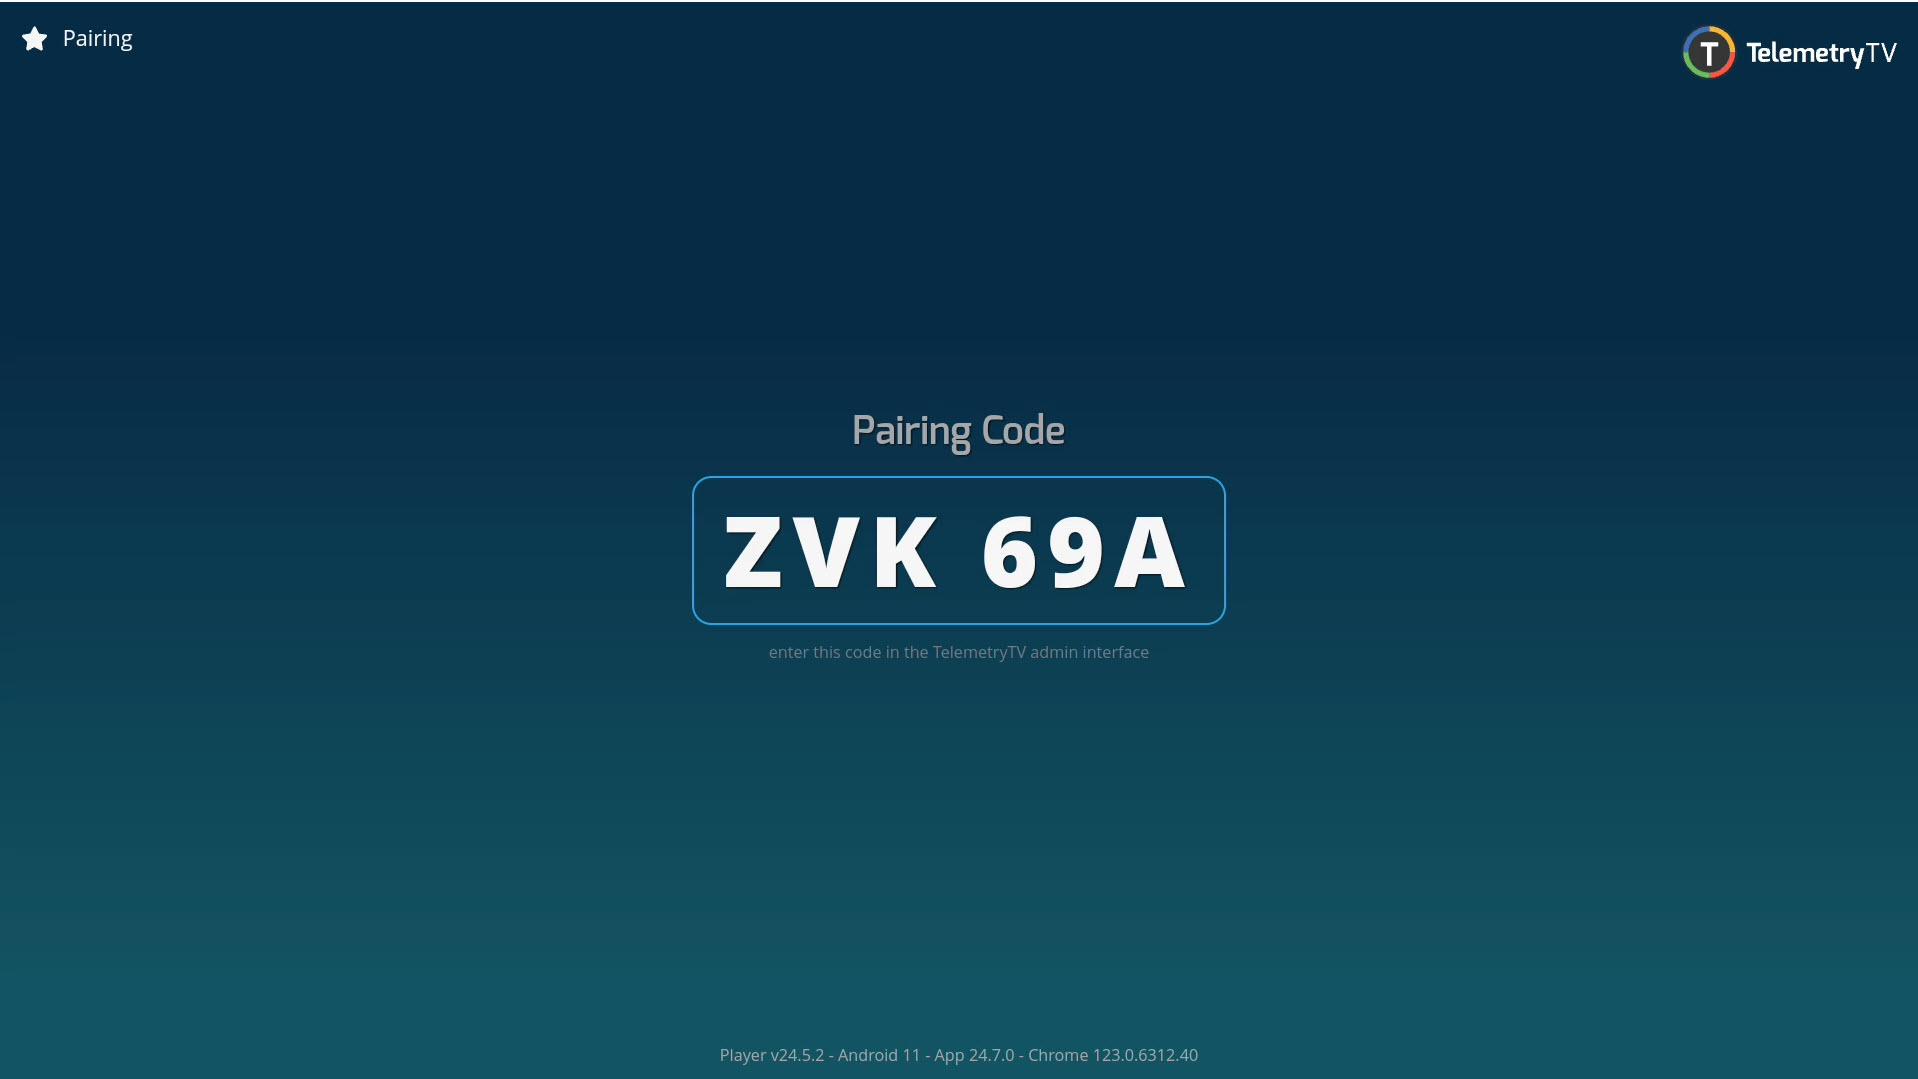
For more information on Pairing a device, go here.
Set Up Using an Ethernet Cable
- Connect the ethernet cable when the initial setup screen is displayed.
- The device checks for updates and a network, then proceeds to the media player Pairing Code screen page once complete.
It is recommended to use Ethernet connection over a WiFi connection as it is more reliable overall.
Updated 8 months ago