
Menu App
Say goodbye to printed menus and keep your customers engaged with our digital menu board! TelemetryTV's Menu App is your ticket to easy setup, customization, and three unique menu styles. Let's explore how it's done:
Adding the Menu App
Getting started with our Menu App is a breeze:
- Log in to Your TelemetryTV Account: Access your TelemetryTV account to begin.
- On the left-hand toolbar, click on the App tab, then click the Create button.
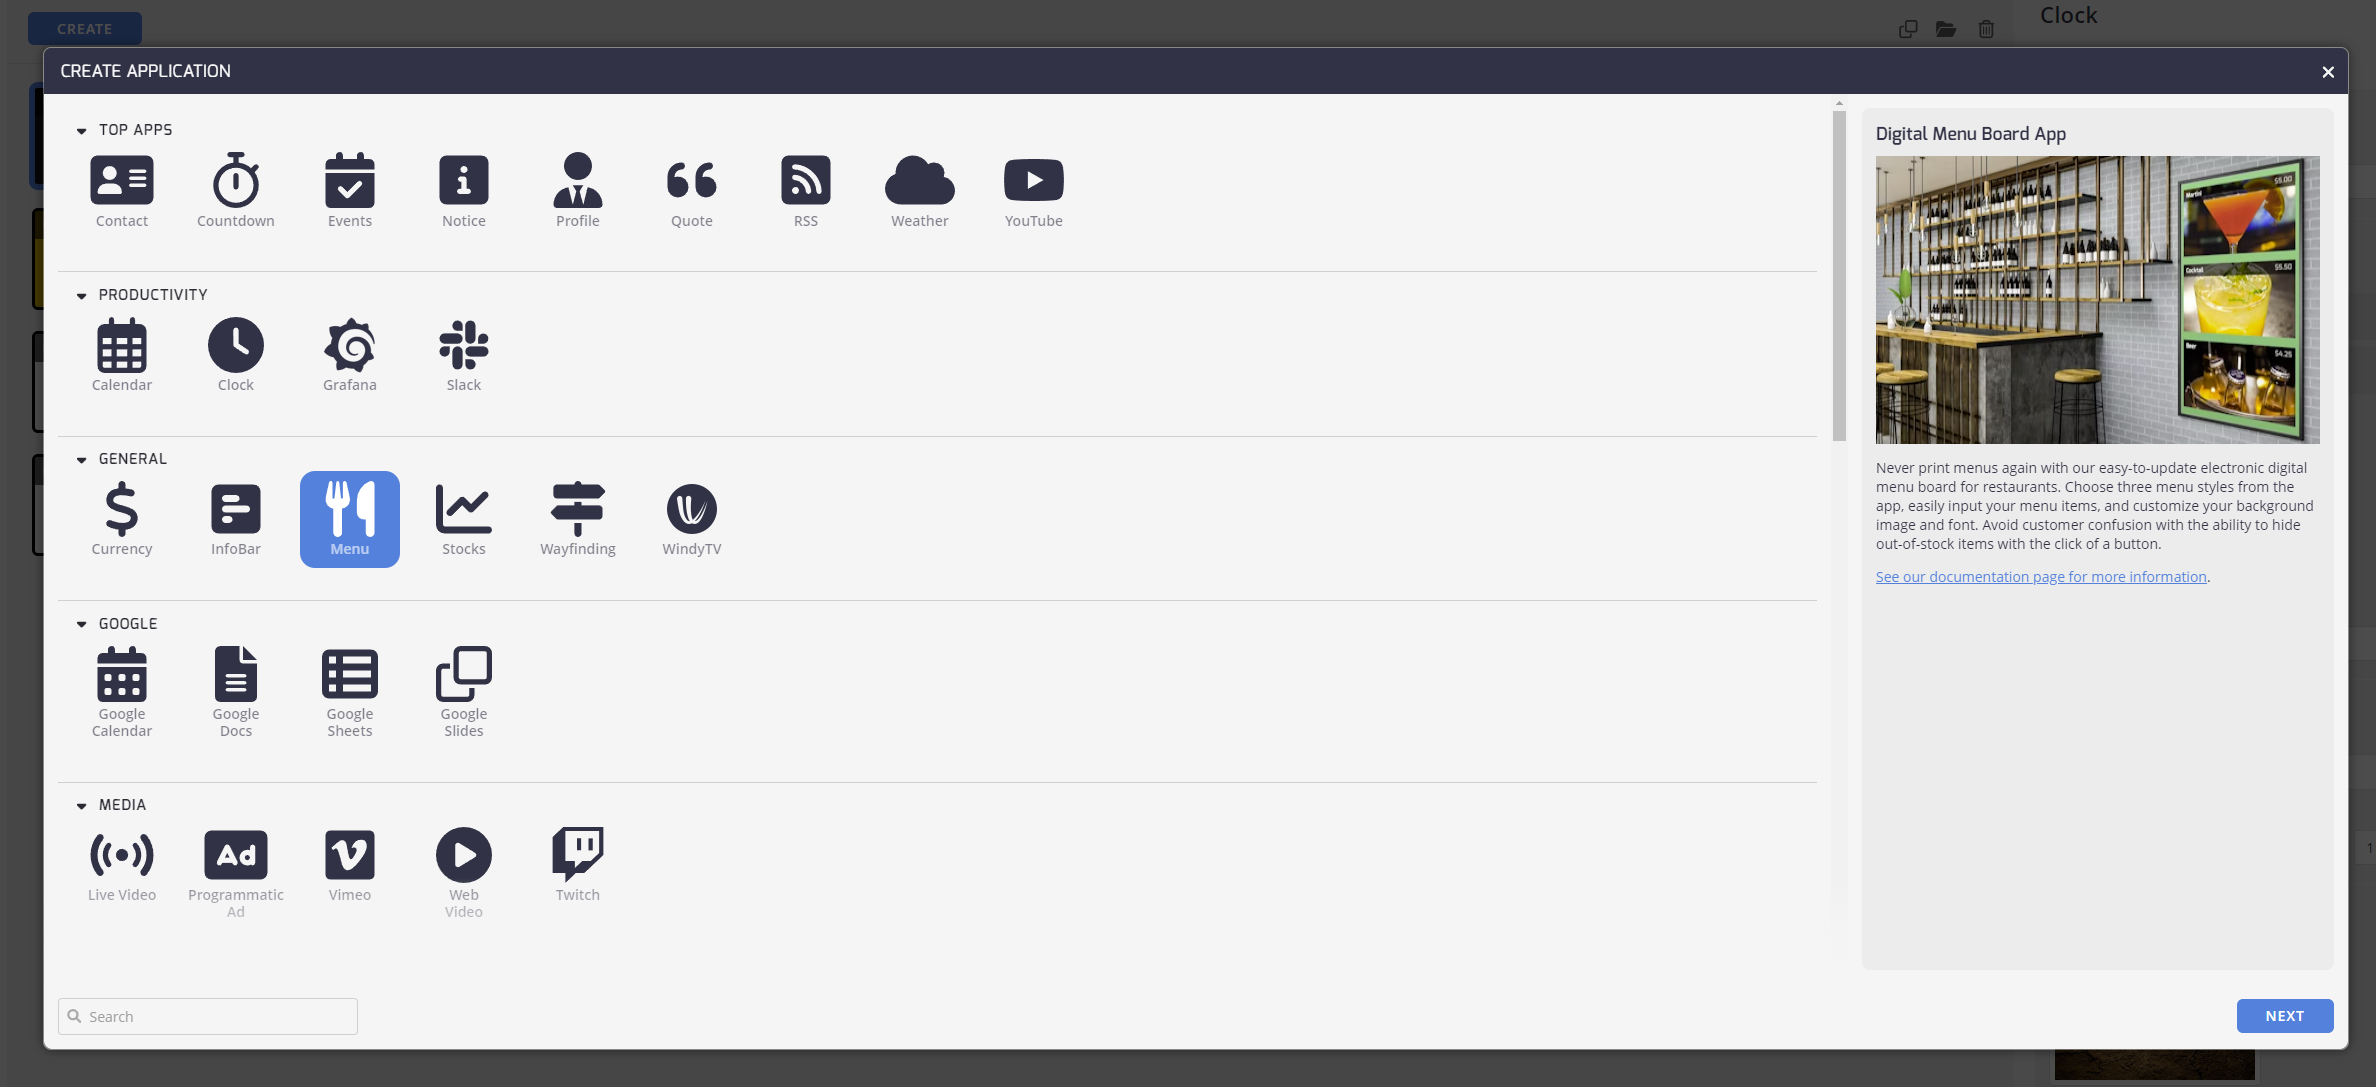
- In the application list, use the search bar located in the bottom right corner, and search for Menu. Once found, select the Menu App and click the Next button.
Configuring Your Menu App
We offer three different digital menu templates, each with its own setup.
Common
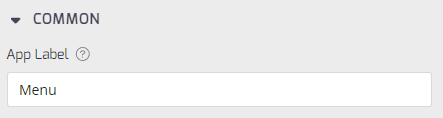
- App Label: The identifier for this specific Menu app. Particularly handy if you have a collection of apps already.
Properties for All Menu Types
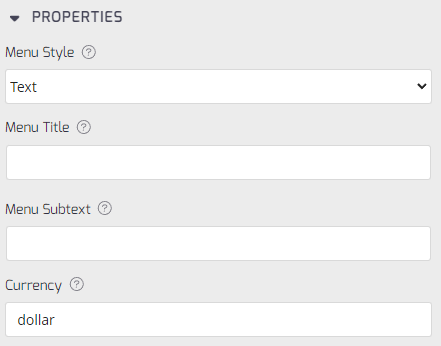
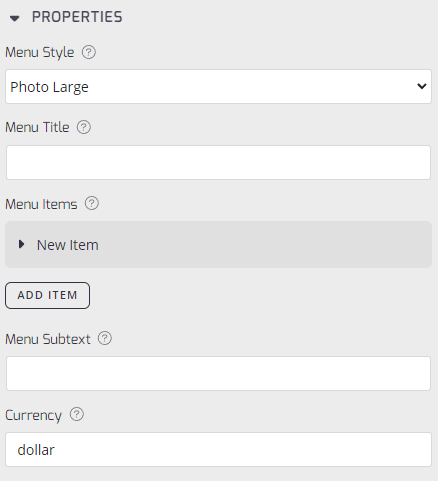
- Menu Style: Select the menu display style type.
- Menu Title: The title displayed at the top of the menu.
- Menu Subtext: Optional subtext for this menu. It is displayed at the bottom of the menu screen.
- Currency: Select the currency in which you'd like the items to display.
Properties - Text Menu Style
The Text Menu features:
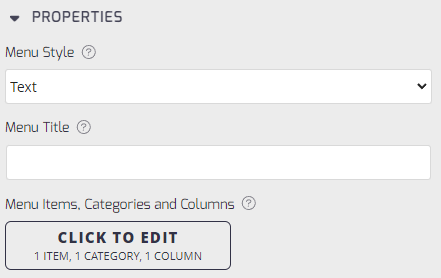
- Menu Items, Categories and Columns: Click Click to Edit, and a drop-down list of settings opens where you change the look and feel of your menu.
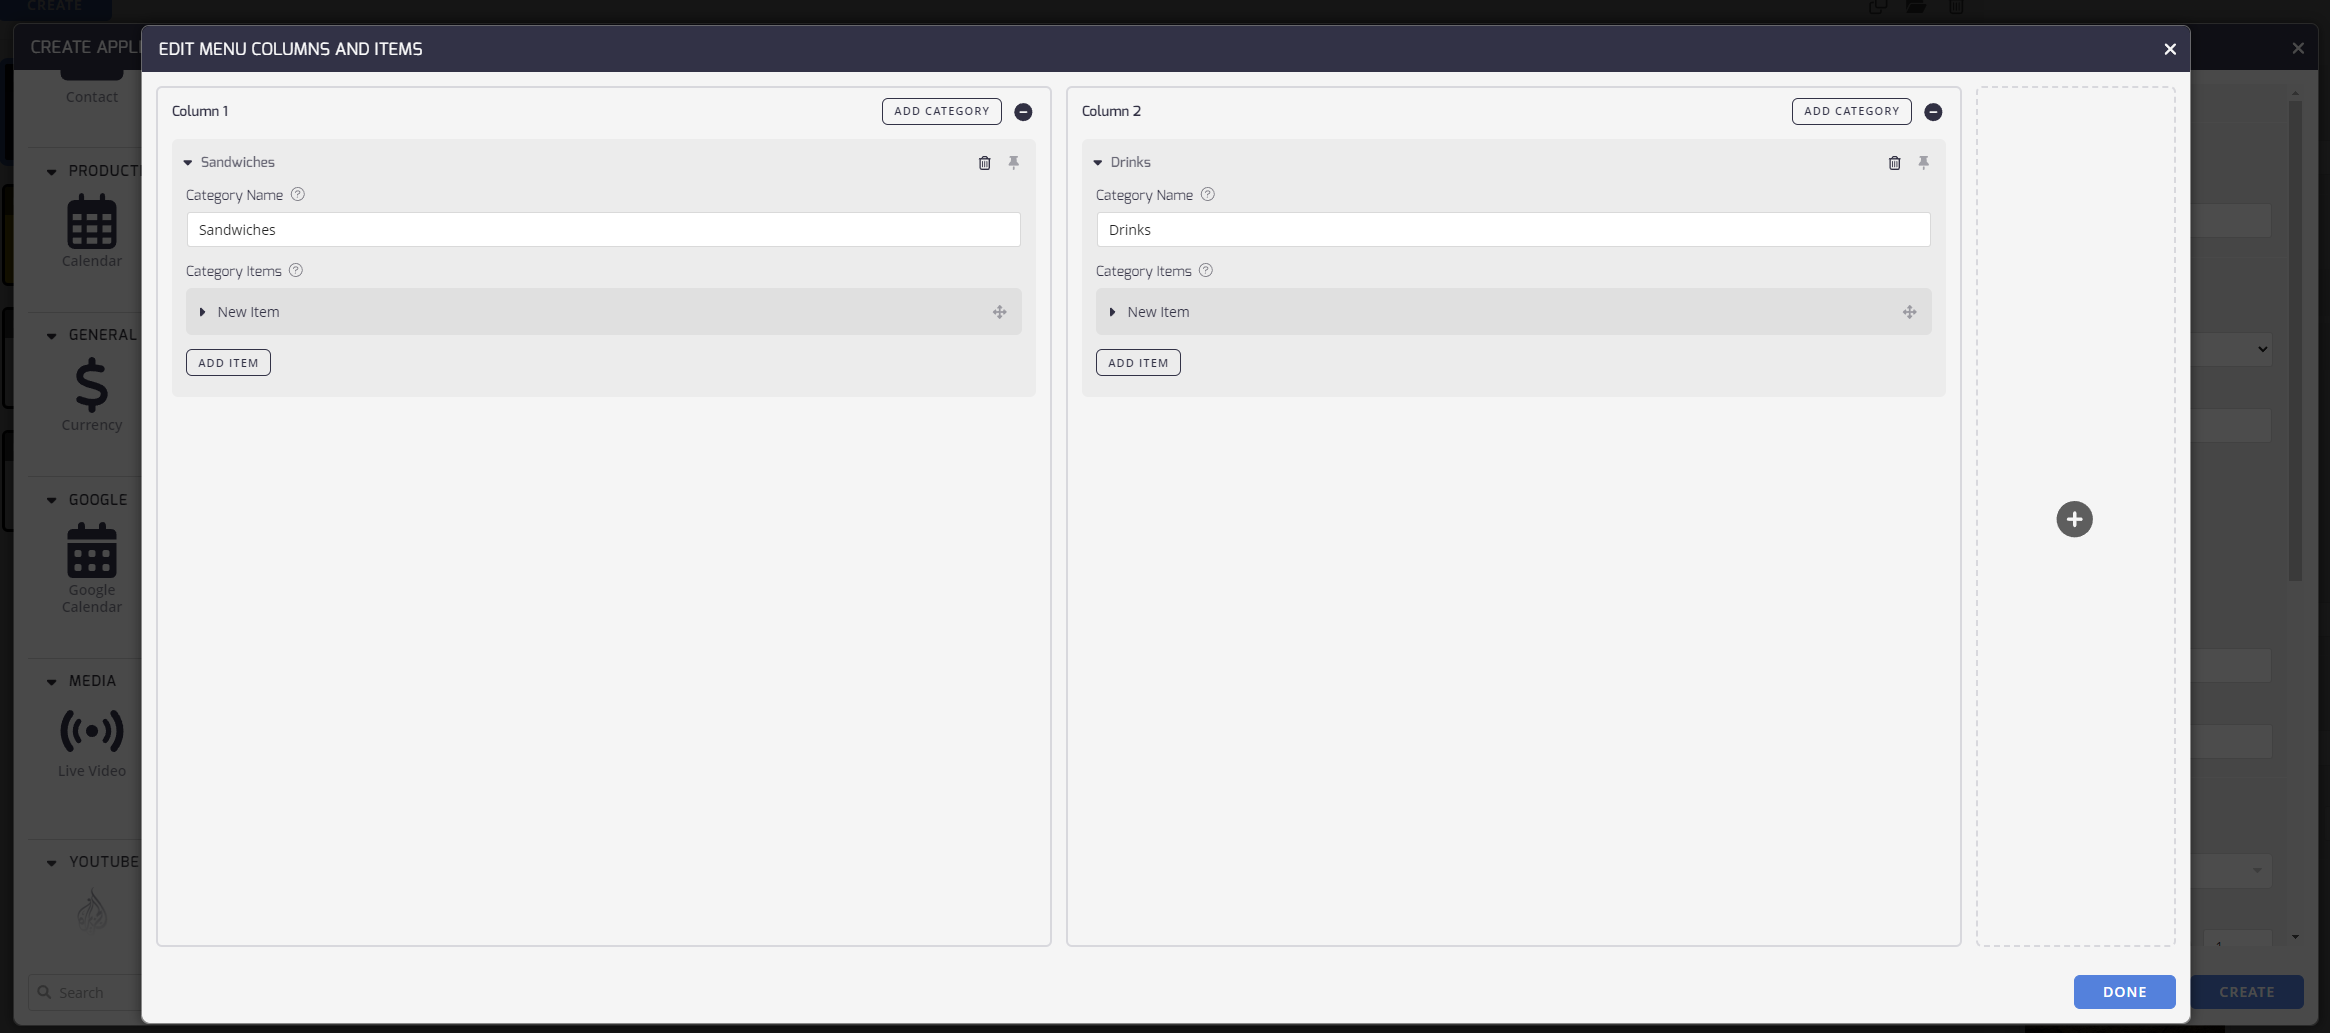
- Columns: Add columns to your menu to easily separate your sections of the menu.
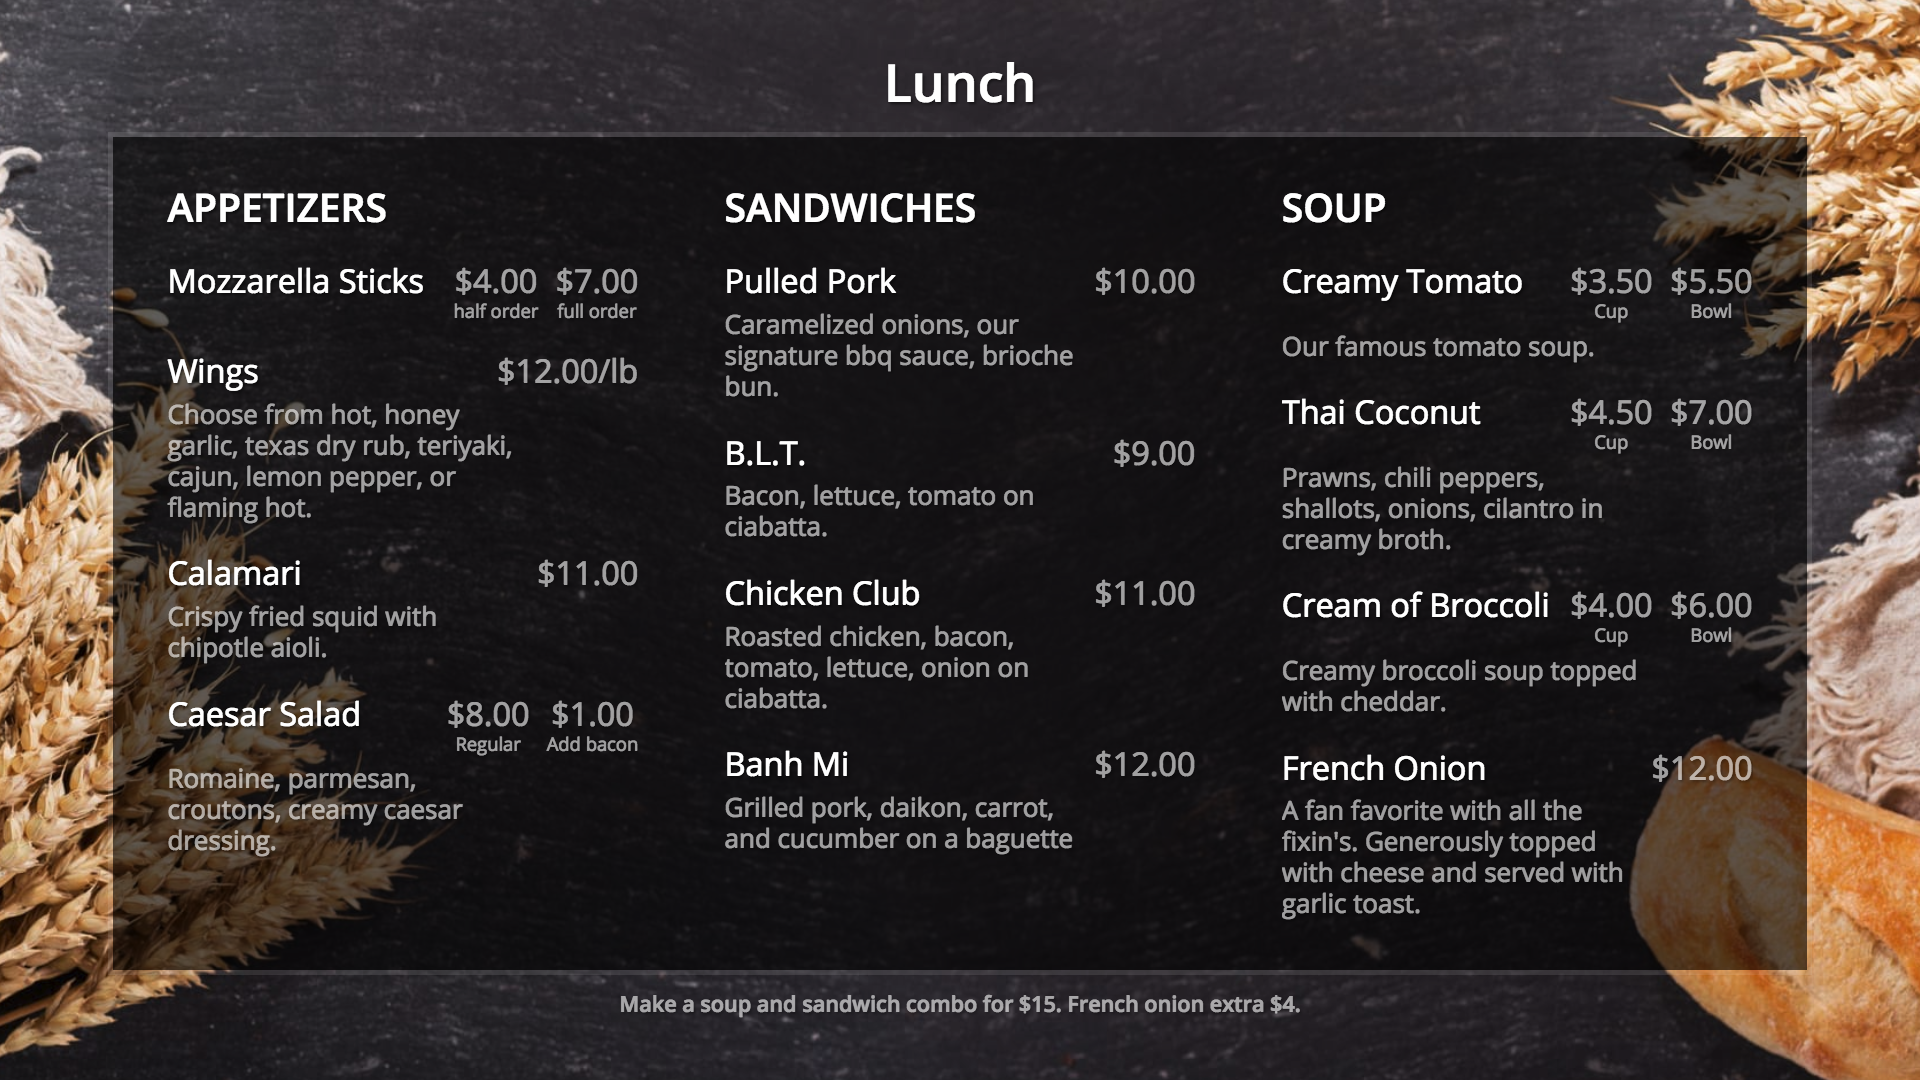
- Categories: Add categories within each column for various types of items. For example, Appetizers, Sandwiches, and Soup.
- Items: Add items within each category for specific menu items in that category. For example, Creamy Tomato under Soup.
Properties - Photo Styles (Photo Large and Photo Small)
Both Photo Large and Photo Small options allow you to display images of your items with descriptions and prices. They feature different layouts, but the setup is similar:
- Add Menu Items: Instead of a menu editor modal, you add menu items in a list by clicking Add Item. You can reorder items by dragging and dropping.
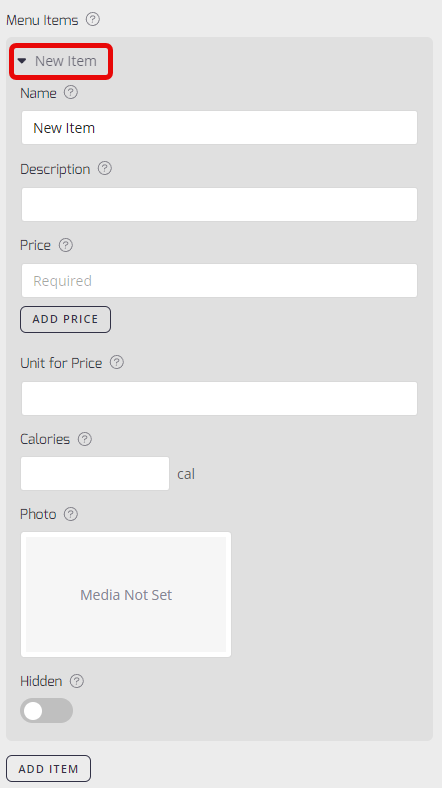
- Name: Name of the menu item.
- Description: An optional description of the menu item.
- Price: The menu item price.
- Add Price: Click the Add Price button to enter more than one price for this item. When you add another price, you need to add a Label for each price addition as well.
- Unit for Price: An optional unit for this menu item, for example, LB, KG, ML and so on.
- Calories: An optional calorie count for this menu item.
- Photo: Click to add a photo of this menu item.
- Hidden: Toggle this on to quickly hide an item until it's back in stock.
Photo Large:
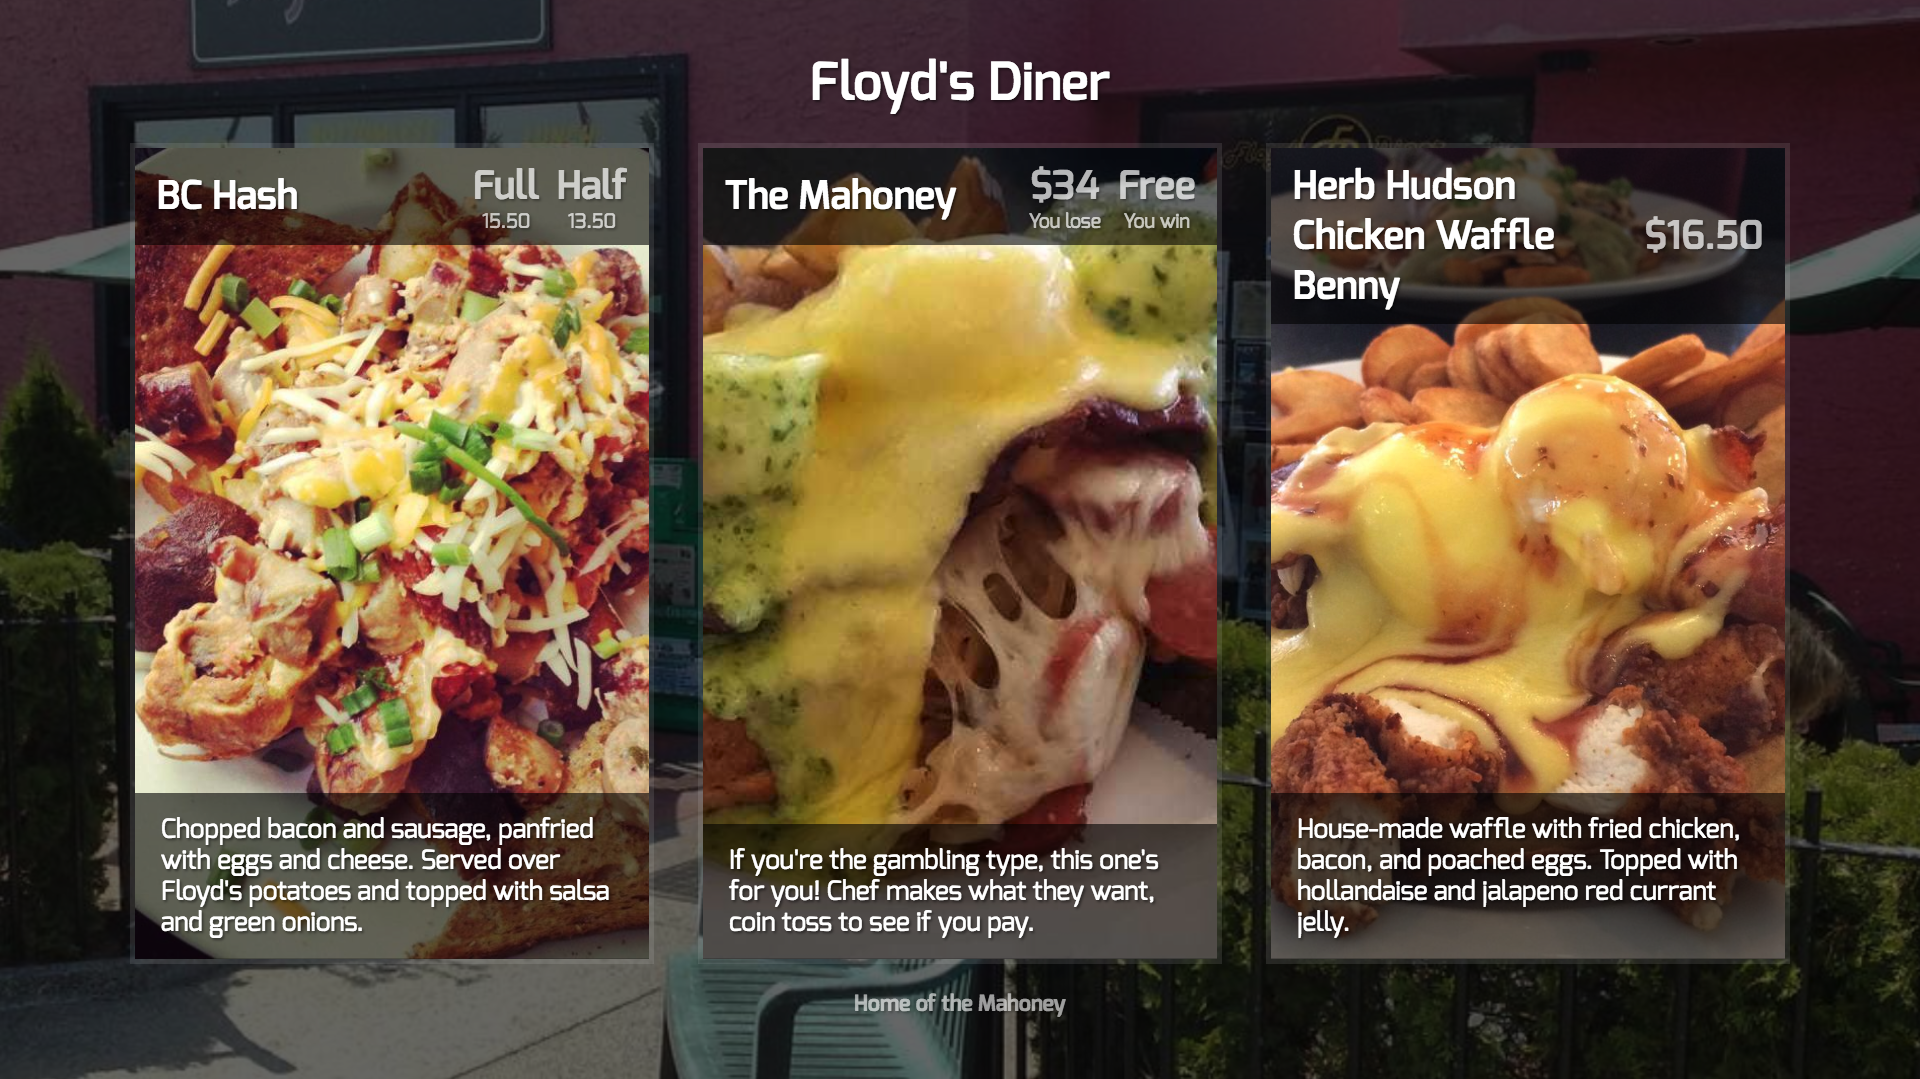
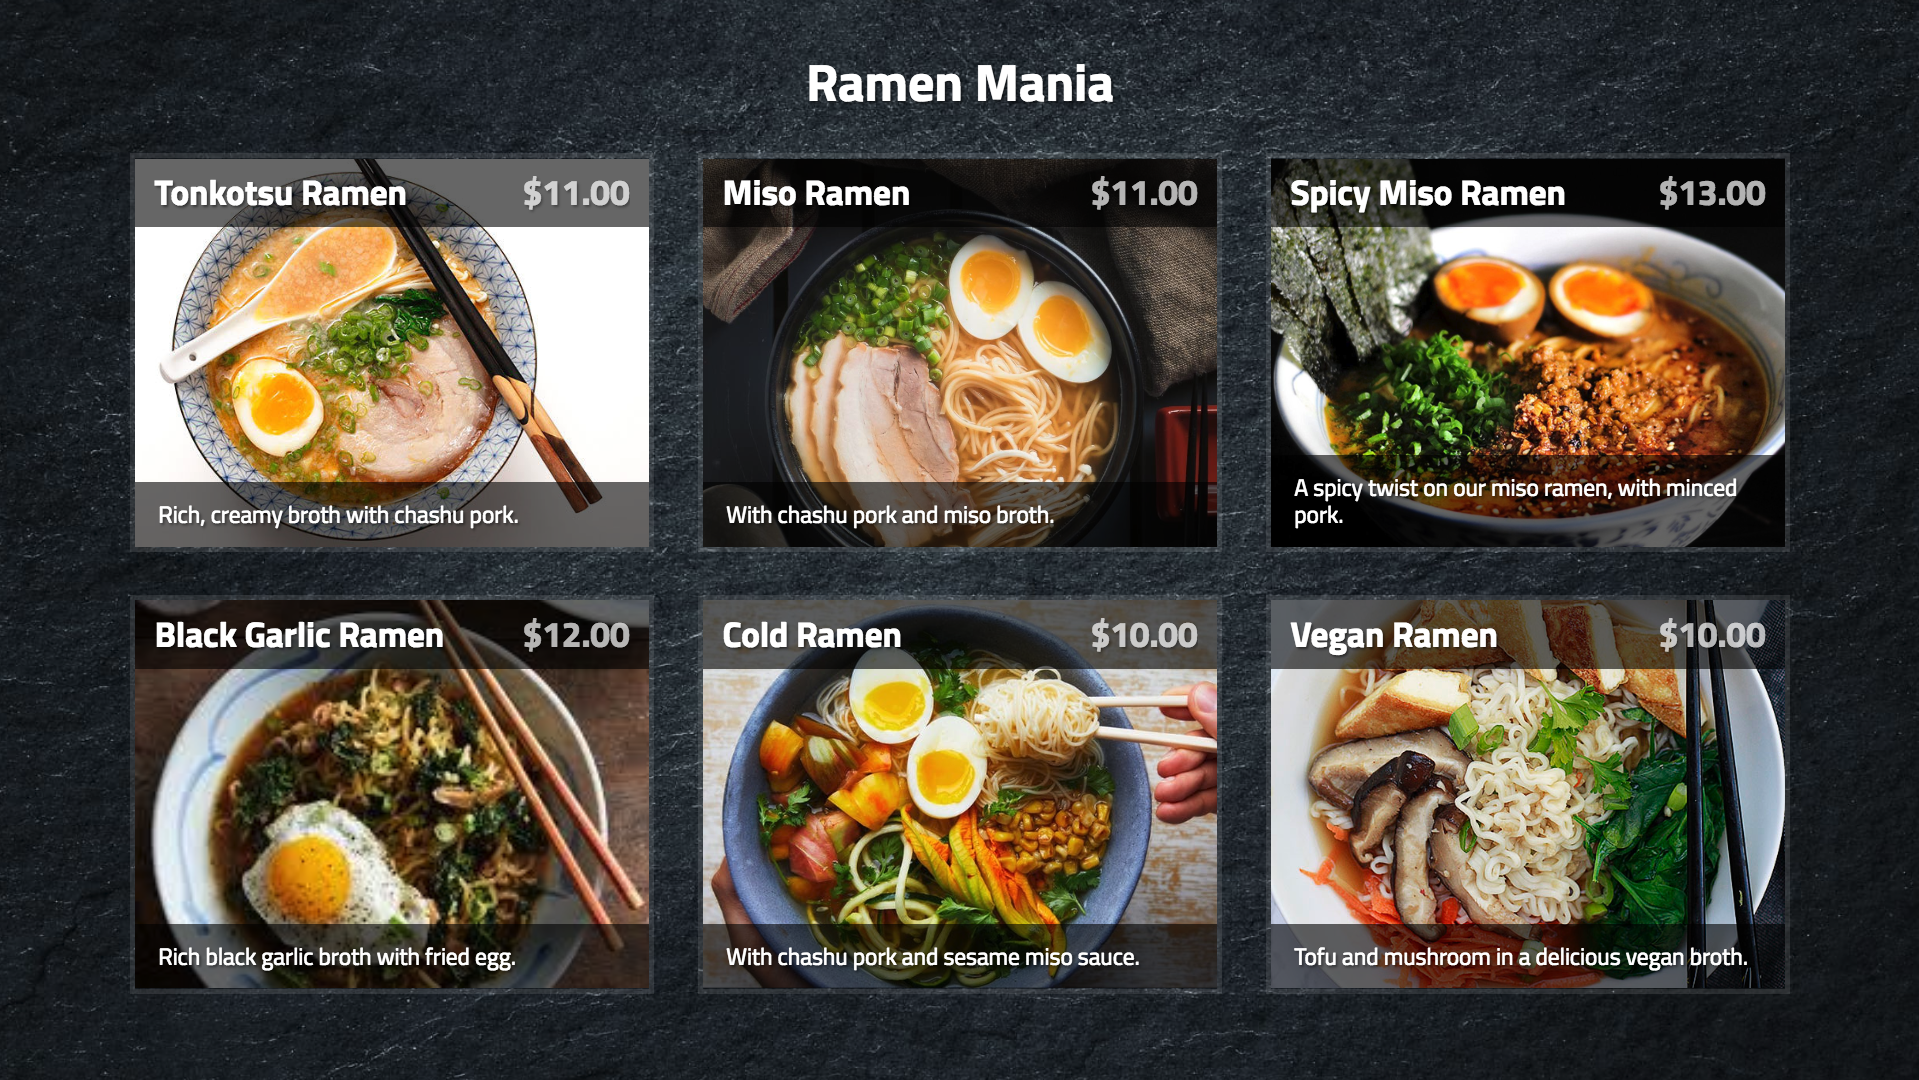
Photo Small:
Font
Select your desired font to match your menu's style.
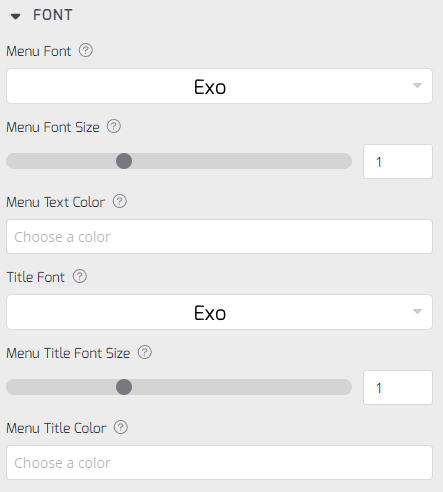
- Menu Font: You can change the menu font style.
- Menu Font Size: Use this bar to adjust the menu context font size scale.
- Menu Text Color:Set the color using the color palette for the menu context.
- Title Font:You can change the menu title font style as well.
- Menu Title Font Size:Adjust the font size scale using the slider for the menu title.
- Menu Title Color:Set the color using the color palette for the menu title context.
Background
Select your desired background to match your menu's style.
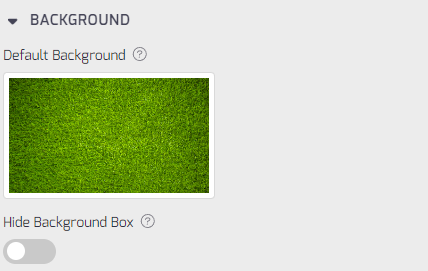
- Background Type: Click the Background thumbnail to launch the background selection model. Select from our preloaded library of images and videos, or upload your own.
- Hide Background Box: Toggle this to on to hide the context semi-transparent background box.
Once you've configured your digital menu, click the Create button. You can preview the app by selecting it in your App Library and clicking the Preview tab on the right-hand side. Anytime you need to make changes, simply click Details to edit your menu.
Updated 9 months ago