
Android
A step-by-step guide for setting up TelemetryTV on Android
In this article, we guide you through the process of setting up your digital signage using Android devices with TelemetryTV's Media Player software.
Selecting an Android Digital Signage Player
Choosing the right Android device for your digital signage depends on several factors. Notably, the reliability, quality, resolution support, and the number of HDMI outputs your operation requires.
Recommended Android Devices
Check out our recommended devices on our website for trusted options. Our recommendation is the TelemetryTV Droid-1 device, which can be bought from the TelemetryTV store.
Advantages of Android Devices
- Devices are cost-effective.
- Easy to set up.
- Can be both Paired or Provisioned based on your use case.
Disadvantages of Android Devices
- Reliability and quality can vary widely depending on the device.
- Most Android devices render at resolutions typically at 1080p or lower, then upscale to 4k when connected to a 4k screen, meaning they don't support true 4k. For true 4k support, we recommend using TelemetryTV Box OS, Windows, or Linux.
- Android devices are not recommended for video walls since they typically have only one HDMI output.
System Requirements for the TelemetryTV Media Player App on Android
Hardware Requirements
- Minimum RAM: 2GB (4GB recommended for stability with complex playlists)
- Minimum Storage: 16GB
- Cooling: Devices with good cooling (metal cases) are better.
- WiFi: Beware of varying WiFi quality among devices.
- Android Version: Minimum version: Android 7.1.1 (Android 8 or 9 recommended).
Android 10Android 10 and later have eliminated an essential method that allows apps to start automatically after the device boots.
Setting Up the TelemetryTV Media Player App on Your Android Device
Using Our Recommended Devices
TelemetryTV tests a specific set of Android devices for compatibility. If you choose a non-recommended device, you will have to conduct your own testing. We strongly recommend using a trusted device, which can be found on our website at this link.
Picking Your Own Device
If you're selecting your own device, be sure to review our hardware requirements and Android version recommendations. For Android 10 or later, ensure you can set TelemetryTV as the default launcher, as TelemetryTV may not start on boot otherwise.
Rooted Devices
For our APK install method, your device needs to be rooted. Without this, the Launcher APK is not able to install and update the main Media Player APK.
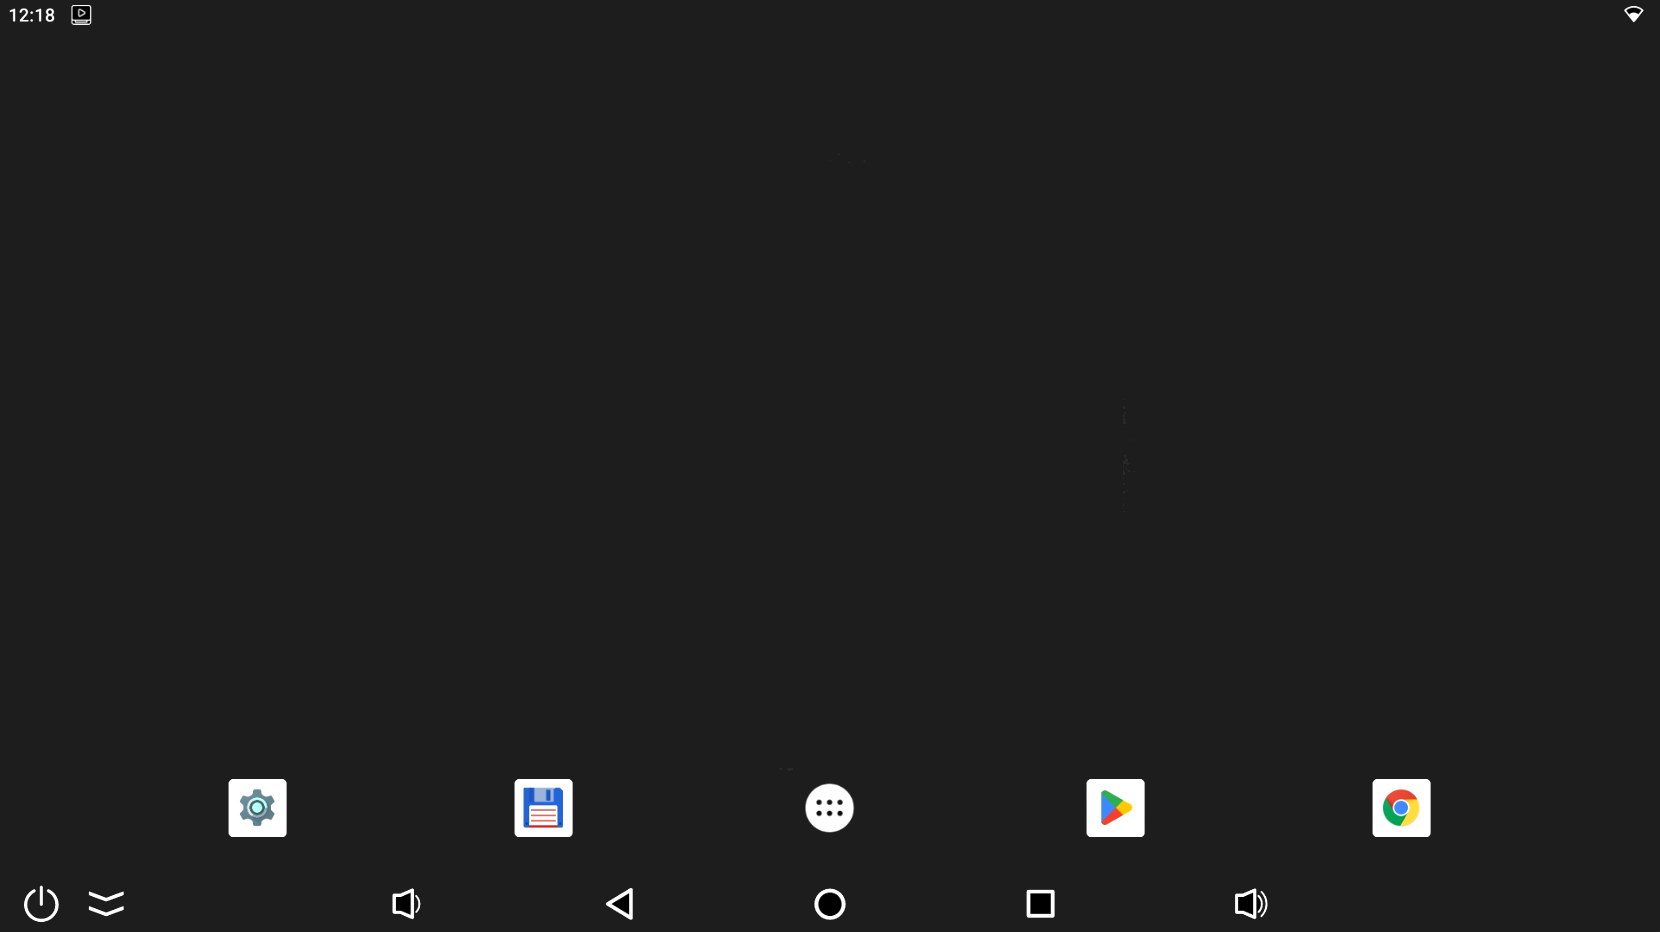
Example of Rooting on a Droid-1 device
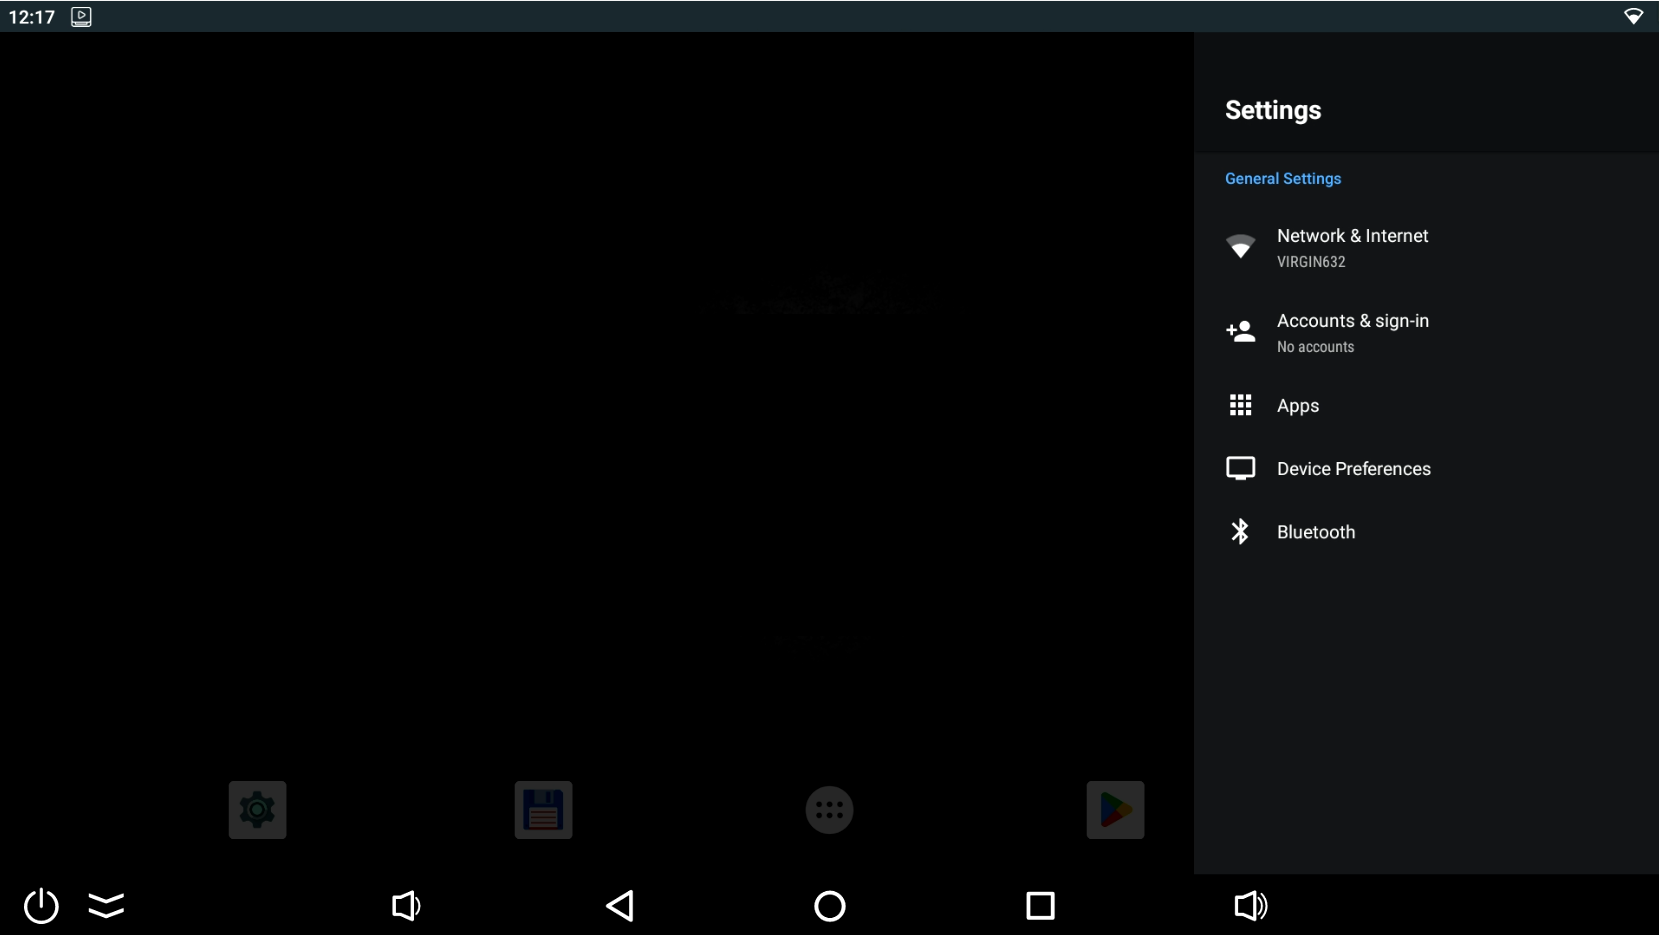
- Click the Settings button at the bottom of the screen.
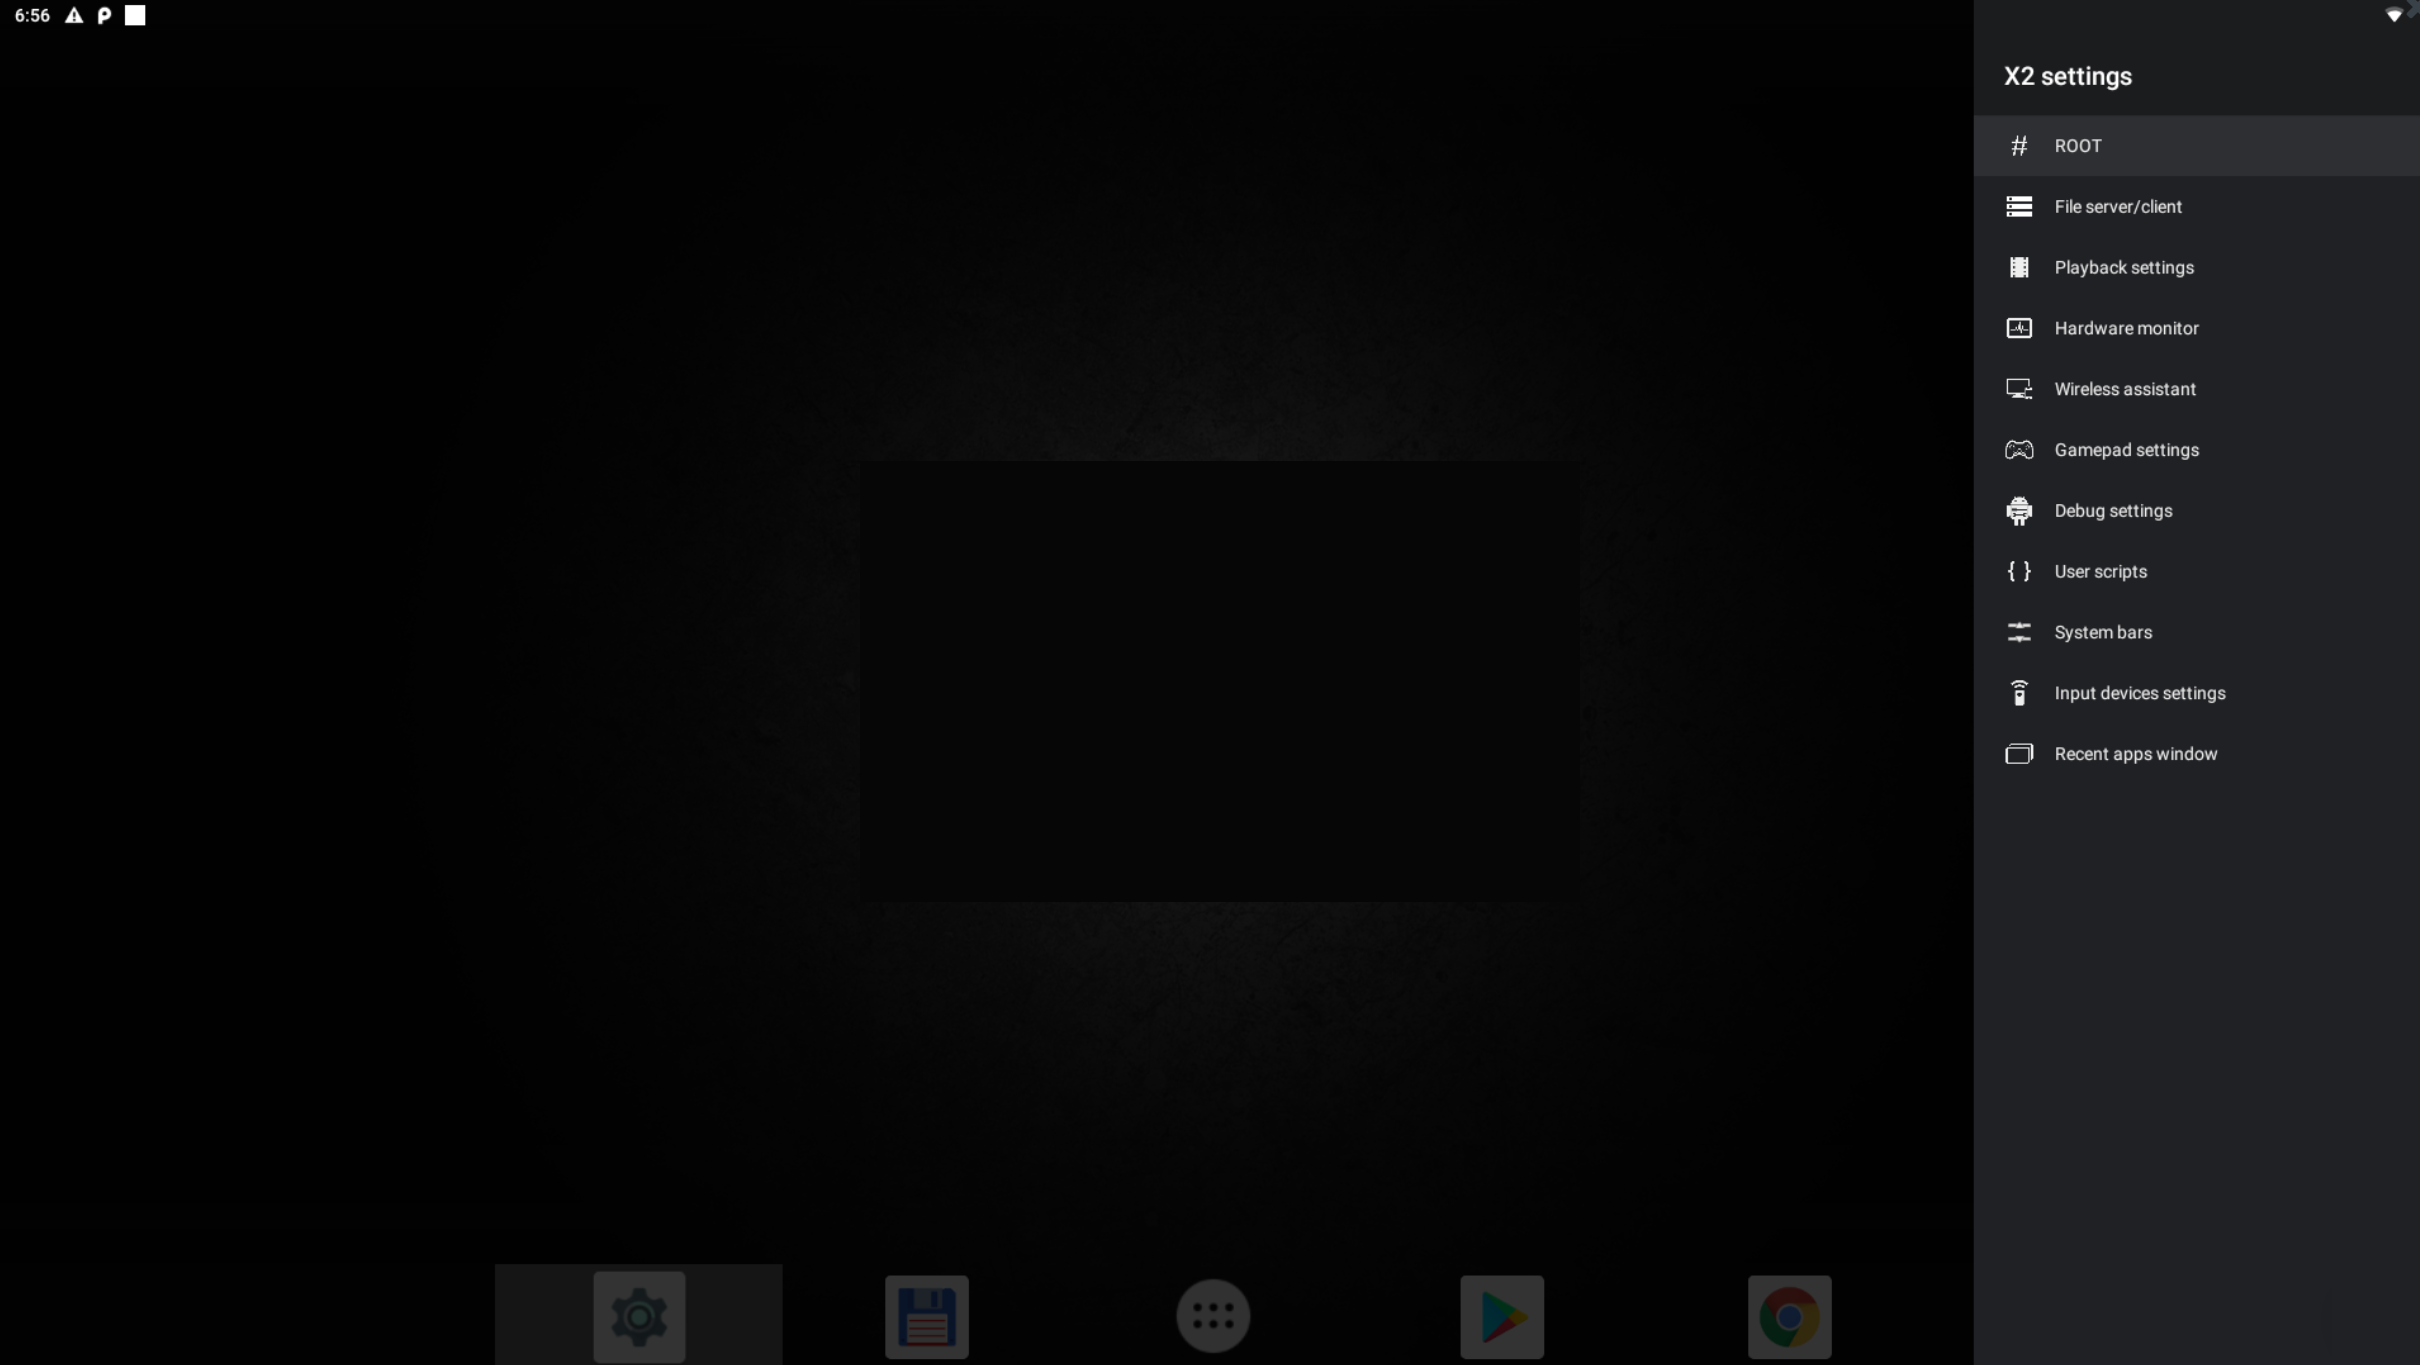
- Navigate to X2 Settings (This could be AM8Settings for AM8 Pro)
- Select the Root option.
- Select the Install Root option to begin installation.
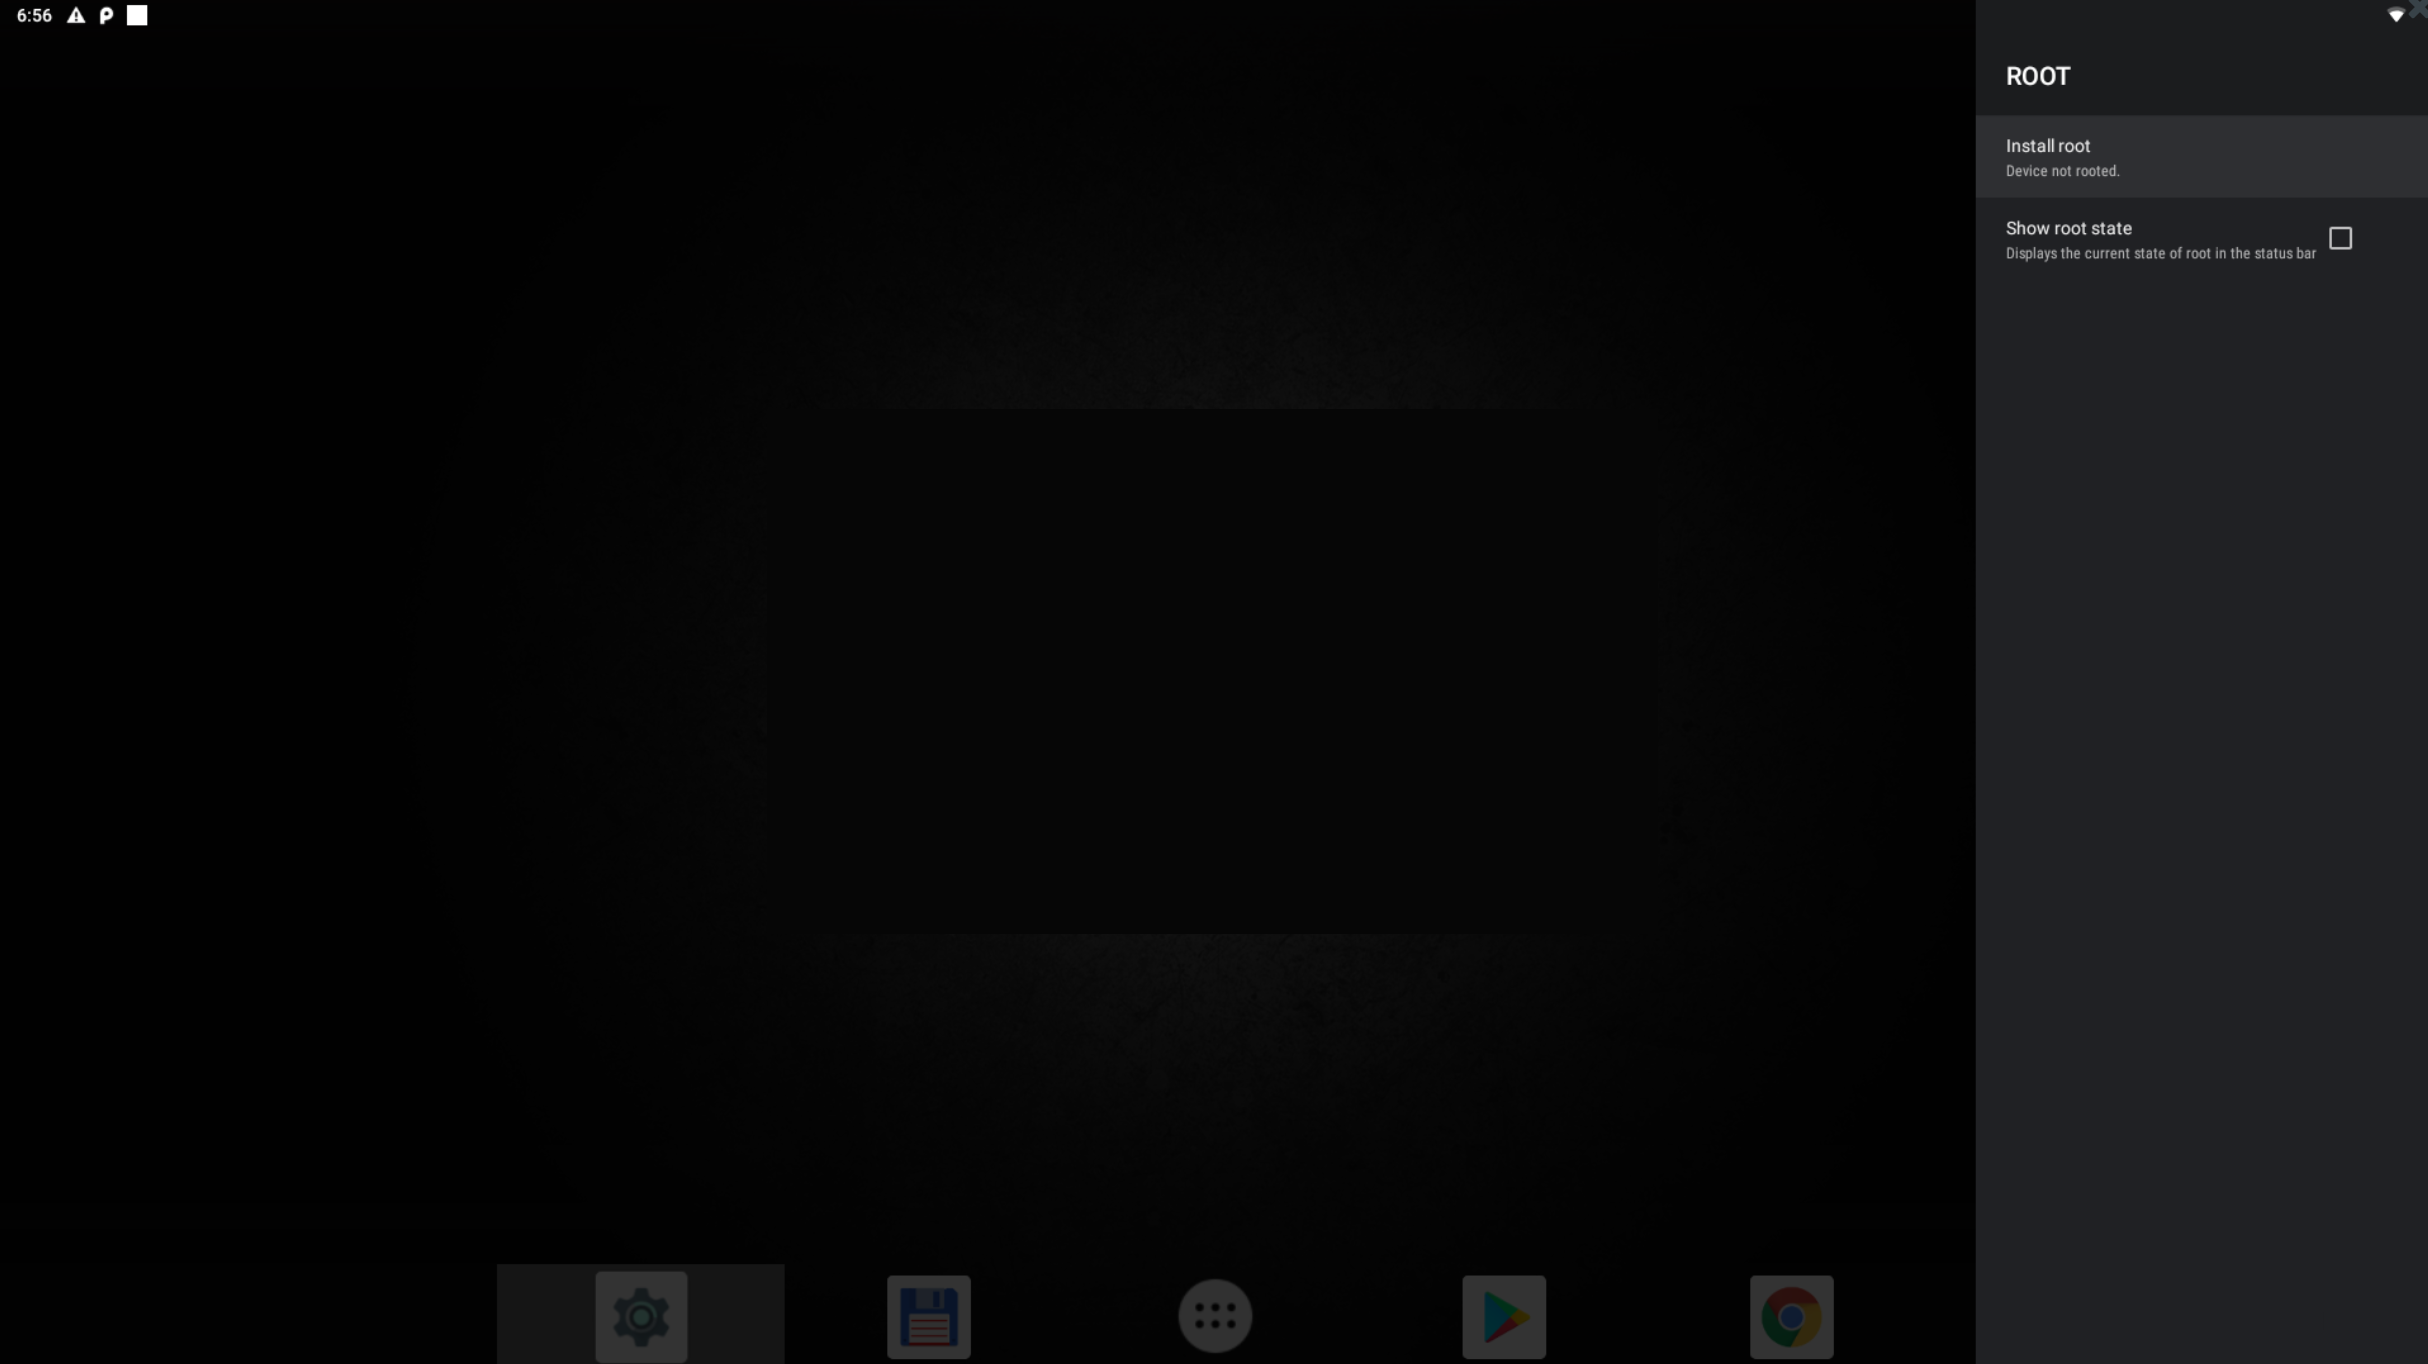
Identifying Rooted DevicesIf Root has been enabled on android you should see the Hashtag icon in the top right of the screen to indicate that your device is rooted.
AndroidTV vs Android (AOSP)
AndroidTV
AndroidTV, often referred to as Google Certified, provides a slick user interface and full resolution for apps like Netflix. However, it's more restricted and may prevent certain features from working effectively.
Android AOSP
On the other hand, Android AOSP based devices are less restrictive, giving you more control over your digital signage implementation. AOSP devices generally give better performance and flexibility.
Launcher Control
The Launcher in Android is the app that automatically starts when the device boots. Ideally, your device should allow you to change the default Launcher to the TelemetryTV Media Player App for seamless operation of your digital signage.
Deployment Methods
TelemetryTV supports two methods to deploy the software on Android:
- Through the Google Play Store.
- Directly loading an APK on the device.
The latter method is preferable for larger deployments and this guide focuses primarily on the APK install method.
Rooting DevicesYour device must be rooted to install our APK.
Google Play Store Version
While we do have a Google Play Store version of our application, it's not recommended for large deployments. This version requires a Google login for each device, which could be cumbersome for managing multiple devices. Furthermore, the full functionality of TelemetryTV is only available through the APK version.
If you wish to install the Google Play Store version then you can follow the Google Play Store installation method. The rest of this guide assumes you are using the APK install method.
TelemetryTV APK Installation Files
When installing TelemetryTV on your device using APK, two APKs are used:
- TelemetryTV Launcher.
- TelemetryTV Media Player.
You can download the Launcher from our install page, which then downloads and installs the Media Player to keep it updated.
Before proceeding, make sure your device is rootedSome devices come automatically rooted, some require a special ROM to be flashed, and some have a switch in the device's settings.
Installing the TelemetryTV Launcher
Once your device is set up and connected to a network, visit the following URL within Chrome to download the TelemetryTV Launcher:
https://telemetrytv.com/install
After the APK is installed, set the Launcher app to be the default Launcher. This ensures that TelemetryTV automatically boots up when the device starts.
Connecting to your TelemetryTV Account
Pairing and Provisioning
To connect your Android device to your TelemetryTV account, you'll need to either Pair or Provision the device. Both methods are supported by the TelemetryTV Android app. However, USB provisioning is only available on Android devices with a free USB port.
Option A: USB Provisioning
USB Provisioning allows you to set up multiple devices without needing to enter a pairing code for each one, making it ideal for deployments of 5 or more devices. Note that your AndroidTV device needs an extra USB port to use this method.
For detailed instructions on how to use USB Provisioning, please refer to our USB Provisioning Guide.
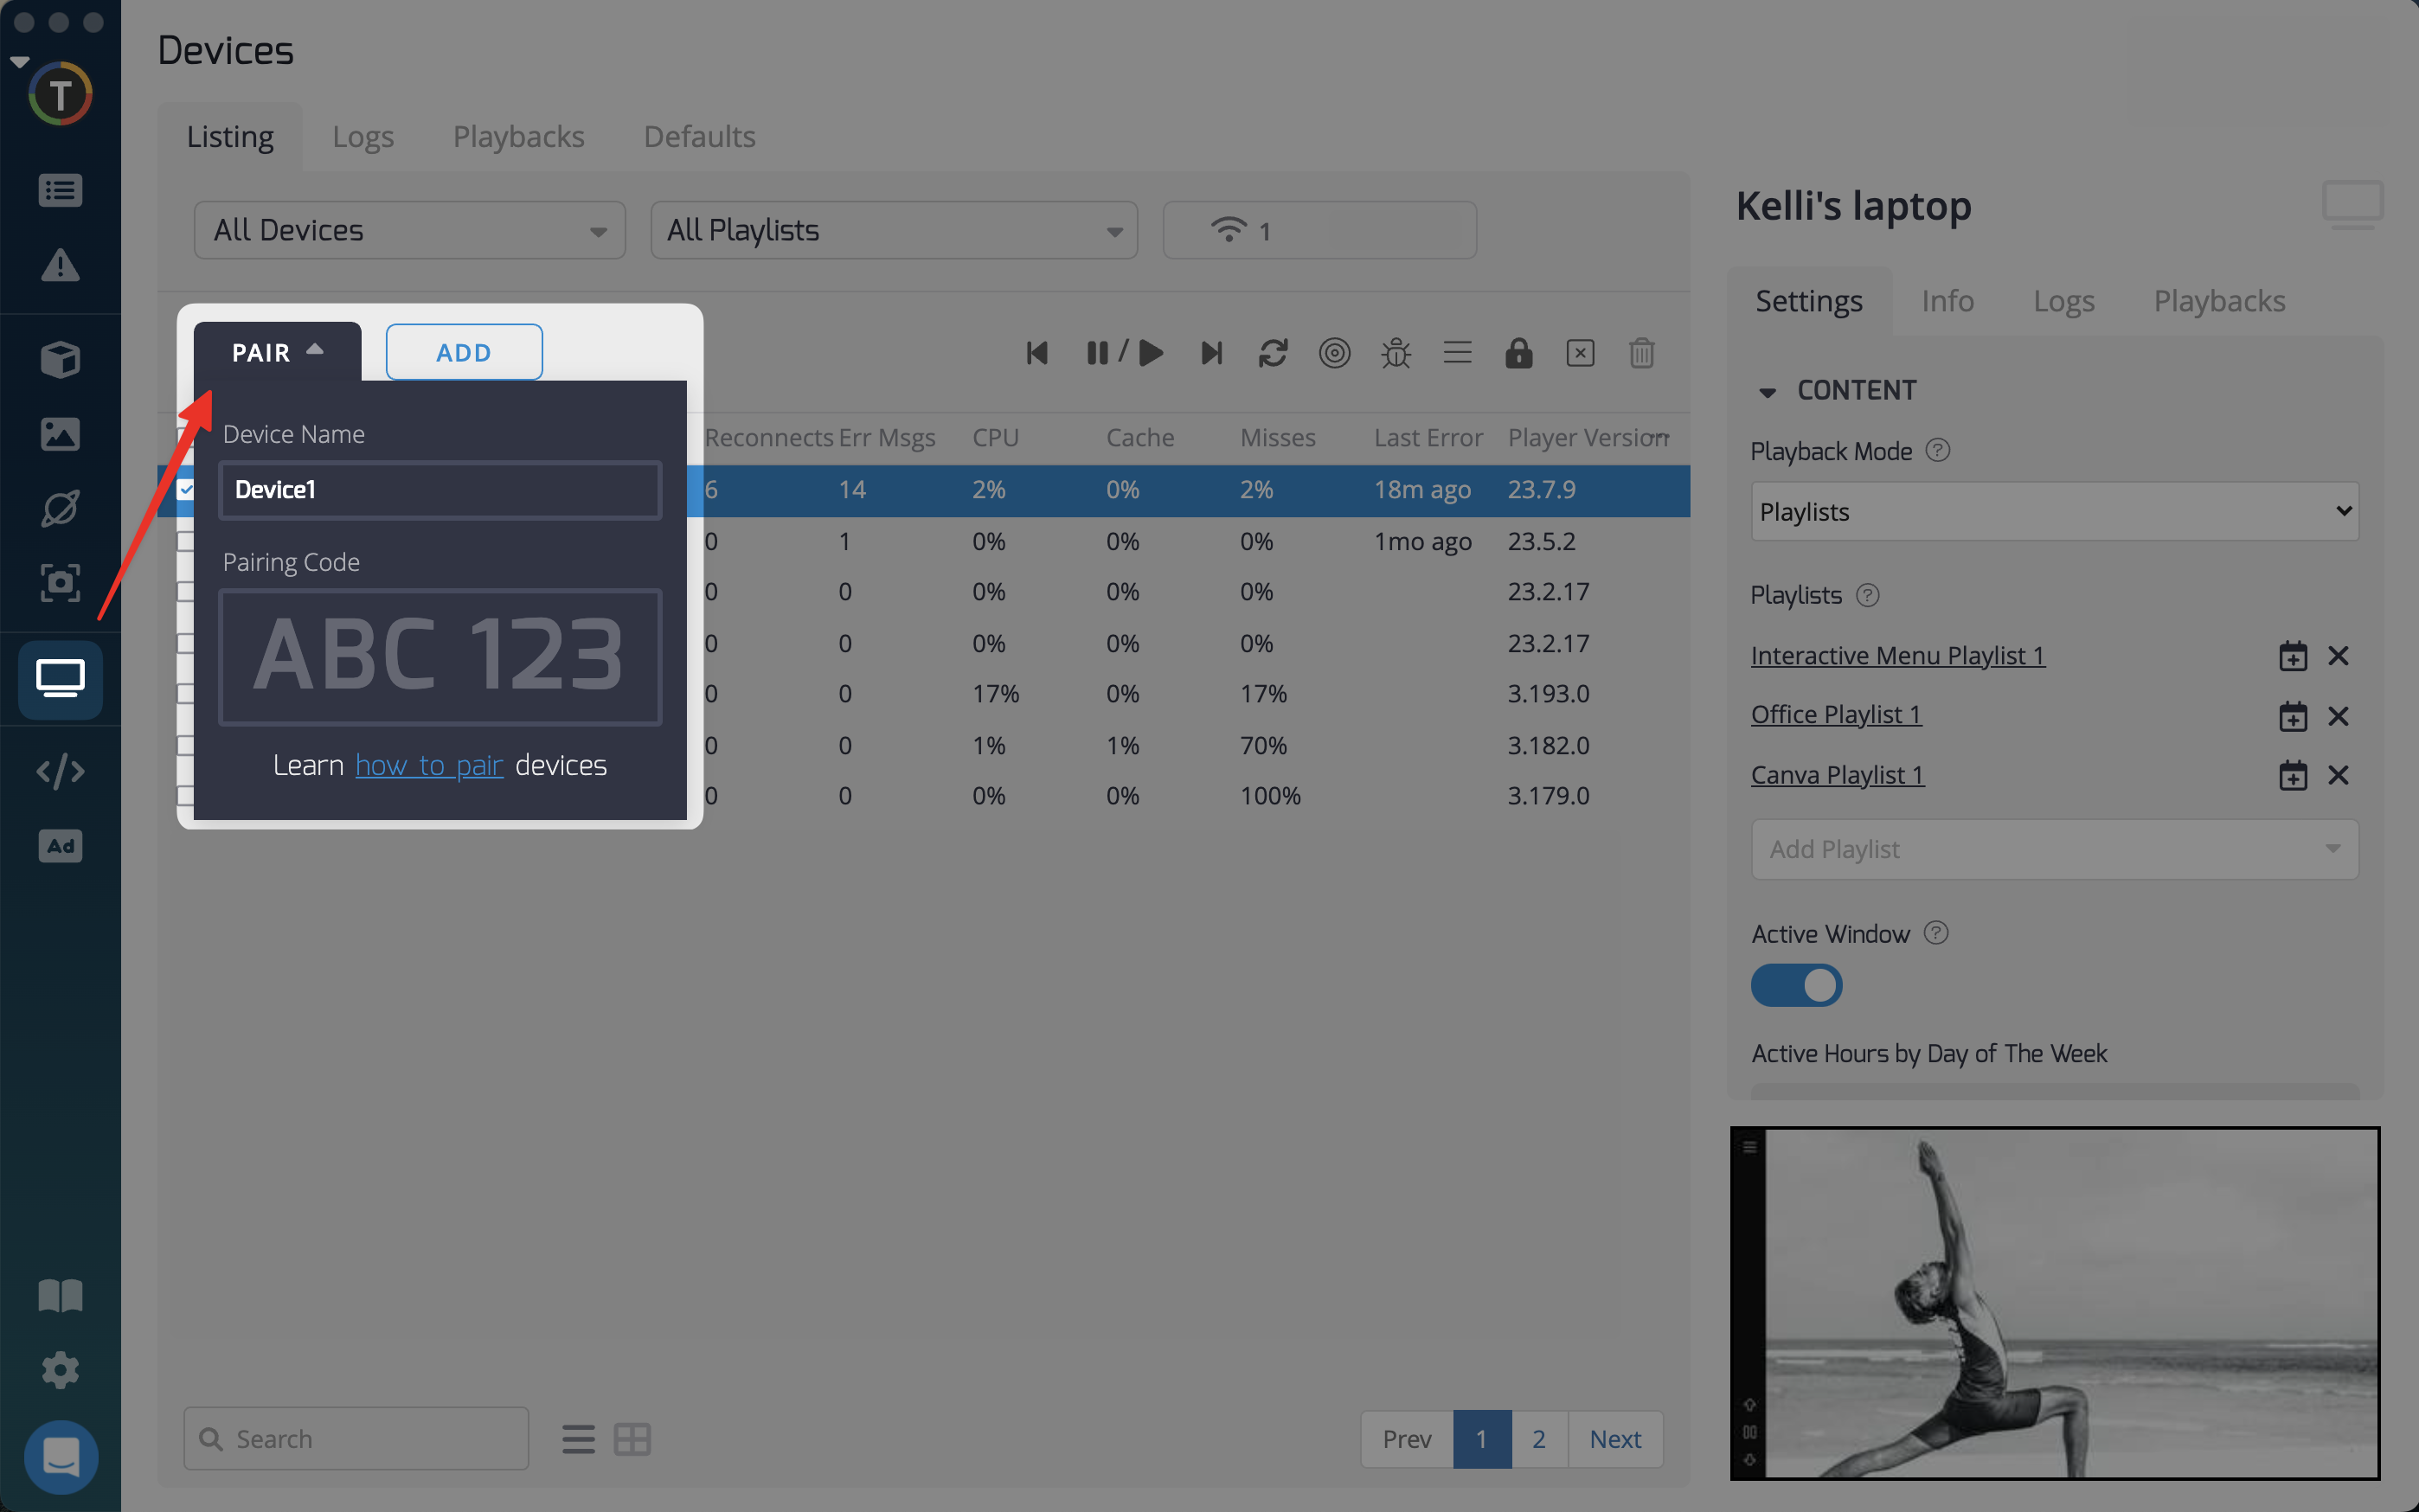
Option B: Pairing
Pairing is suitable when you're setting up a small number of devices (for example, less than 5). To pair your device:
- Turn on your Android device and open the TelemetryTV Media Player that you downloaded.
- A 6-digit pairing code is displayed on the screen.
- Enter this code in your TelemetryTV Devices page on your computer by clicking the Pair button.
Utilizing Android
Using the Remote Control
Your AndroidTV device probably came with a remote control that can perform the following tasks:
- Display the application settings menu and configure your device (by pressing the select or menu buttons)
- Navigate between playlist pages manually (by using the forward and backward buttons)
- Pause and resume playback (by pressing the play/pause button)
Clearing the Cache
If you need to clear the cache, you can open the application settings menu and select "Clear Cache". This action is useful when you have third-party websites that may have cached content that isn't being cleaned up properly.
High-Resolution Support
All current Android devices, even those that support 4K video output, will display applications like TelemetryTV at 1080p, then upscale to 4K. This doesn't deliver the same quality as devices natively supporting 4K. However, Android can play videos in 4K when 4K videos are present.
Setting High Density
- Under Settings, click the App option.
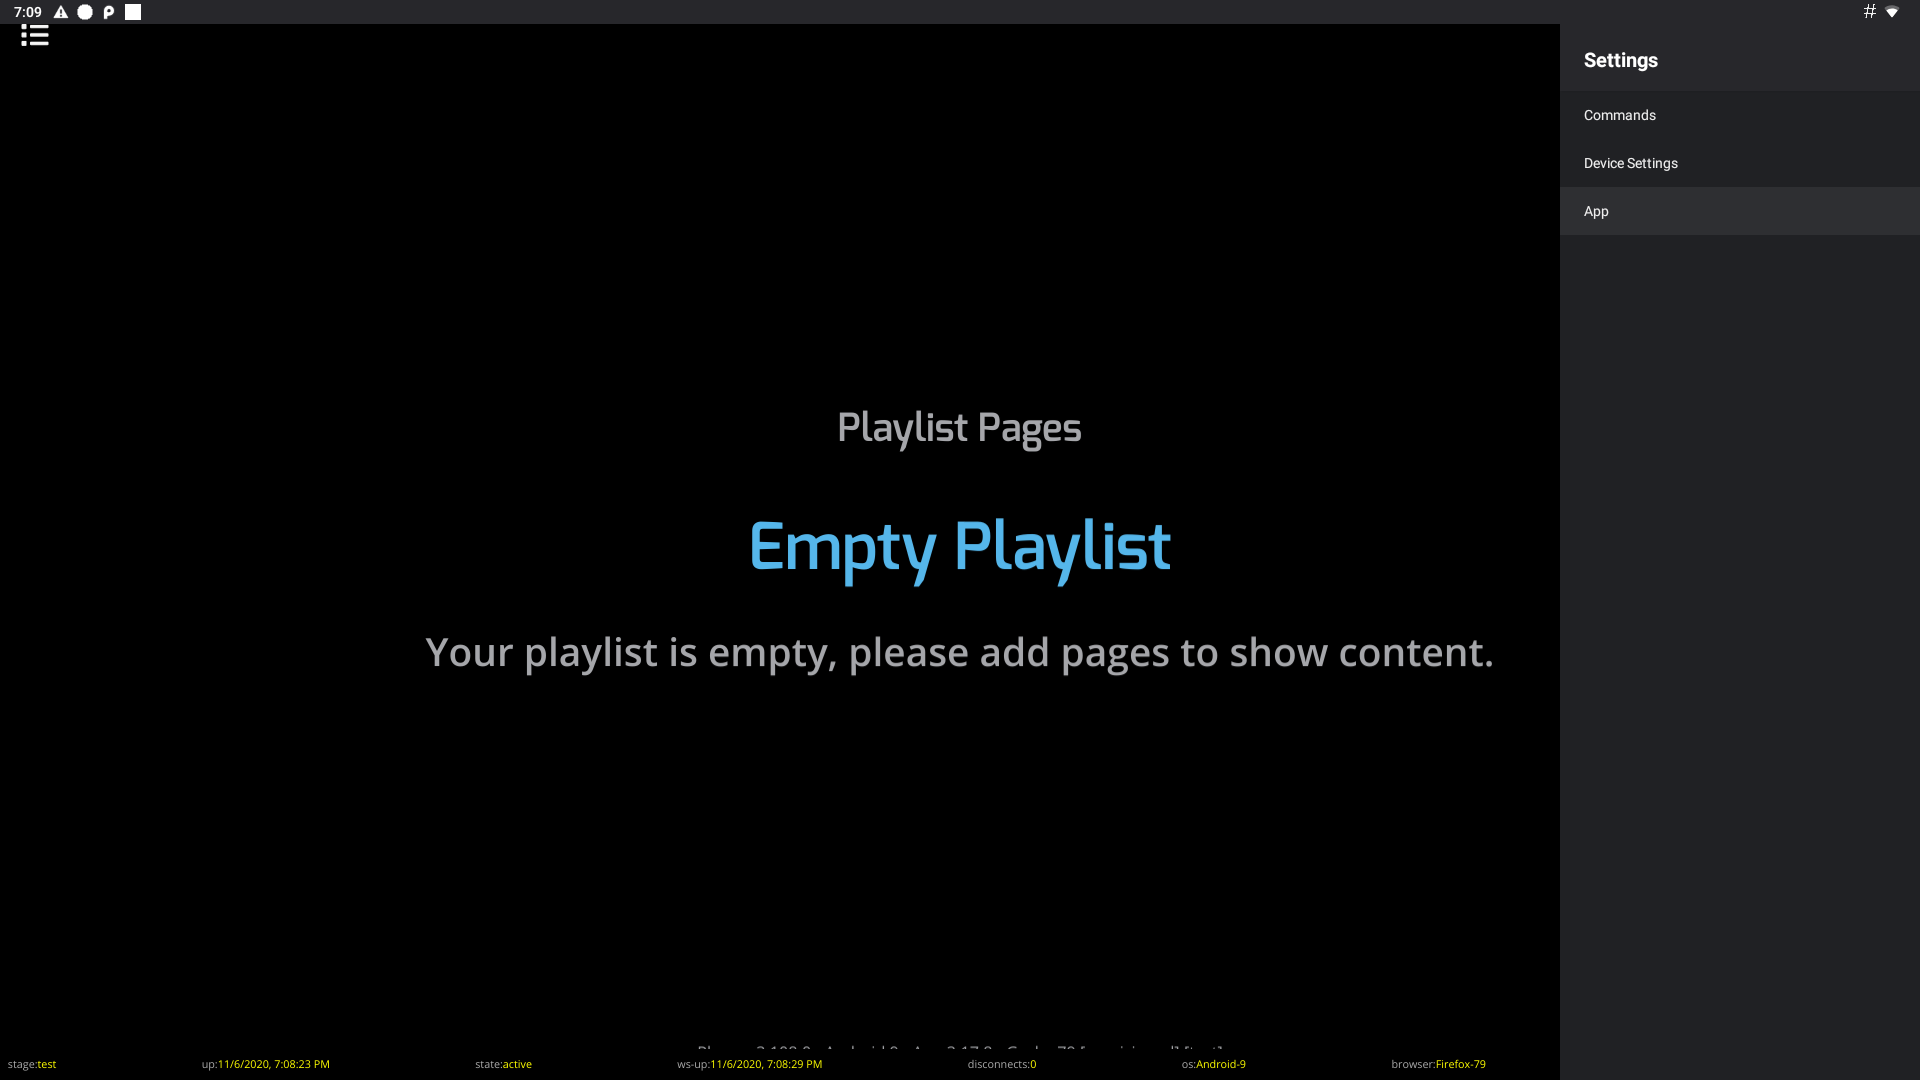
- Select the Force High Density check box.

Video Wall Support
Android devices are not the best fit for Video Walls due to their limited 4K support. Because they typically have a single display output, you'd need a video wall matrix to link your screens to your Android device.
We don't recommend using Android for video walls. Instead, we advise using a device that runs on TelemetryTV Box OS, Windows, Linux, or ChromeOS. Read more about setting up Video Walls here.
Securing your Device
You can secure your Android App by setting a password. Consider covering the IR port on your device to prevent unauthorized control in vulnerable locations.
Changing the Screen Orientation
If you need to adjust the screen orientation for vertical displays, go to the App menu and select Screen Orientation. You can then adjust the display for vertical or horizontal screens.
Updated 7 months ago