Calendar App
Set up and display a calendar app
TelemetryTV's Calendar App allows you to set up and display your calendar on screen with ease. Simply add your calendar address, choose a background, and voilà—a sleek, well-designed calendar view to help you stay on top of your events. Here's how it works:
Creating the Calendar App
- From the lefthand taskbar navigate to the Apps tab.
- Select the Calendar App from the available list of apps or click the Create button to select a new app.
- Click the Next button.
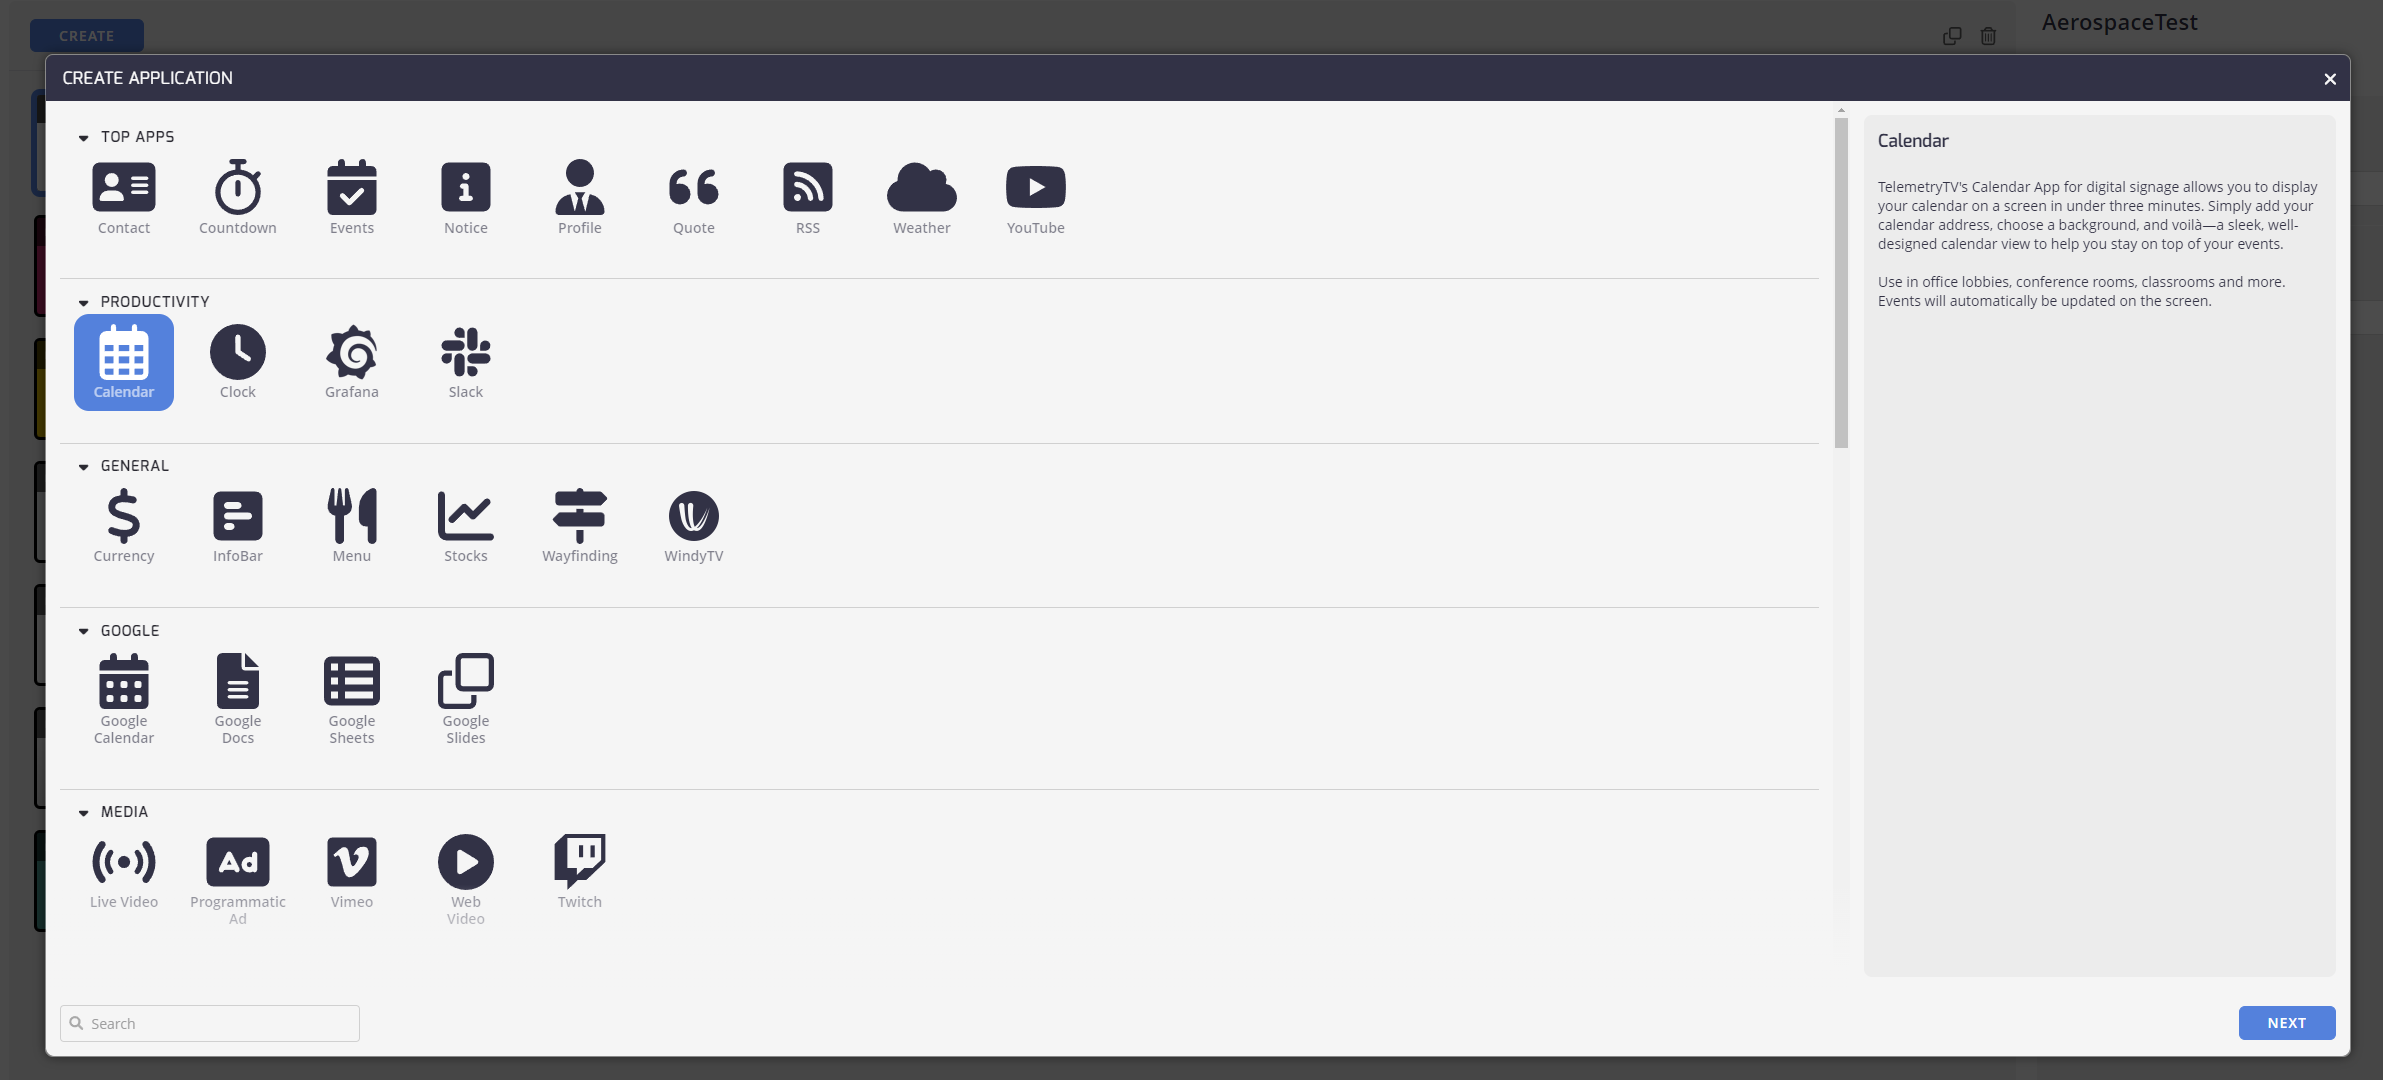
Important noteThe Calendar App is NOT the same as the Google Calendar App! Read about the Google Calendar App here.
Configuring Your Calendar App
Give the app a Label to identify it next to all your other apps. In the Title section, type in the name you would like to display on screen on top of the Calendar.
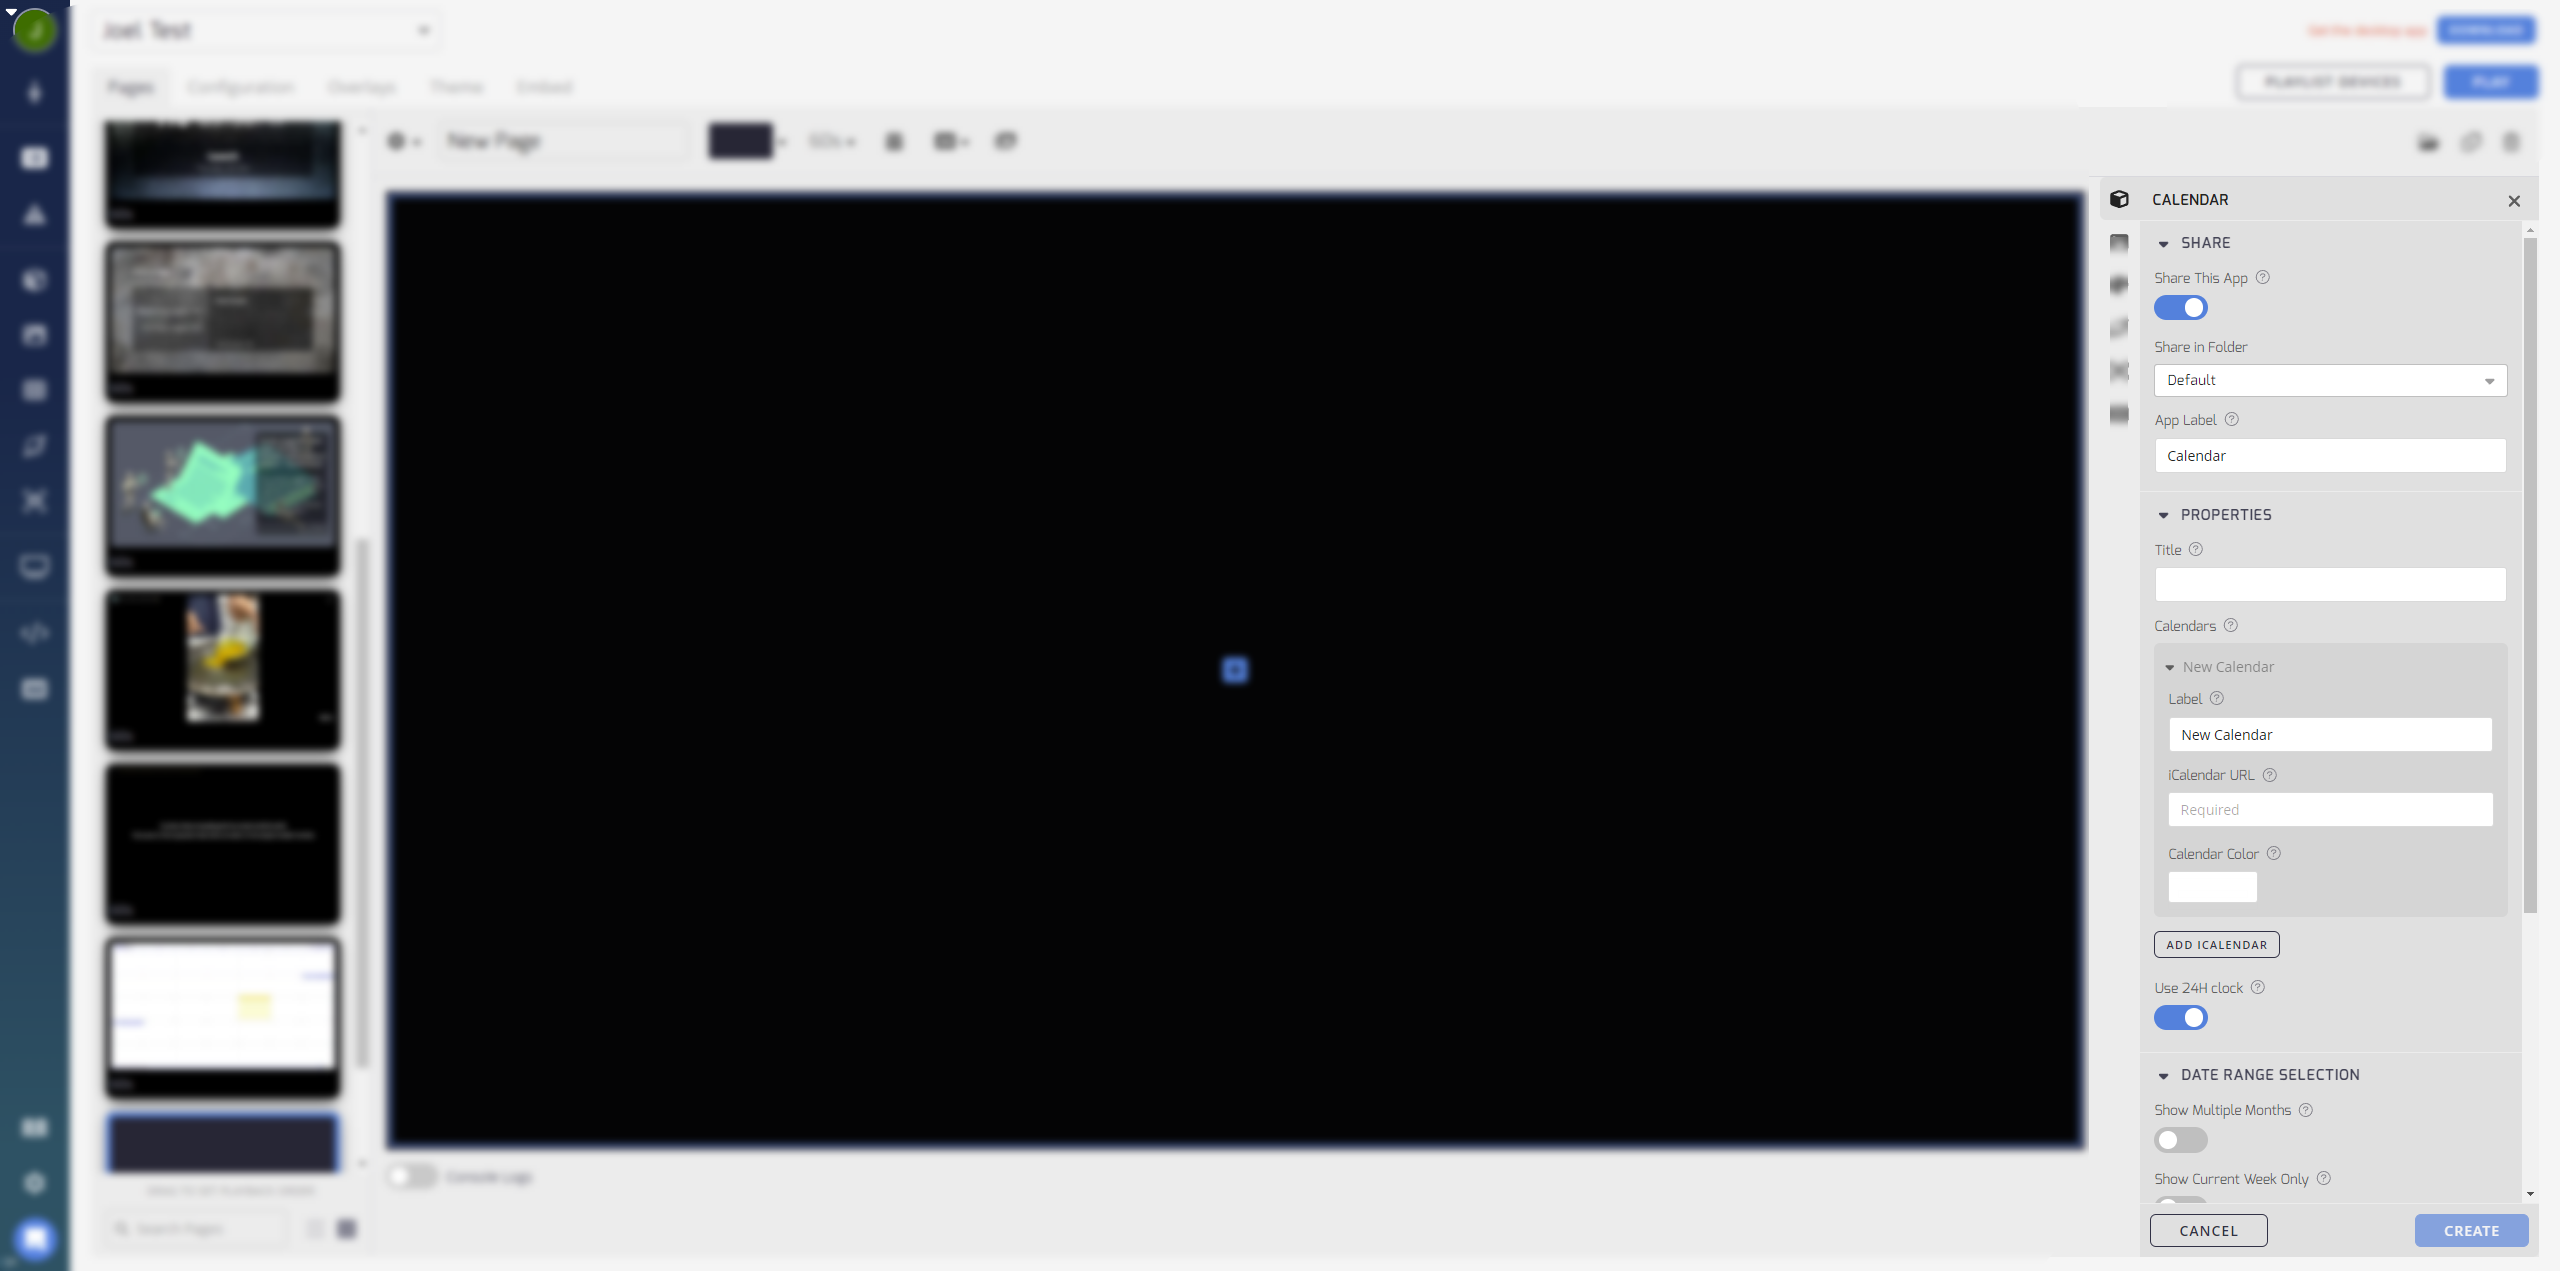
Share
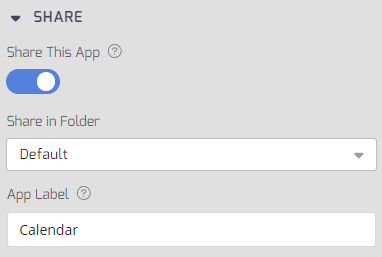
- Share This App: Toggle this to on for sharing the Calendar app with other Playlists. If this content is not shared then it is only saved on this Playlist.
- Share in Folder: This drop-down menu allows you to select the folder to share this Calendar app into.
- App Label: The identifier for this specific Calendar app. Particularly handy if you have a collection of apps already.
Properties
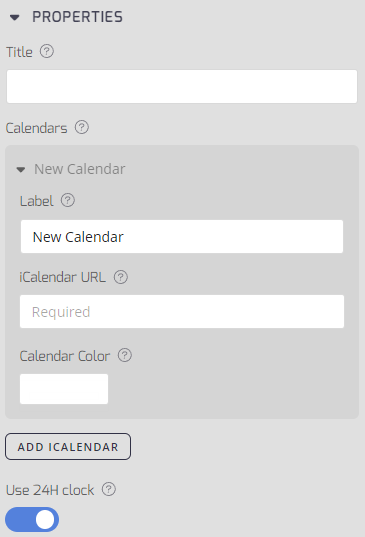
- Title: The title displayed above this specific Calendar app.
- Calendars:
- Label: Enter a label to identify the Calendar.
- iCalendar URL: Enter a URL (in the format HTTPS://) where your Calendar is found to add it to this screen. See section below for instructions.
- Calendar Color: Click the box to open a color palette and select Calendar color. You can also enter RGB values.
- Use 24H Clock: Toggle this on to use the 24 hour clock for this Calendar.
Date Range Selection
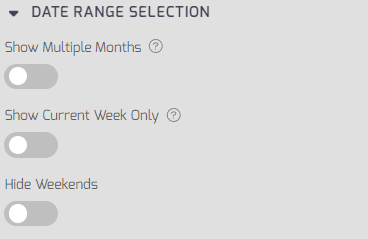
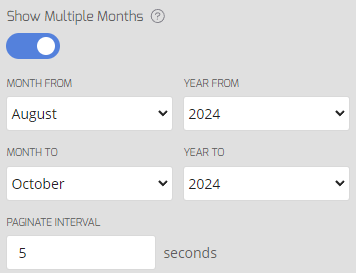
- Show Multiple Months: Select a range of months to display in the Calendar.
- Show Current Week Only: Display calendar events only for the current week.
- Hide Weekends: Hide any weekends on the Calendar.
Background
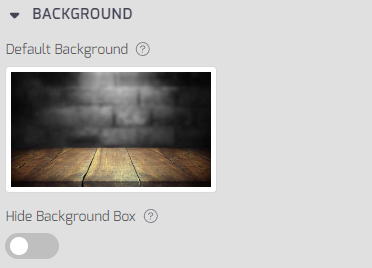
- Background Type: Click the Background thumbnail to launch the background selection model. Select from our preloaded library of images and videos, or upload your own.
- Hide Background Box: Toggle this to on to hide the context semi-transparent background box.
Adding Your Calendar
Next, it's time to add your Calendar. To do this, you'll need the iCal address for that Calendar (an .ics URL). Finding this differs based on your Calendar provider.
Generating your .ICS from Office365
- log into your Office365 account (The default login is portal.office.com).
- Go to your Outlook shared calendar by selecting: https://outlook.live.com/calendar/0/options/calendar/SharedCalendars or from your Settings option and then clicking Shared Calendars.
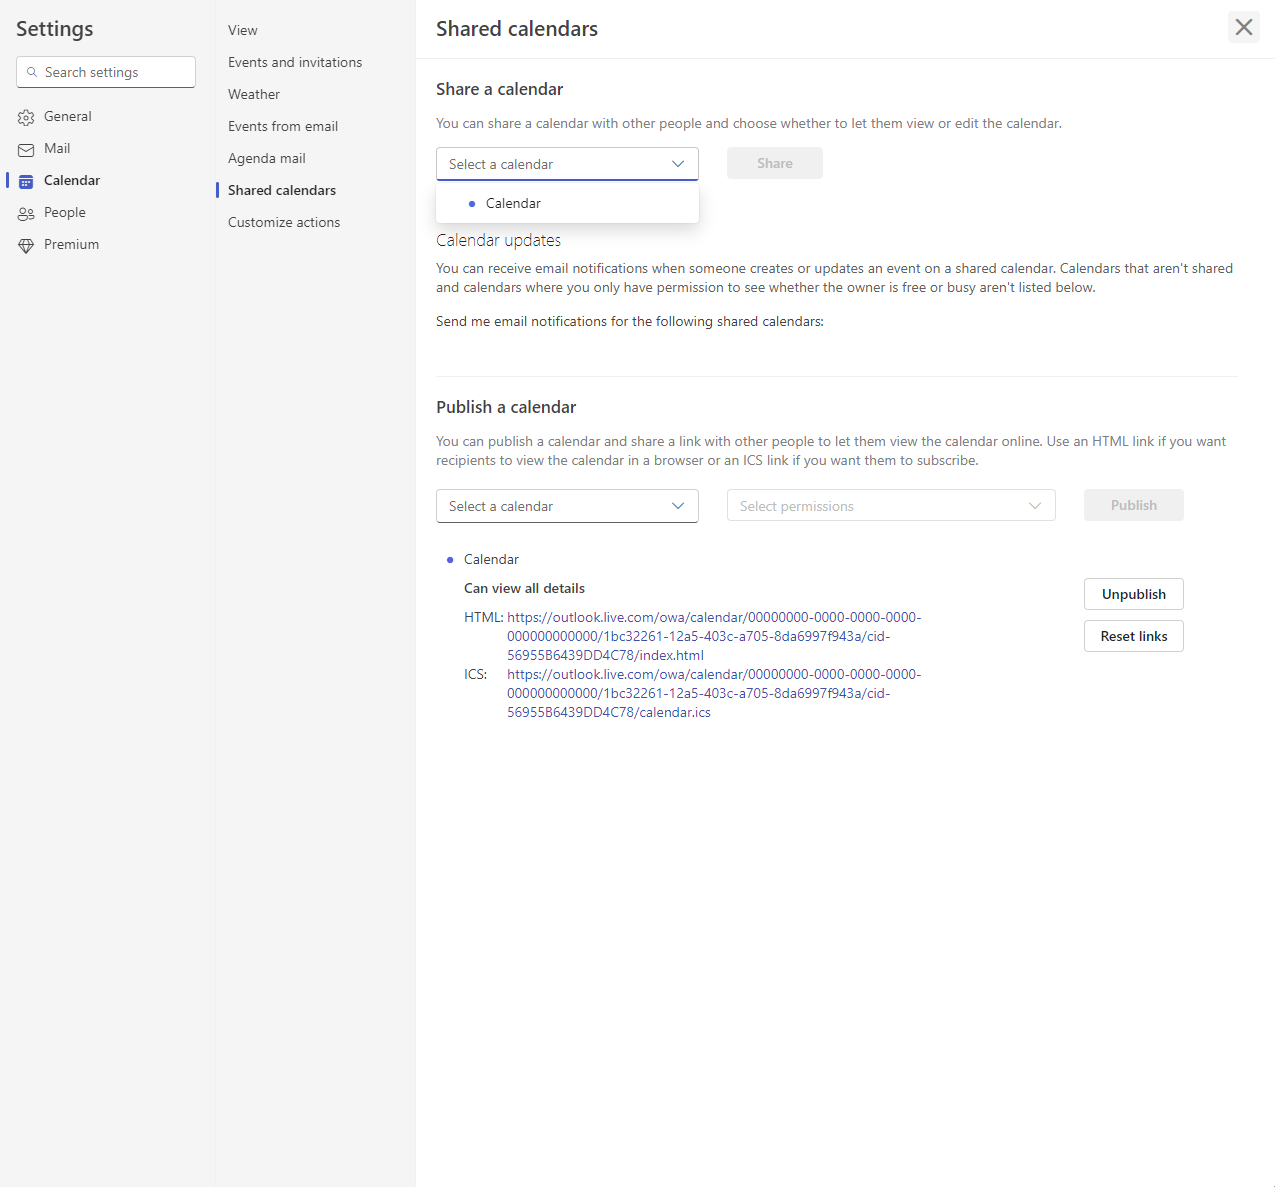
- Click the link Shared Calendars in the dialog, and select your calendar. Then go to Publish a Calendar and select your calendar there as well.
- On the top right of the calendar page click the Settings icon.
- Open up the My app settings section and click the Calendar link.
- Under the the Calendar section select Publish Calendar.
- Click the .ICS link. This downloads the required .ICS file.
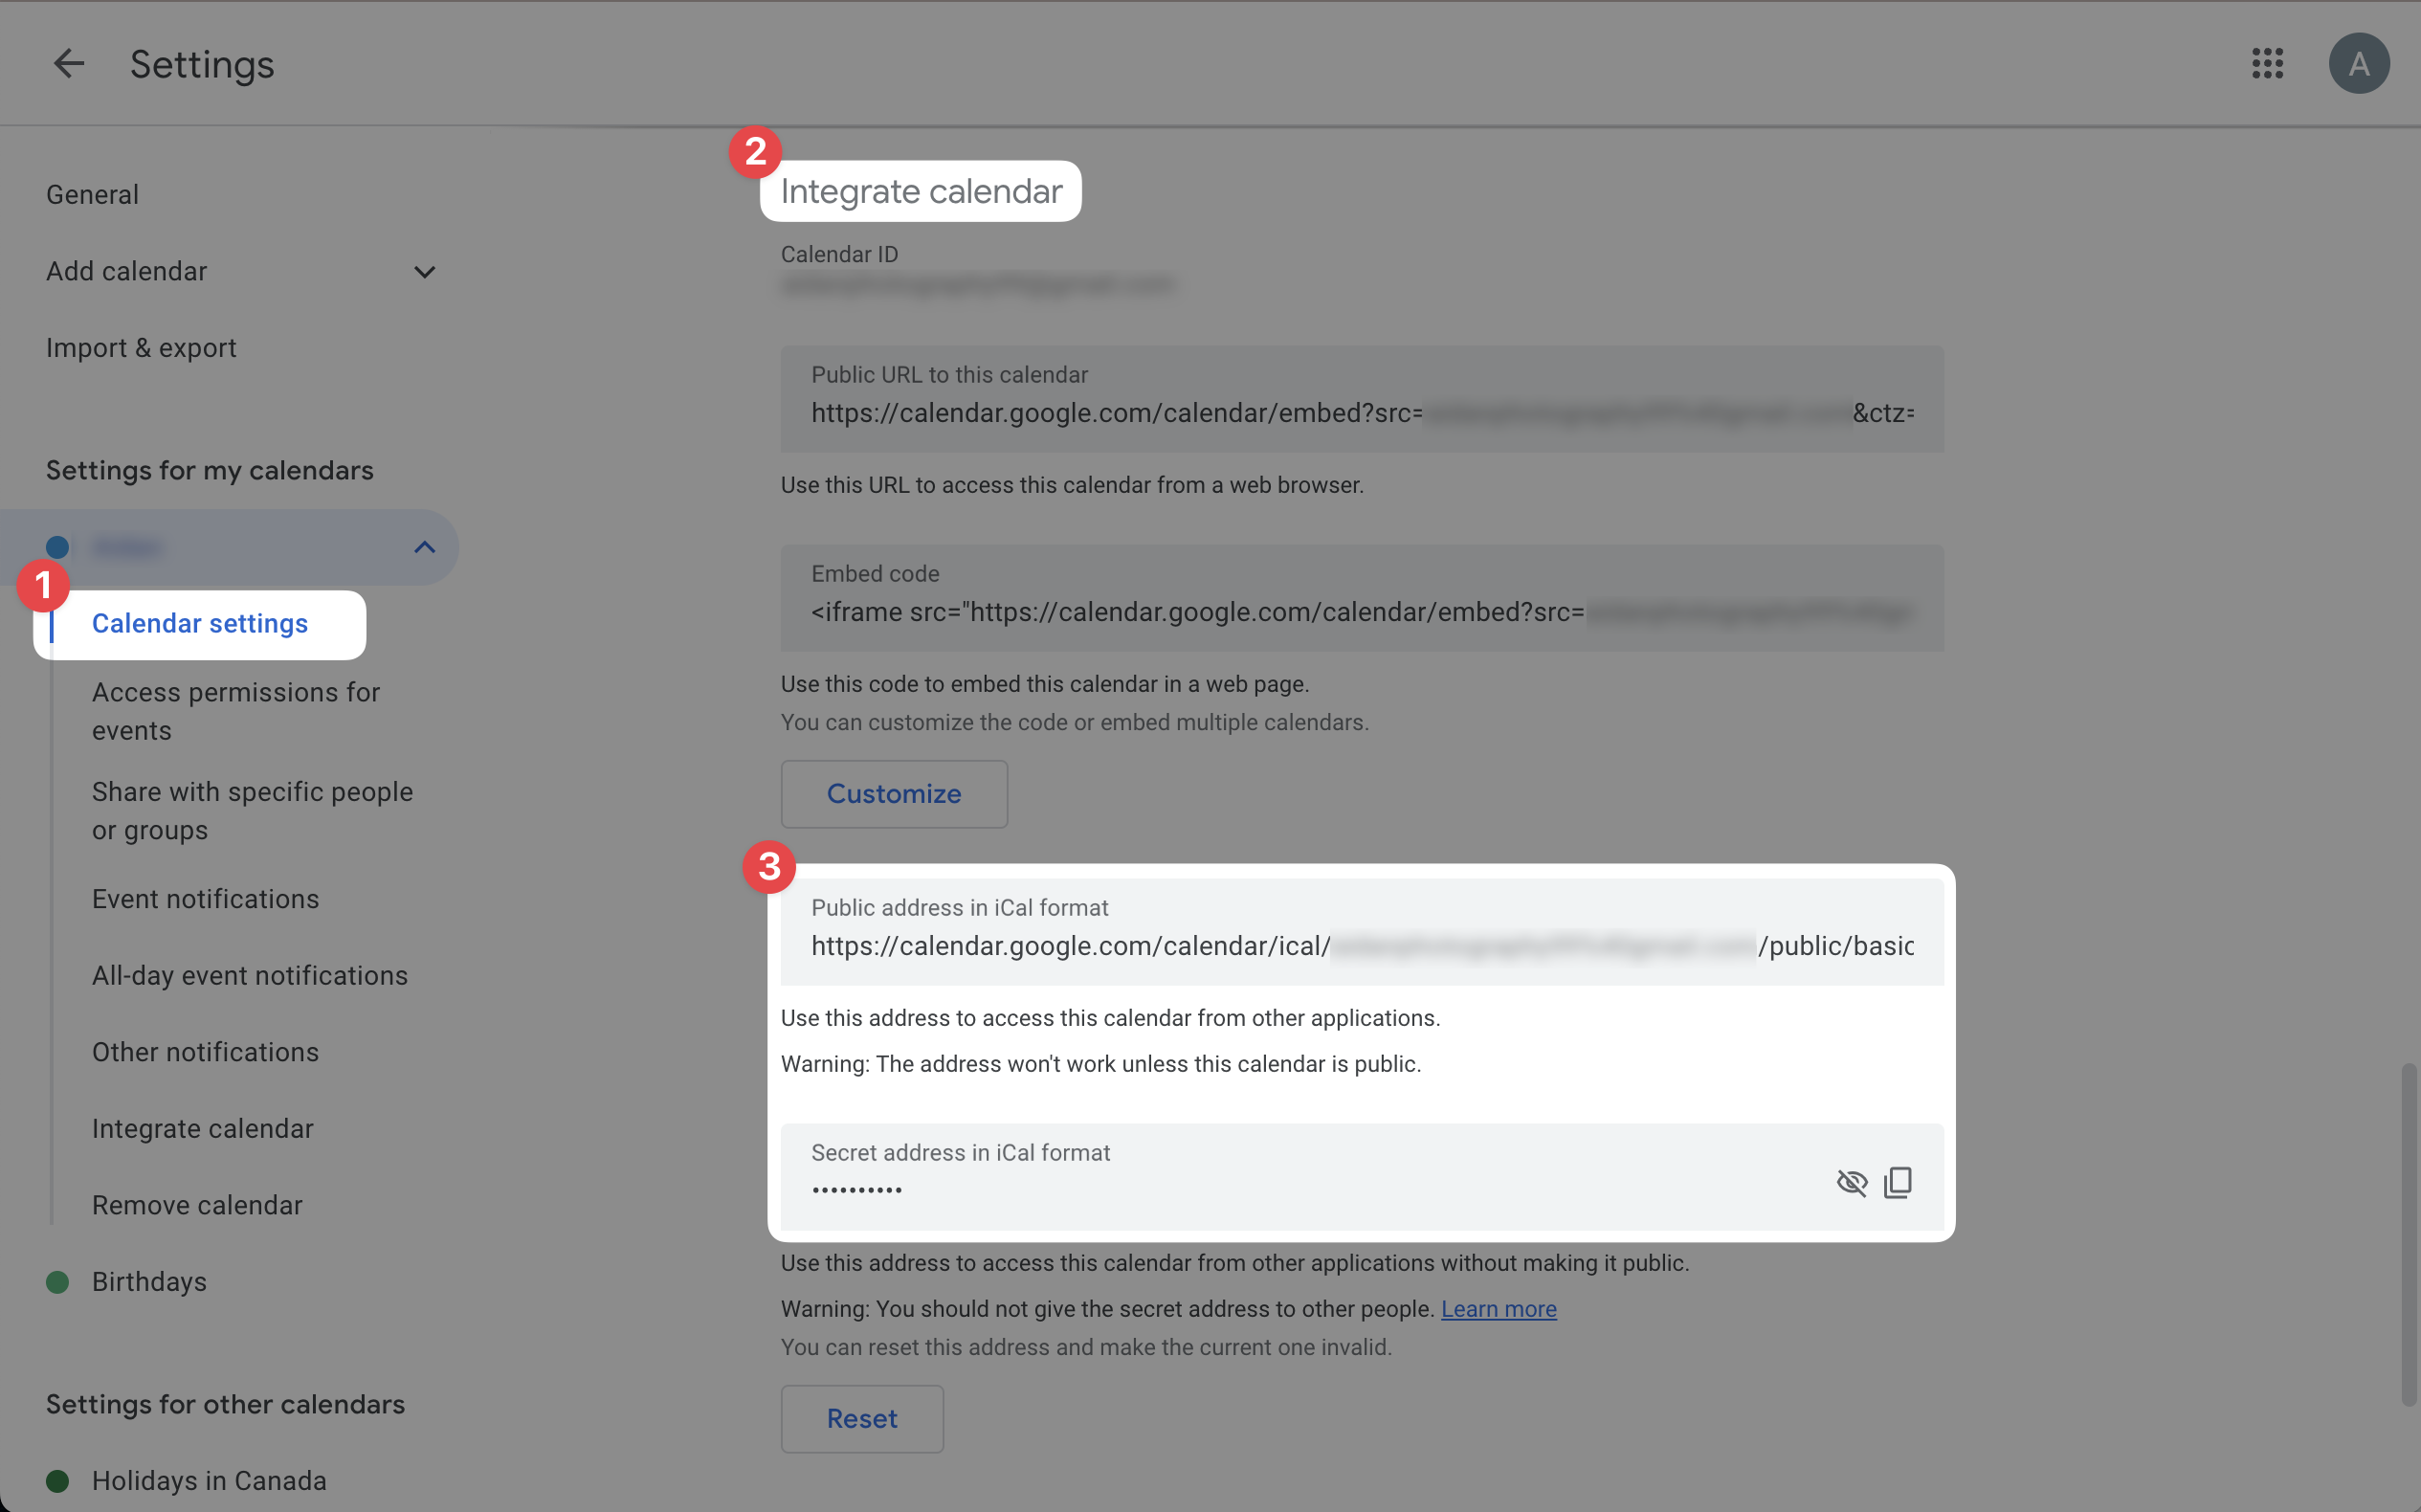
Generating your Calendar link from Google
- Navigate to Settings.
- Add an identifying name for your calendar.
- Paste your Calendar's iCal URL into the field.
- If you are adding more than one calendar, select a calendar color to differentiate between events.
- Click Add iCalendar to add multiple iCal addresses to be shown on the same Calendar app.
- Click the image below Default Background to select a background from your own media, our preloaded library, or using Photo Search.
Displaying Multiple MonthsYou can also display multiple months from your calendar.
Toggle Show Multiple Months under the Date Range Selection tab, and enter the date range you'd like to display.
That's all there is to it! Once you click the Create button, you can Preview your app or edit it in from the Details tab.
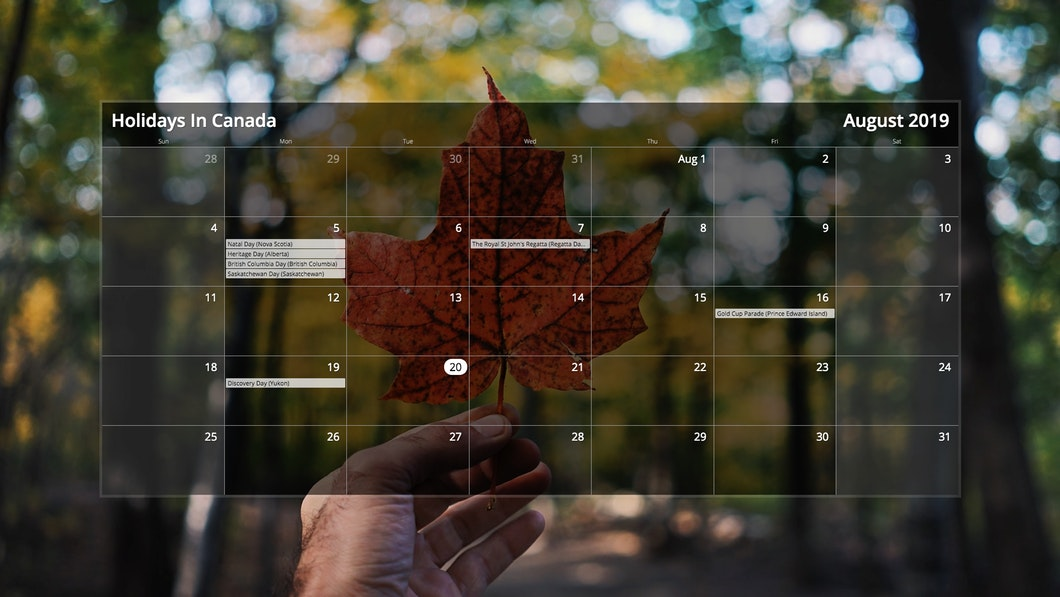
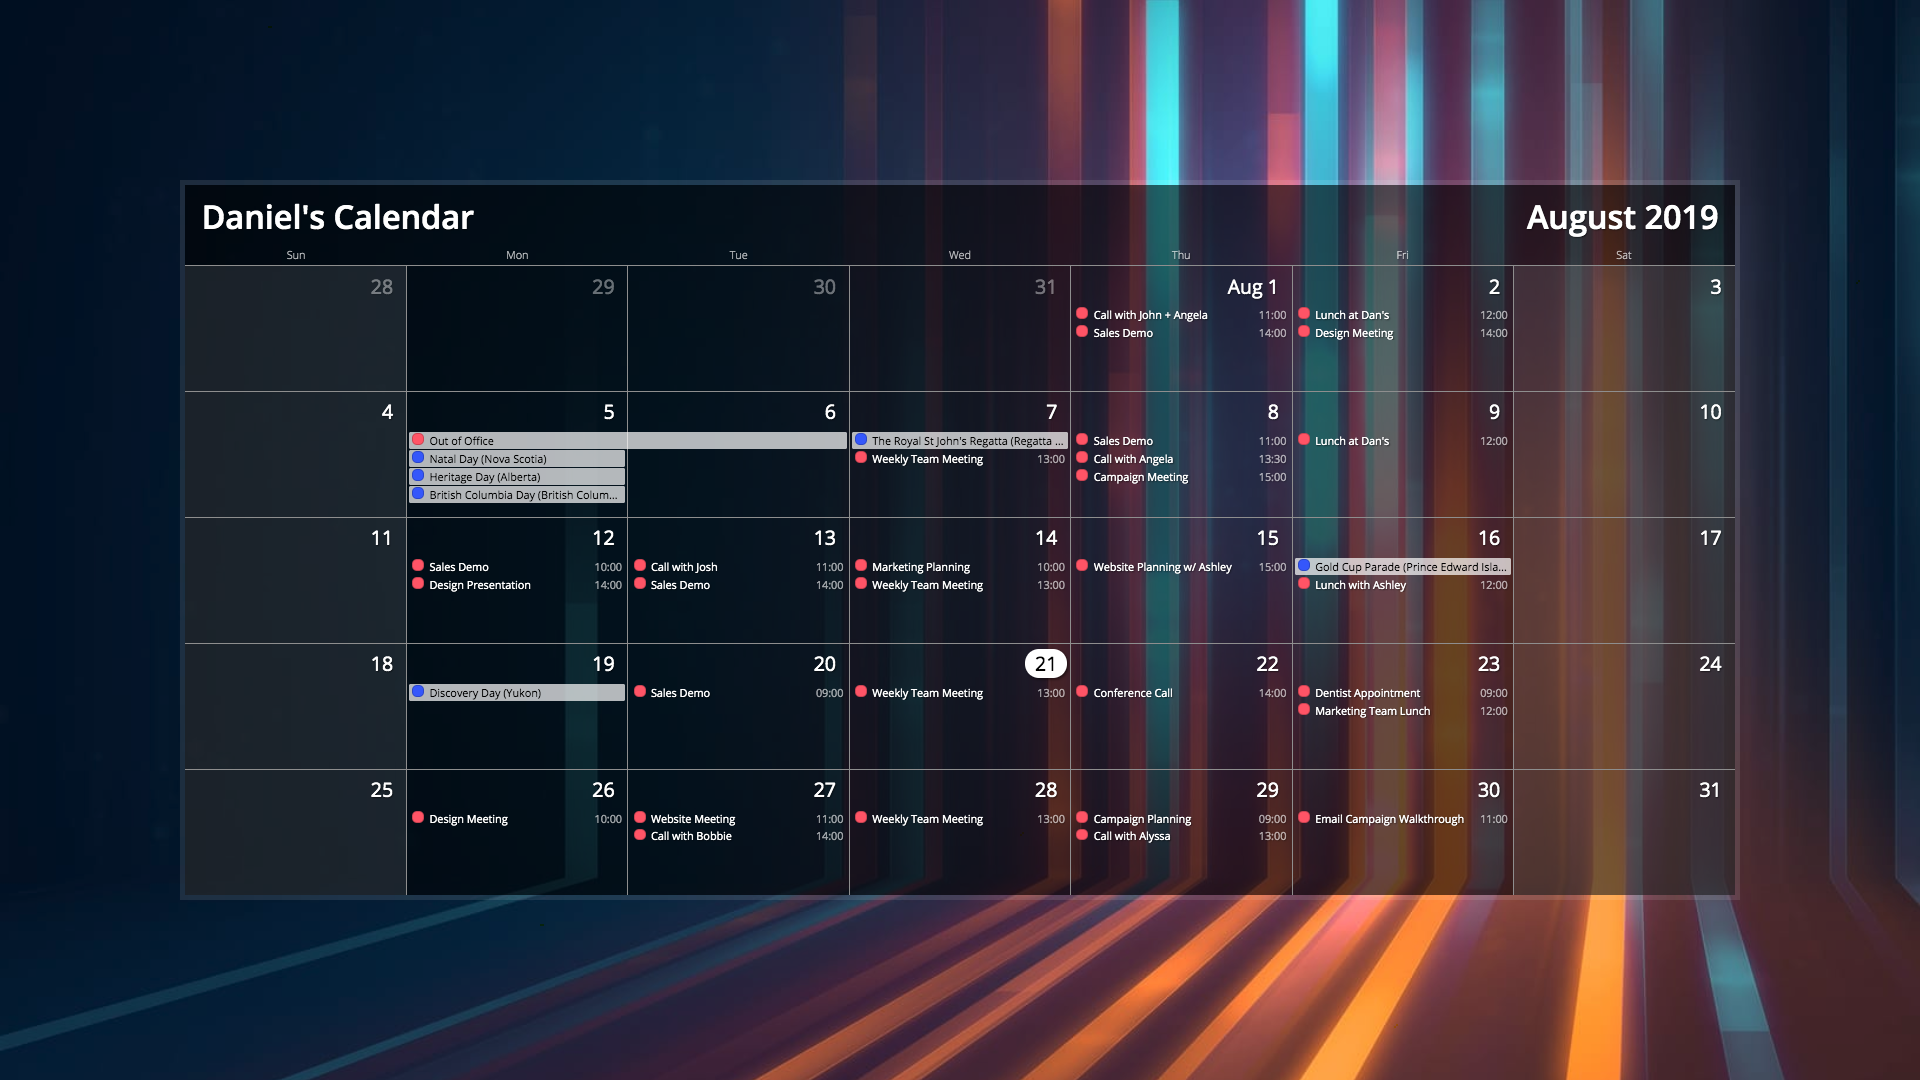
Calendar Examples
Check out some examples of the Calendar App in action:
Updated 3 months ago