
Provisioning
Provisioning Your Devices to TelemetryTV
TelemetryTV offers a streamlined process to provision your devices. Provisioning refers to the process of setting up a device to work with specific settings or software—in this case, to work seamlessly with TelemetryTV. It locks your device to your account. Here's a step-by-step guide on how to do it:
Step 1: Log into TelemetryTV
Open your web browser, navigate to the TelemetryTV login page, and enter your account credentials to log in.
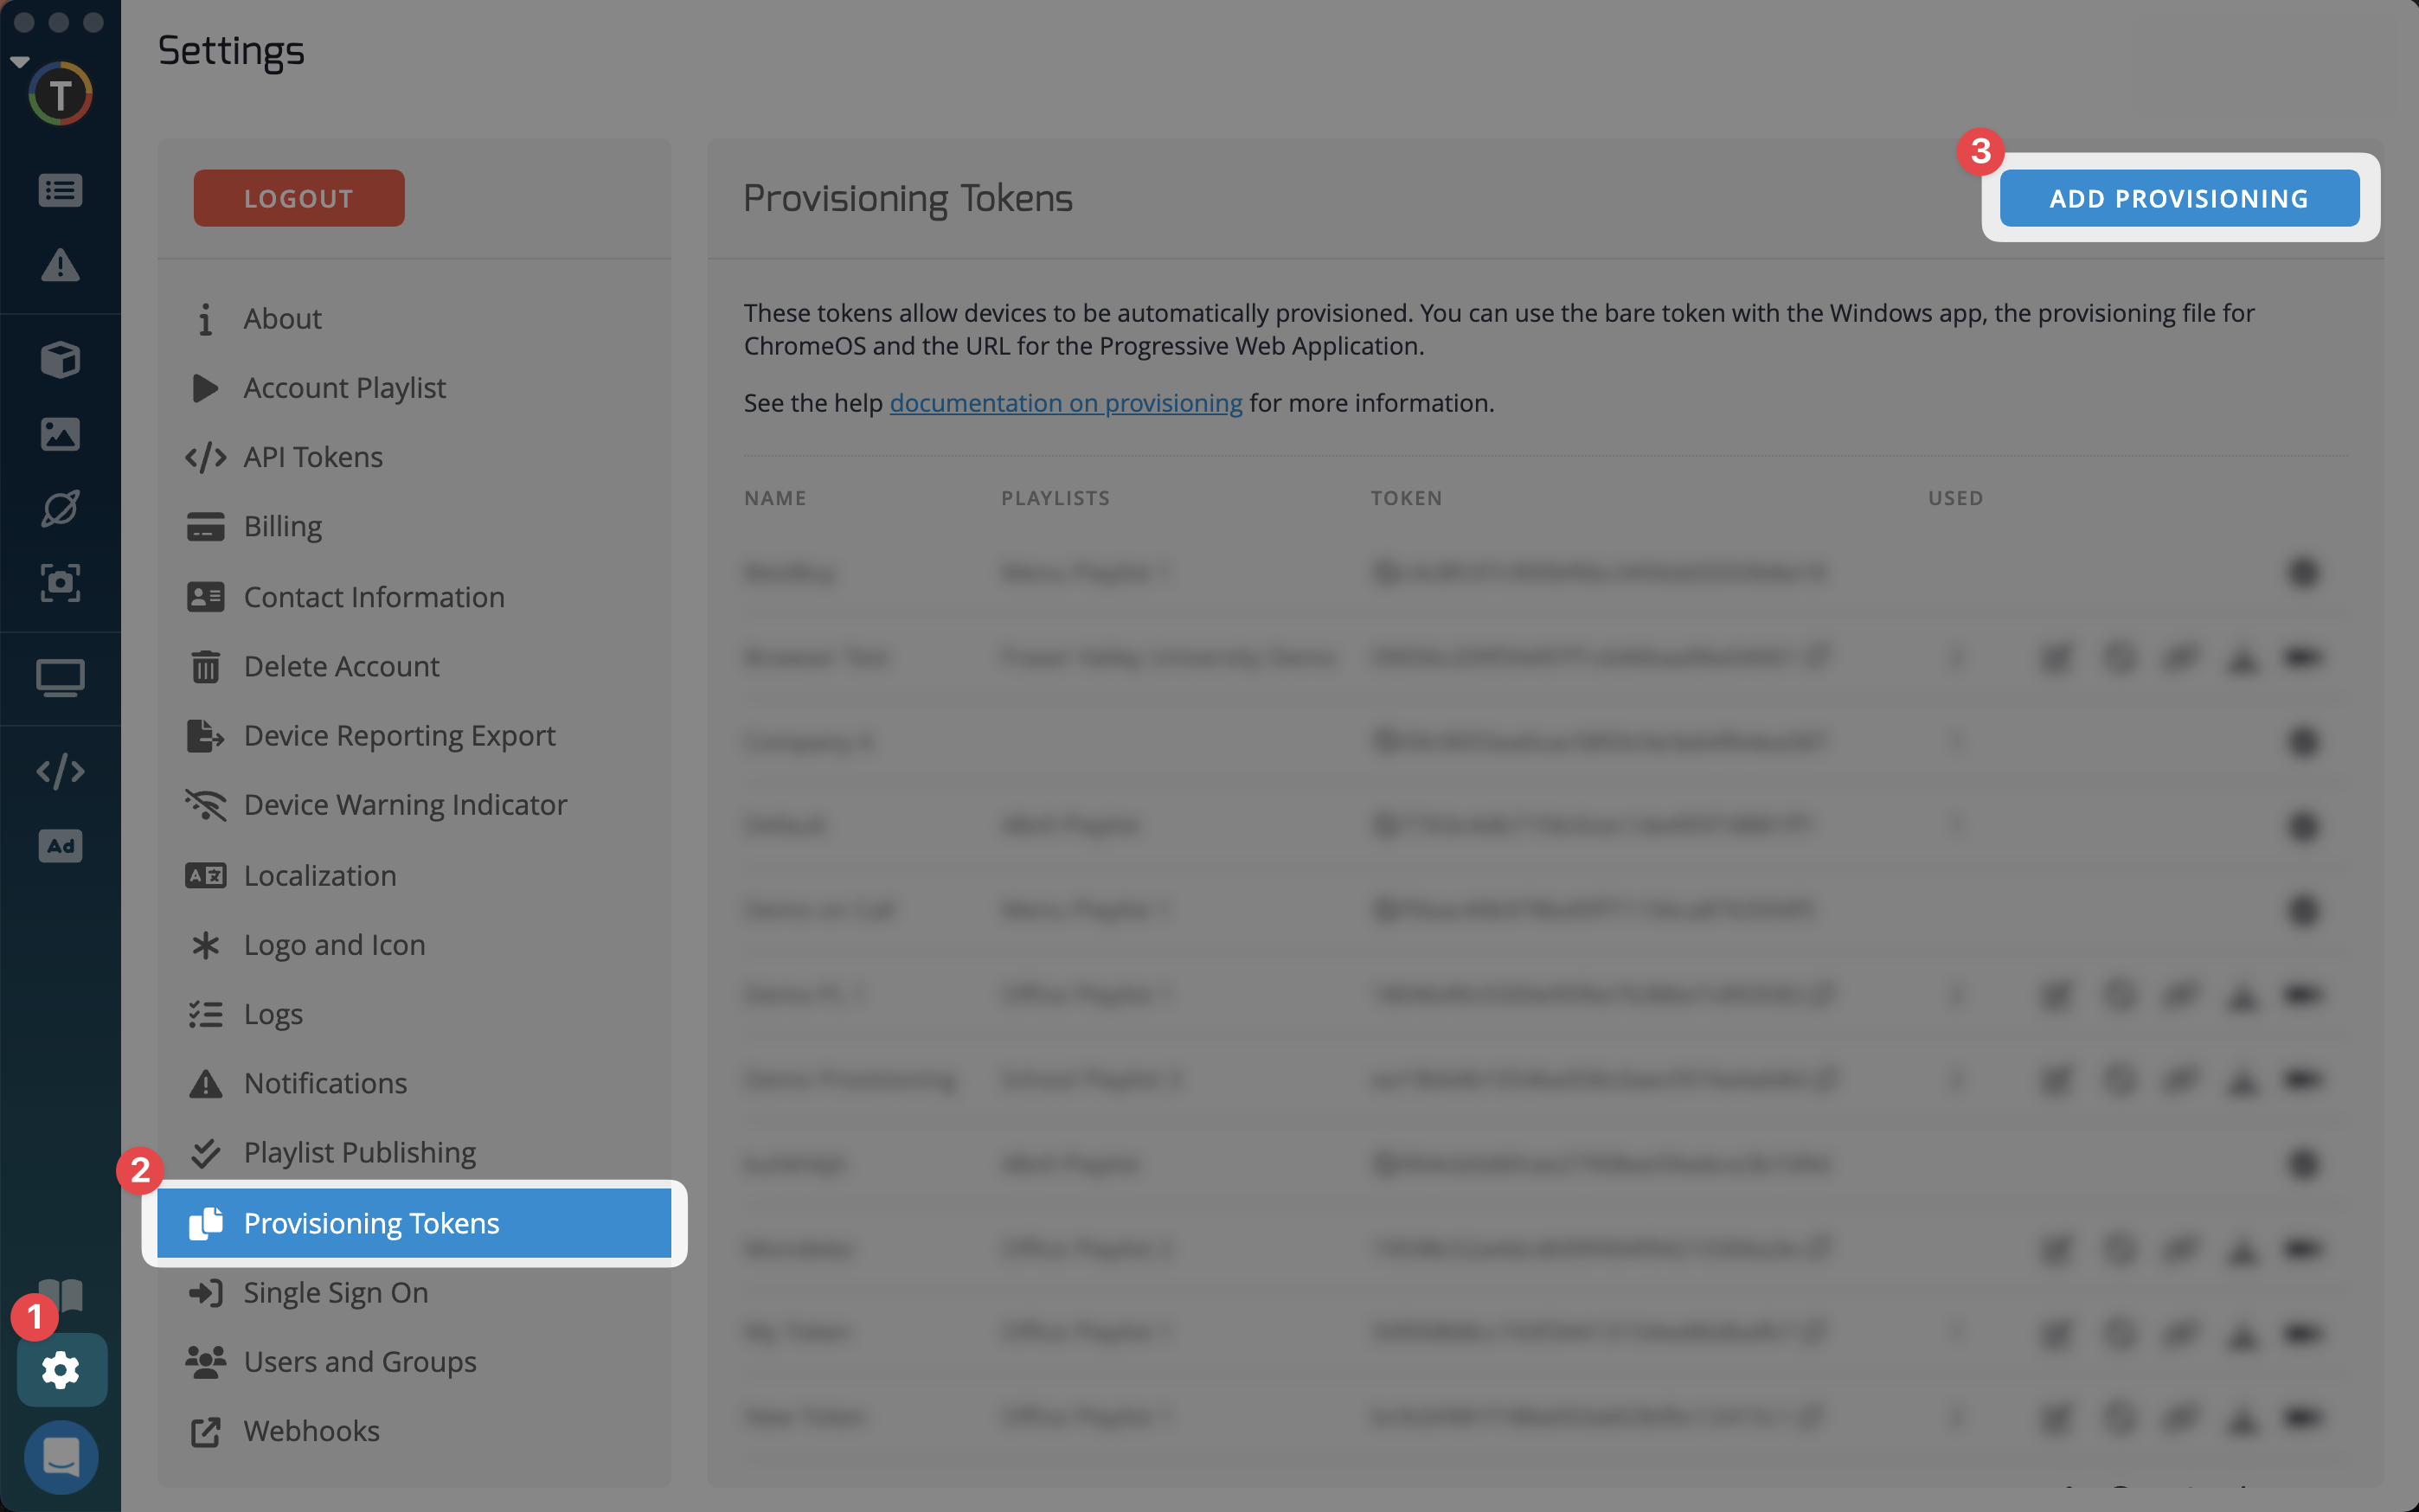
Step 2: Access the Provisioning Tokens
Once you're logged in, navigate to the 'Settings' tab. You can find this tab represented by a gear icon in the TelemetryTV interface. Within the 'Settings' section, select 'Provisioning Tokens.'
Step 3: Create a New Provisioning Token
In the 'Provisioning Tokens' section, click on 'Add' to create a new provisioning token. This token will generate a file with the necessary information to provision your device.
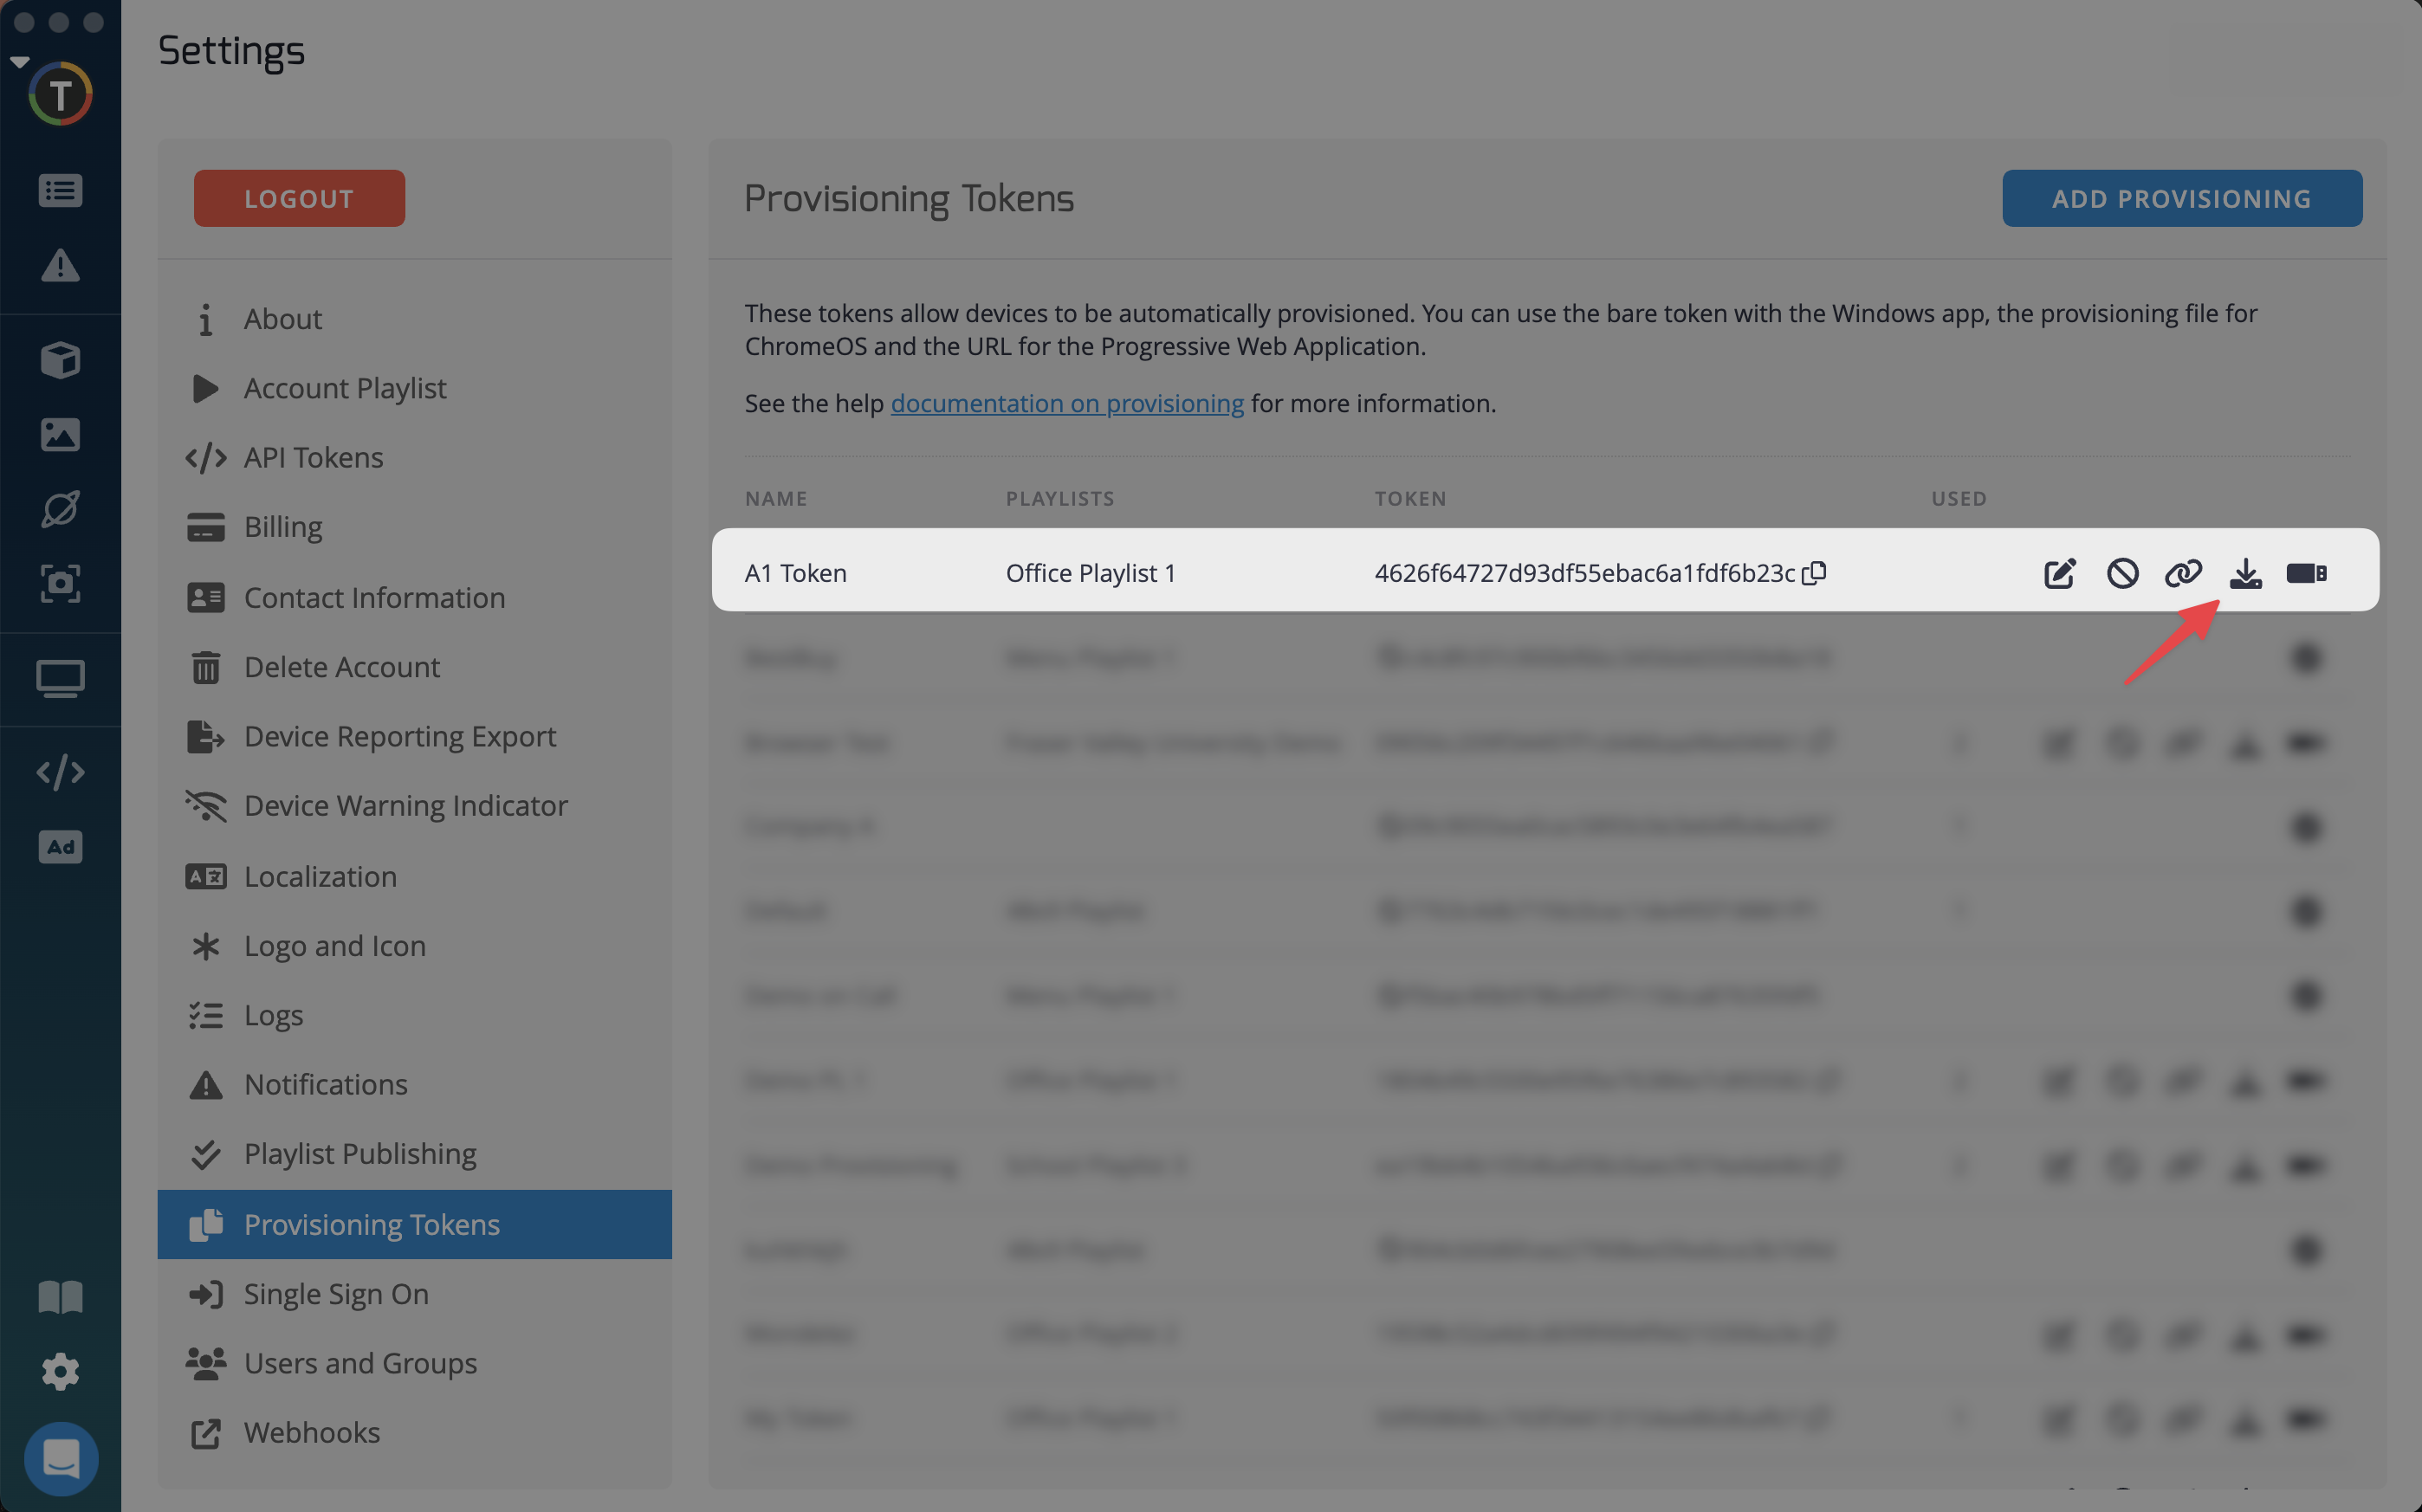
Step 4: Download the Provisioning Token
After the token is created, click the download icon. This will download the provisioning file to your computer.
Step 5: Rename the Provisioning File
Once the provisioning file has been downloaded to your computer, Rename the downloaded file to "telemetry_config.json".
Renaming the FileIt is essential to re-name the provisioning file to "
telemetry_config.json". This is a crucial step as the file name is how TelemetryTV OS Box recognizes the provisioning token
Step 6: Preparing the USB Stick
Format the USB storage stick with File Allocation Table 32 (FAT32).
Important Notes for Formatting the USB stick with FAT32
- the USB stick must be formatted with FAT32 and "Master Boot Record" schema
- this must be the only partition on the USB stick
FAT32 is a file system used for storing data on USB sticks, hard drives and memory cards. Please note, formatting the USB stick will erase any files that are currently stored on the stick. To ensure that these files are not lost, ensure they are migrated off of the stick prior to formatting it.
Step 7: Rooting the file on the USB Stick
Migrate the previously renamed configuration file: "telemetry_config.json" into the root of the filesystem of the USB stick.
Step 8: Provision the TelemetryTV Box Device
- Power on your TelemetryTV Box device.
- Upon reaching the Network Setup Screen and observing the message "Insert USB key to provision" at the bottom right corner, proceed to insert the USB stick that holds the "
telemetry_config.json" file. - Next, wait until you see a green “Provisioning Successful” message. Please allow for up to 30 seconds for the device to provision
- Lastly, click the "Done" button located in the top right corner of the screen. The device will read the file and automatically provision itself with the settings defined in the token.
Provisioning SuccessfulOnce these steps are complete, a message will appear stating that the provisioning was successful. If no message appears, please ensure all previous steps are completed correctly.
If you do not receive this message after completing this process, please fully reboot the device prior to attempting to provision again
Special Note for ChromeOS Users
If you're provisioning a ChromeOS device, the process is slightly different. Instead of transferring the provisioning file to a USB stick, you'll need to upload the file to the Google Admin Console. For detailed instructions, please refer to our specific documentation on how to set up ChromeOS devices with TelemetryTV.
Remember, if you have any questions or encounter any issues during the provisioning process, our support team is always ready to assist.
Provision Your Device to Your TelemetryTV Account
Optionally,~~ provision your device ~~to automatically with a provisioning token from your TelemetryTV account. This is recommended for deploying devices at scale.
To automatically provision your device with a provisioning token, use the following:
To provision with just the token:
"location of the player application" --provisionToken=token
For example:
"C:\Program Files\WindowsApps\TelemetryTVPlayer_23.10.2.0_x64__ryz737bay5ffj\VFS\Local AppData\electron_player_app\app-23.10.2\TelemetryTVPlayer.exe" --provisionToken=7057f7be802e6c68c959e349eca30295
To provision with the provision file:
"location of the player application" --provisionFile="location of the provision file"
For example:
"C:\Program Files\WindowsApps\TelemetryTV.TelemetryTVPlayer_23.5.1.0_x64__cwa51g4fre0de\app\TelemetryTVPlayer.exe" --provisioningFile="C:\Users\Sunny Chowdhury\Downloads\telemetry_provisioning_Default.json"
Updated 7 months ago