
Weather App
Bring weather updates to your display
They say you can't predict the weather, but with the TelemetryTV Weather App, you can have a pretty good idea of what to expect. Our Weather App is one of our most popular apps and allows you to seamlessly integrate current, weekly, and hourly weather conditions for your chosen locations directly into your display.
Adding the Weather App
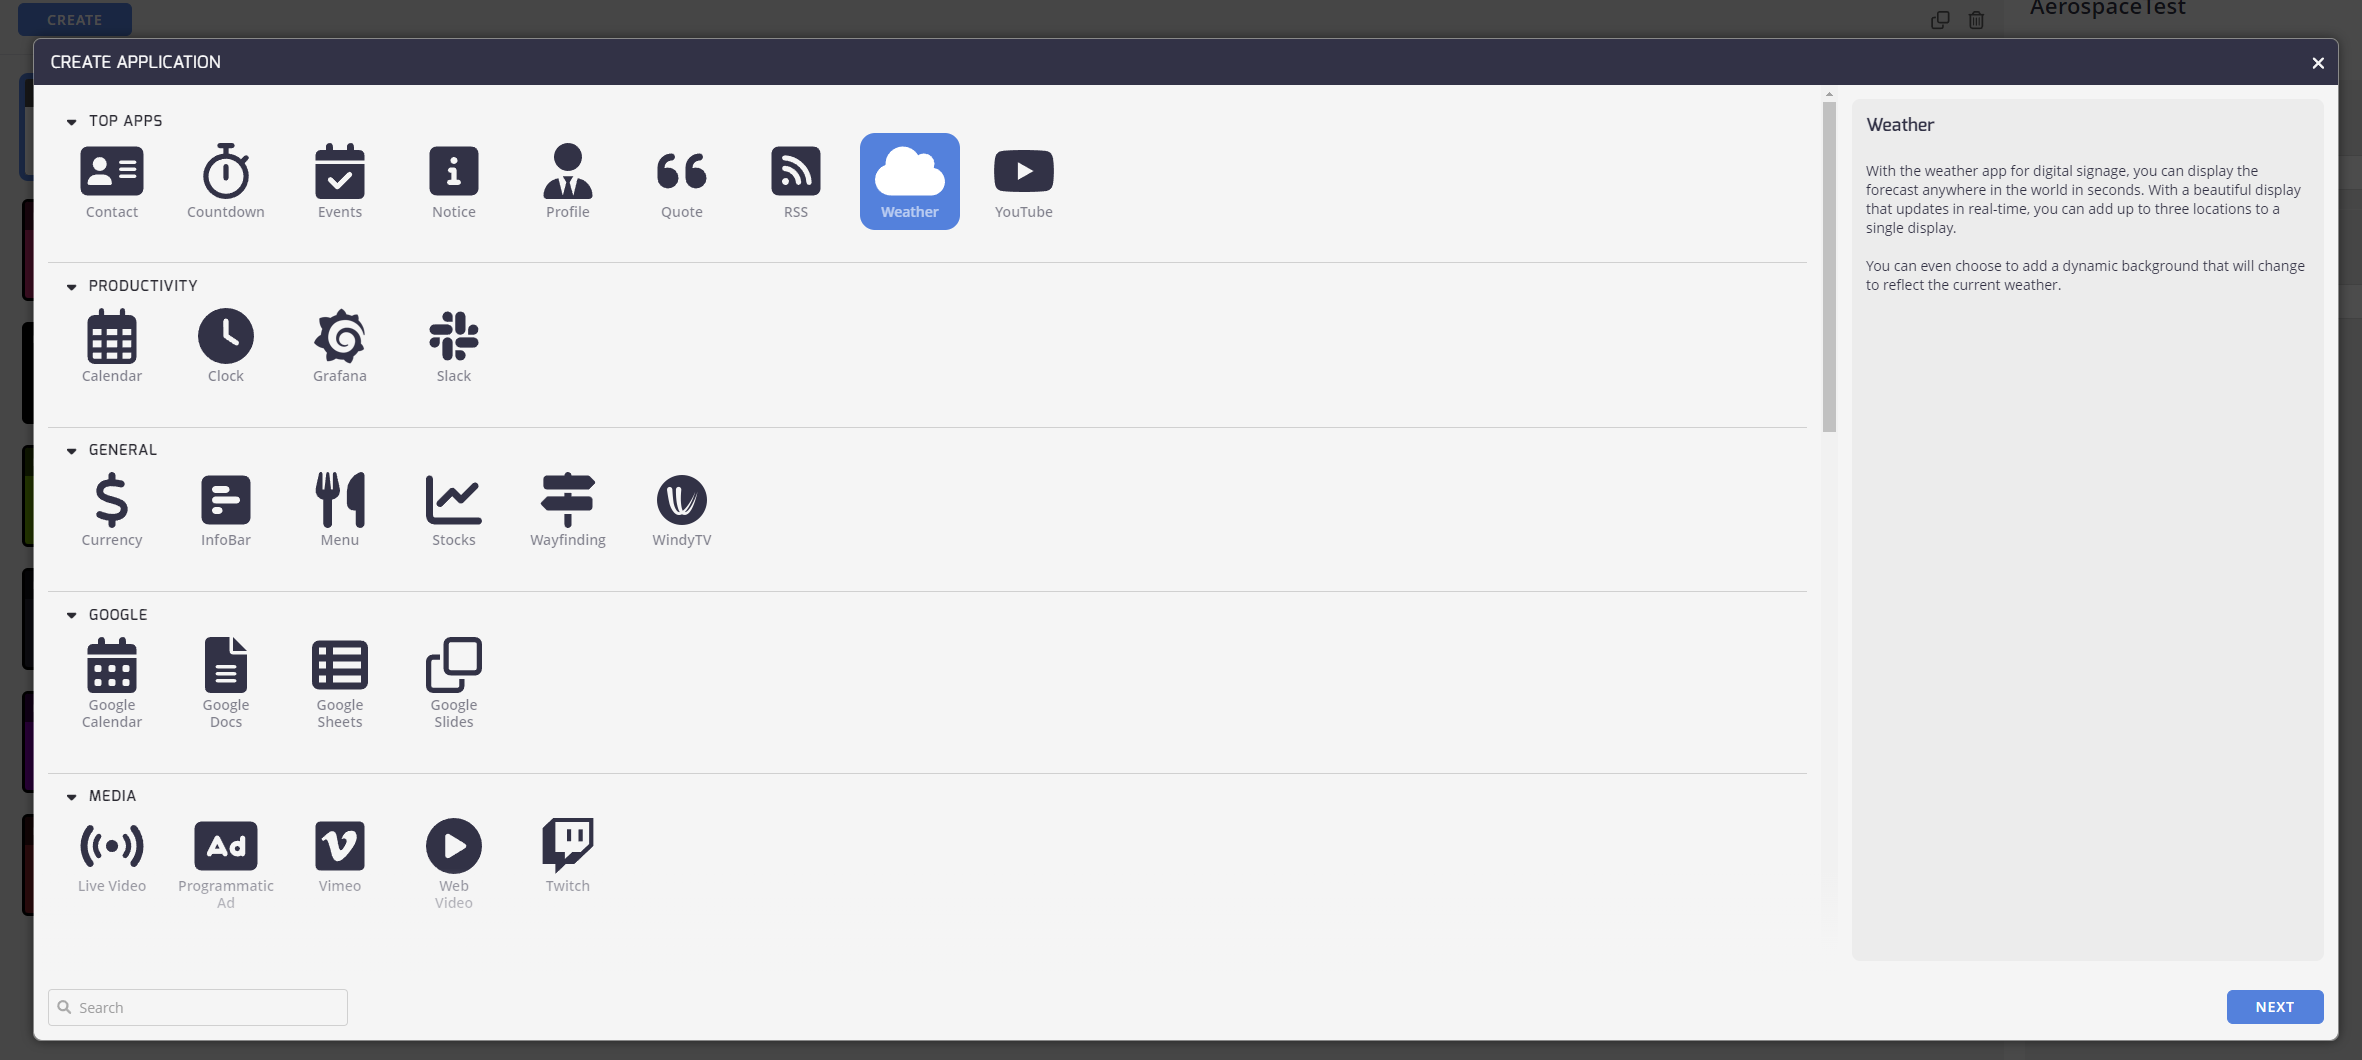
To get started with the Weather App, follow these simple steps:
- From the lefthand taskbar navigate to the Apps tab.
- Select the Weather App from the available list of apps or click the Create button to select a new app.
- Click the Next button..
Configuring Your Weather App
Configuring the Weather App: Now that you've added the Weather App, it's time to set it up to meet your preferences.
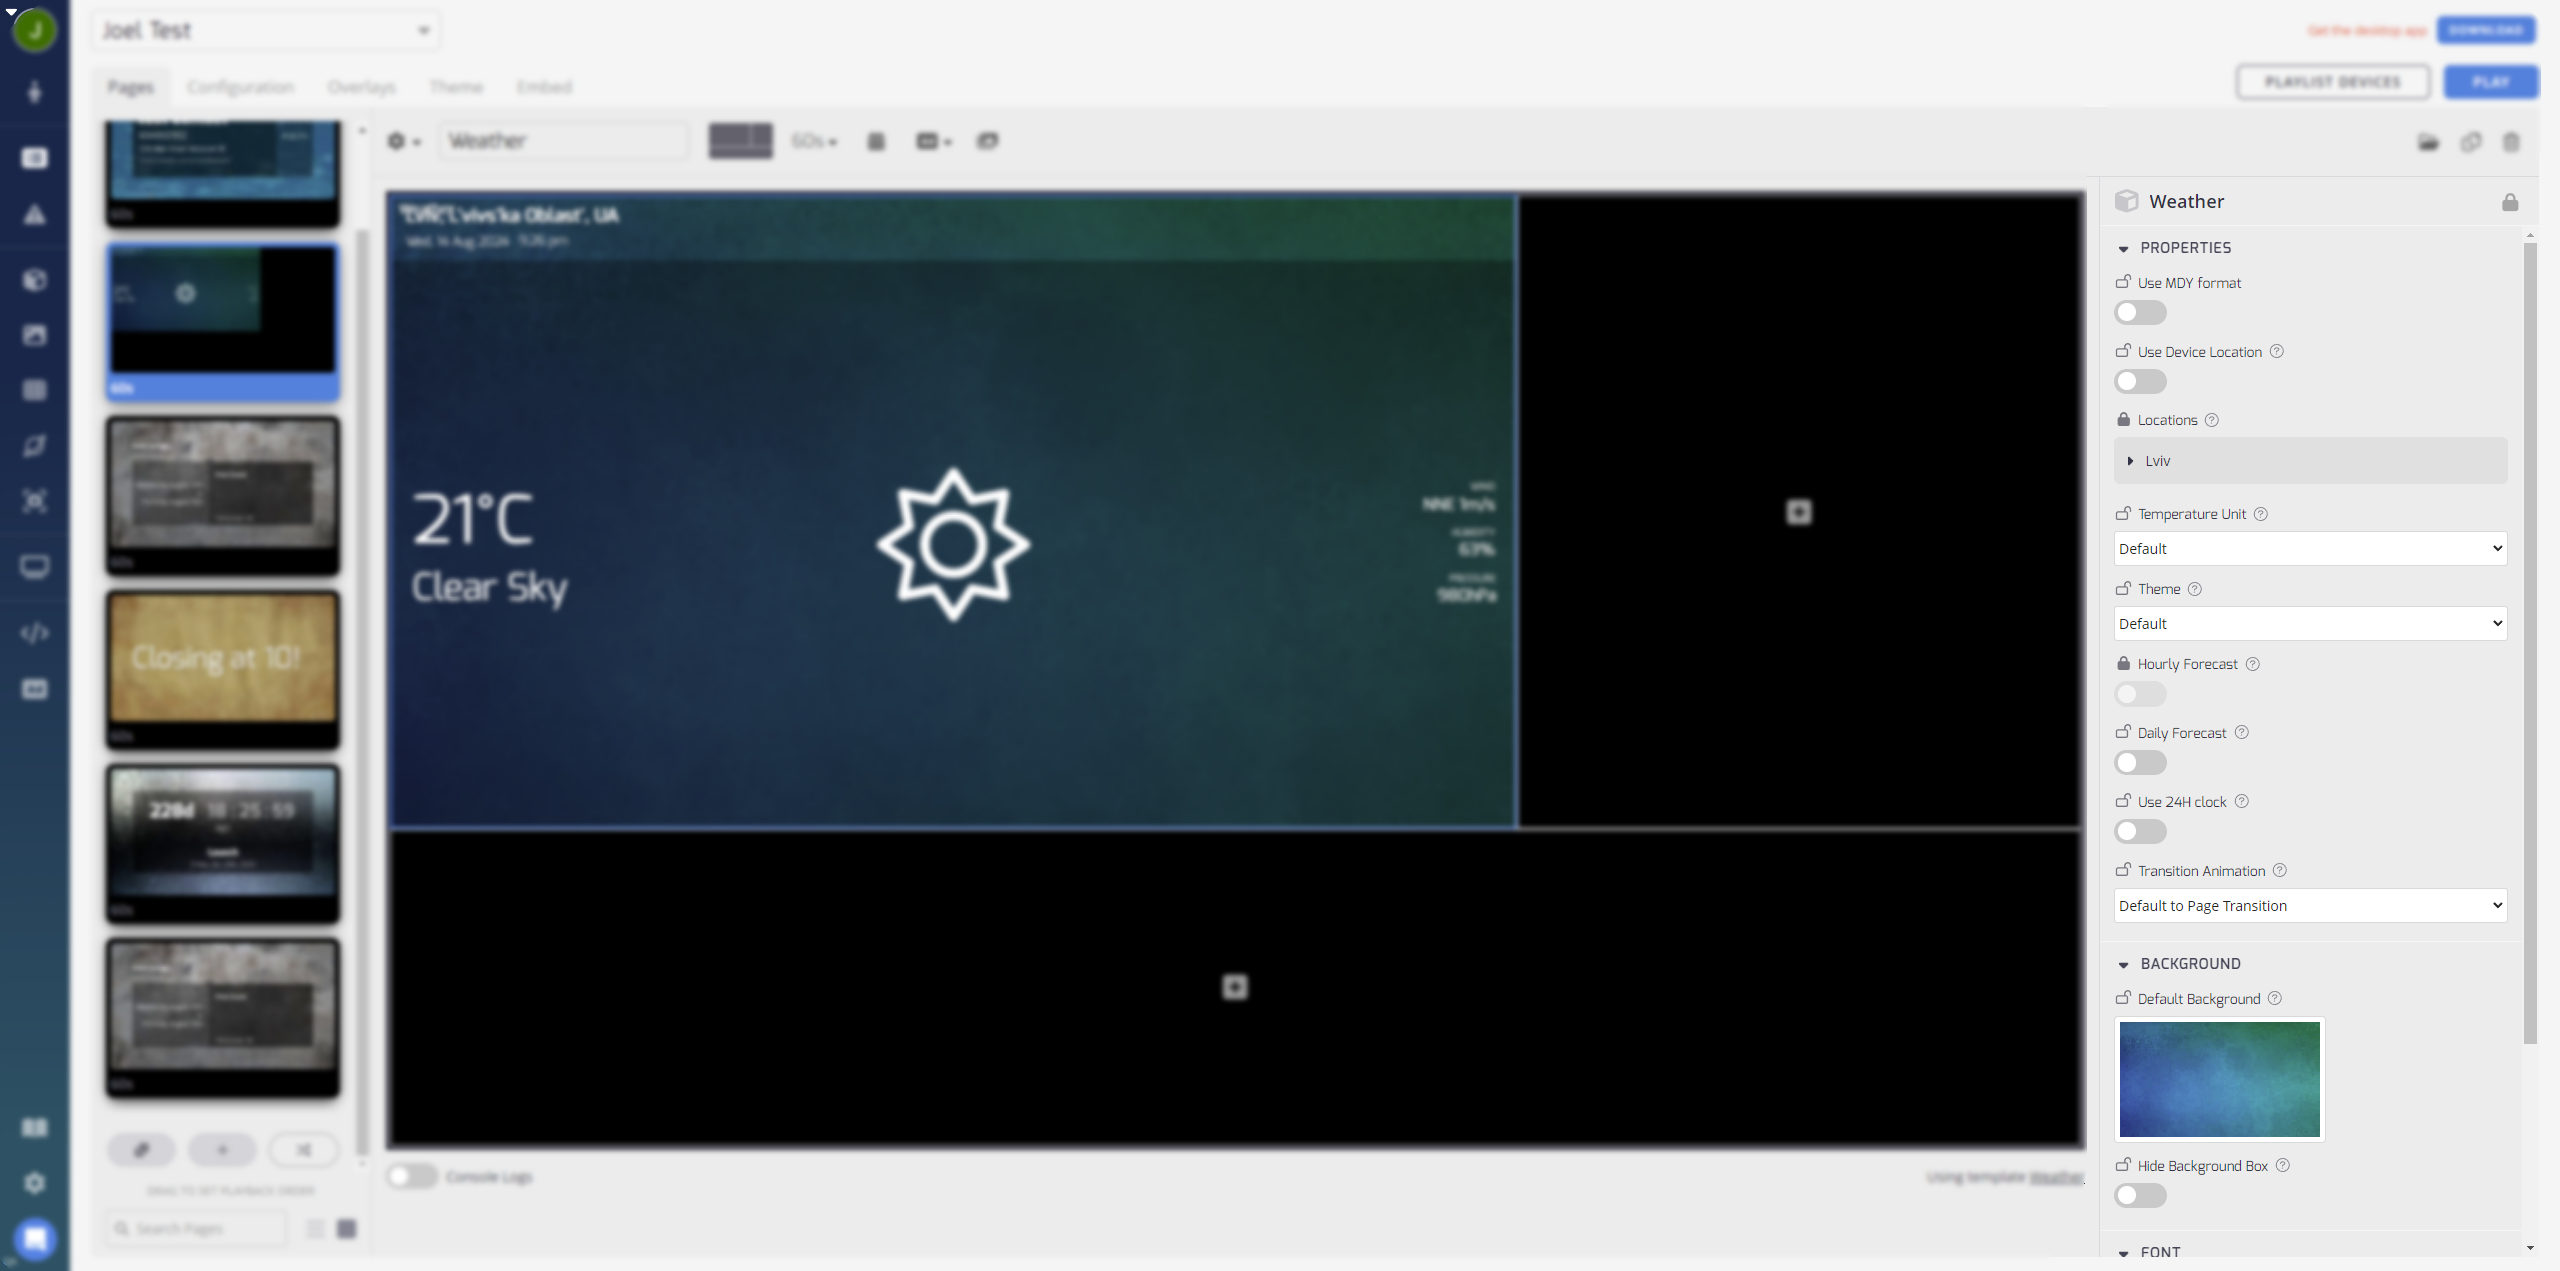
Here's how:
Share
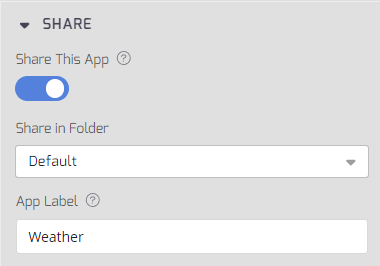
- Share This App: Share this app to use it across multiple Playlists. If the content is not shared, it is only saved to this Playlist page.
- Share in Folder: Select the folder to share this app into. You can also add a new folder from this drop-down menu.
- Give It a Name: In the Label field, give your Weather App a name for easy identification.
Properties
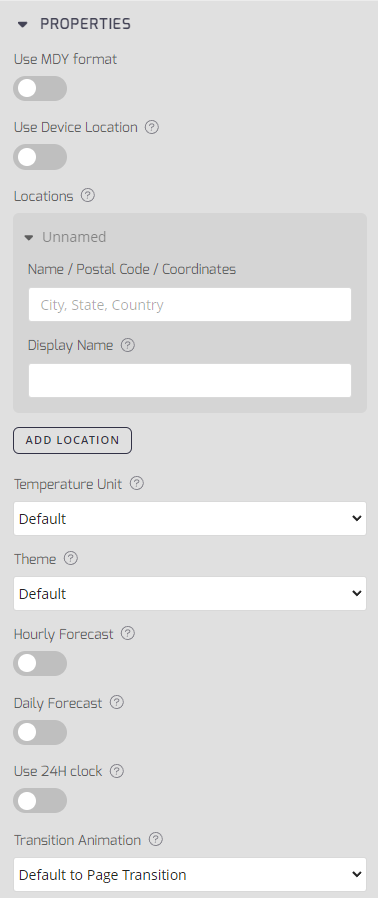
- Select Date Format: Under Use MDY format toggle the radio button on to use the Month-Day-Year format.
- Select Locations: Enter the locations (city, state, and country) for which you want to display the weather. You can add multiple locations by clicking Add Location. you can optionally include a Display (Location) Name as well.
- Select Temperature Unit: Click the drop-down menu and select either Fahrenheit or Celsius as your default Temperature Unit.
- Select a Theme: Select a theme from the drop-down menu. See below for a description of available themes.
- Hourly Forecast:Enable this toggle to turn on hourly forecasts for this weather app.
- Daily Forecast: Enable this toggle to turn on daily forecasts for this weather app.
- Time Format: Use the 24-hour clock format (e.g., 22:00 instead of 10:00 PM).
- Transition Animation: If you've added multiple locations, specify what transition effect between items you would like to be displayed.
Background
Customize your background by clicking the image box under Default Background, or toggle to hide the background box.
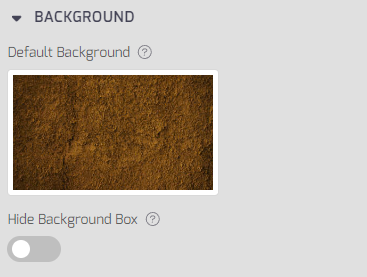
- Default Background: Select a background for this weather app.
- Hide Background Box: Toggle this to hide the semi-transparent background box around your content.
Font
Customize the font and font size using the drop-down and slider options, respectively.
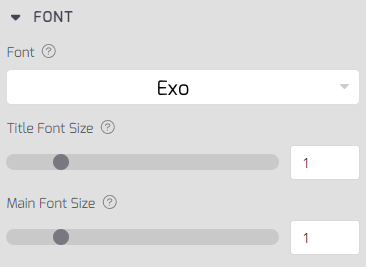
- Font: Select a Font Set. Not all fonts work for all languages, so you may have to try a few depending on the language type.
- Title Font Size: Adjust the bar to change the context font size scale.
- Main Font Size: Another adjustment bar for the context font size scale.
Any time-based information, such as overlays, clocks, and scheduling, relies on the system time of your device. It is not automatically set based on your location in the Admin app.
Display Weather Overlay: Temperature Units
When using Playlists > Overlays > Display Weather instead of the dedicated Weather App, the system will automatically detect the location and adjust the temperature units accordingly:
- United States: Displays temperature in Fahrenheit.
- Other Locations: Displays temperature in Celsius.
This automatic unit detection applies only to the Display Weather Overlay feature. The Weather App operates independently and may require manual configuration for temperature units.
Themes
We offer several themes to suit your preferences, here are some examples below:
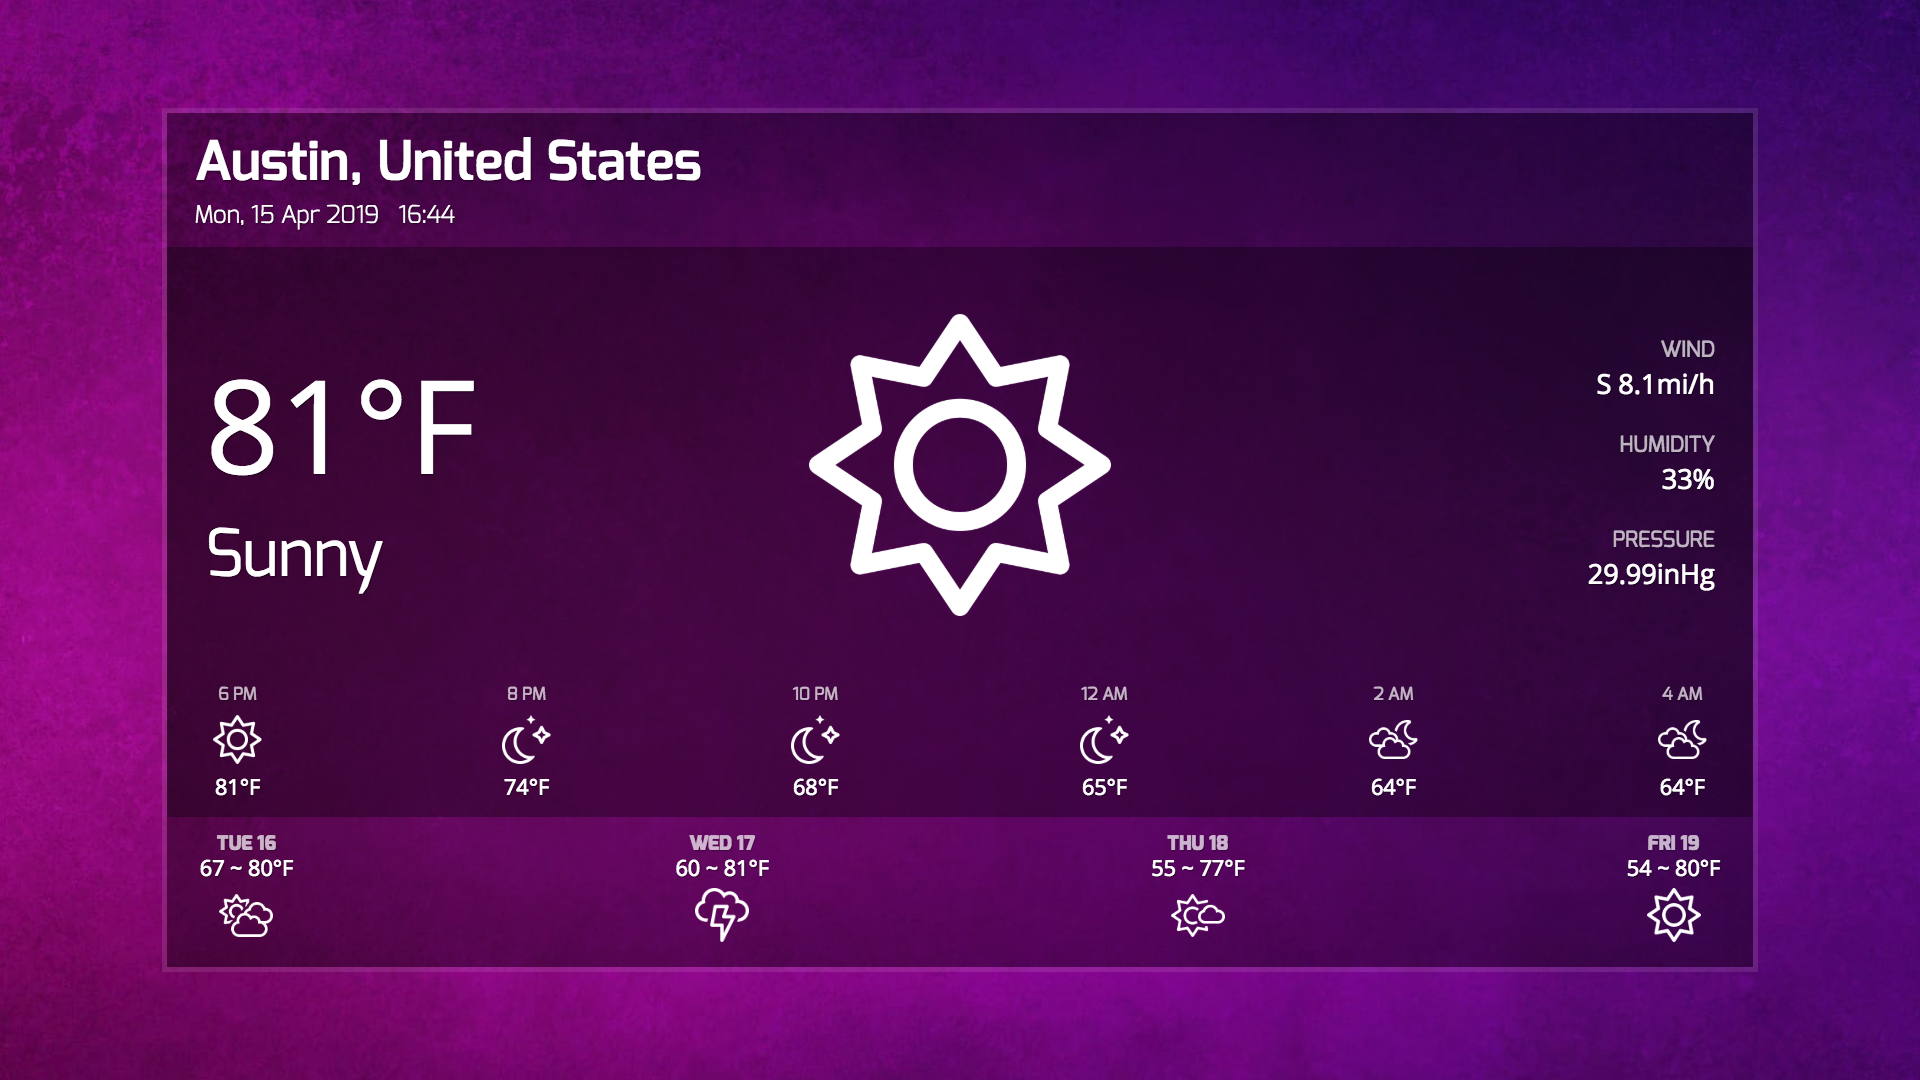
Default Theme
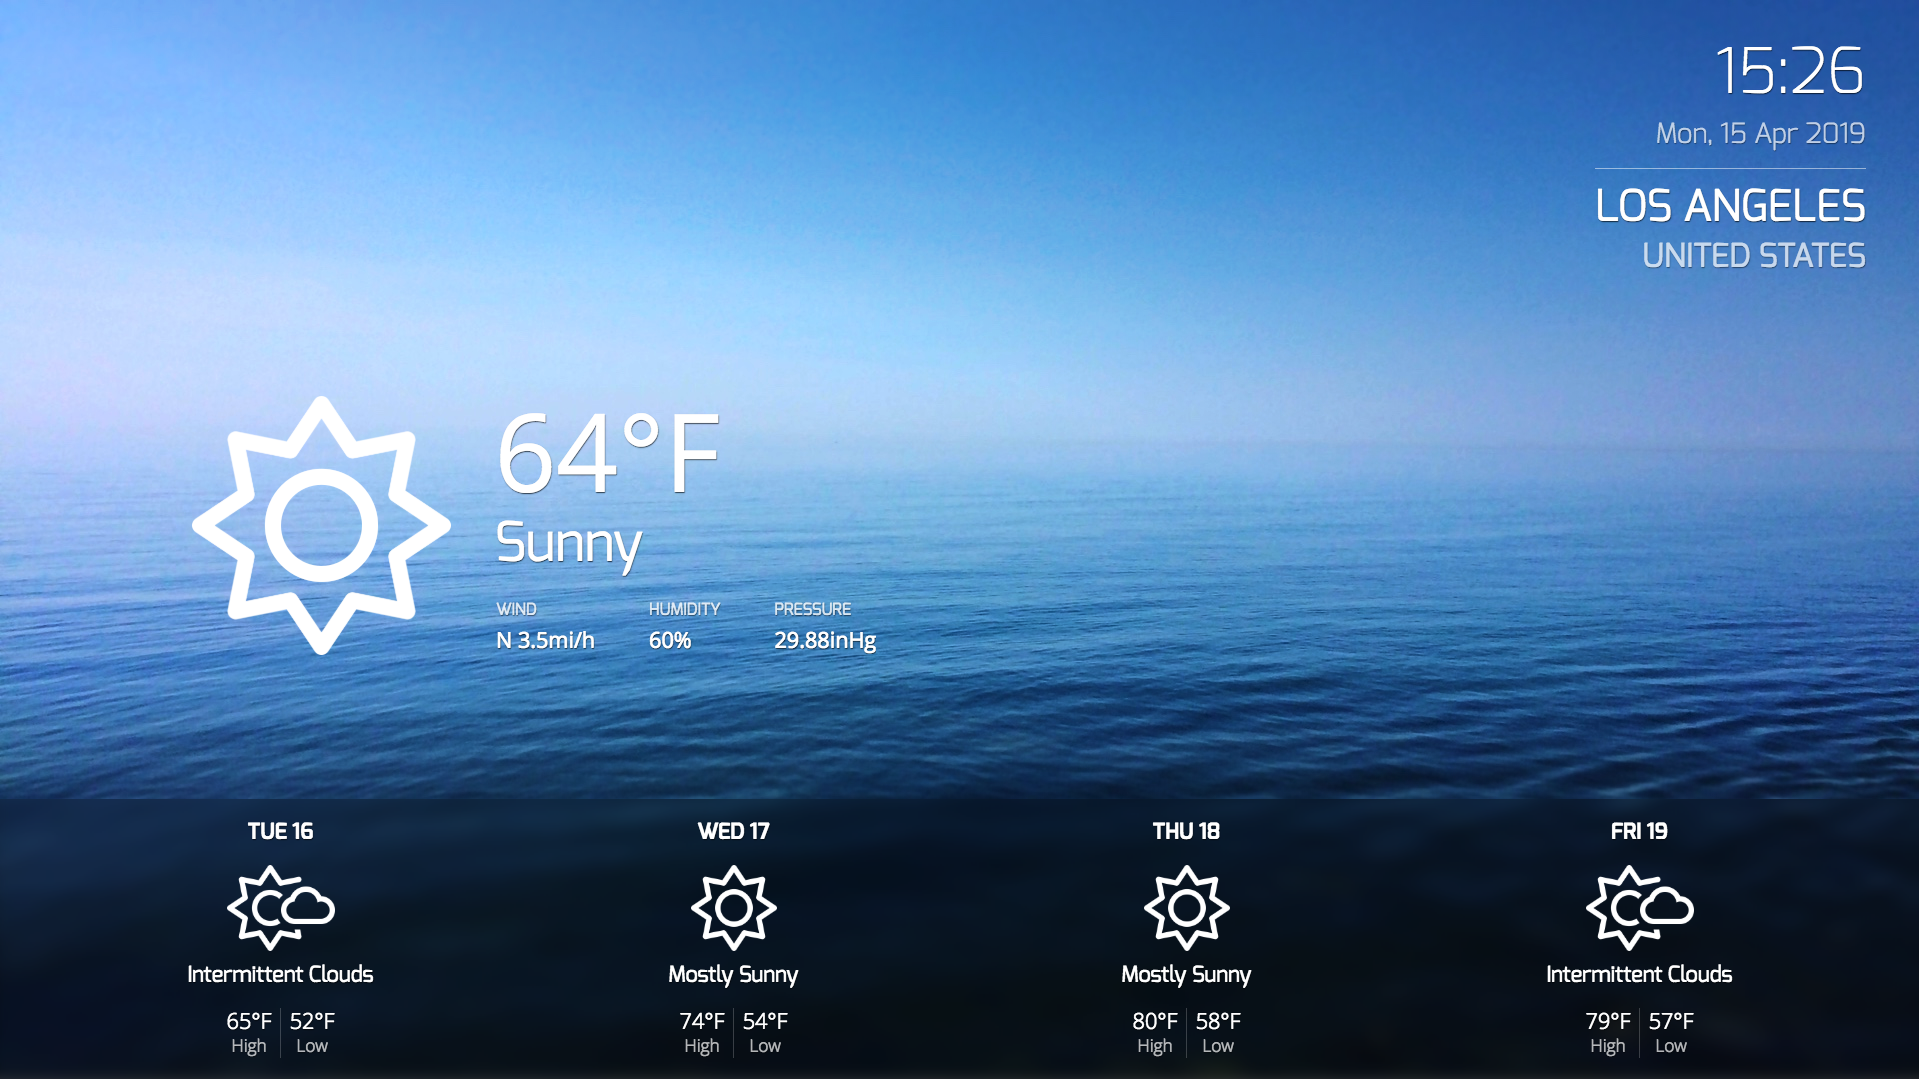
Blue Skies Theme
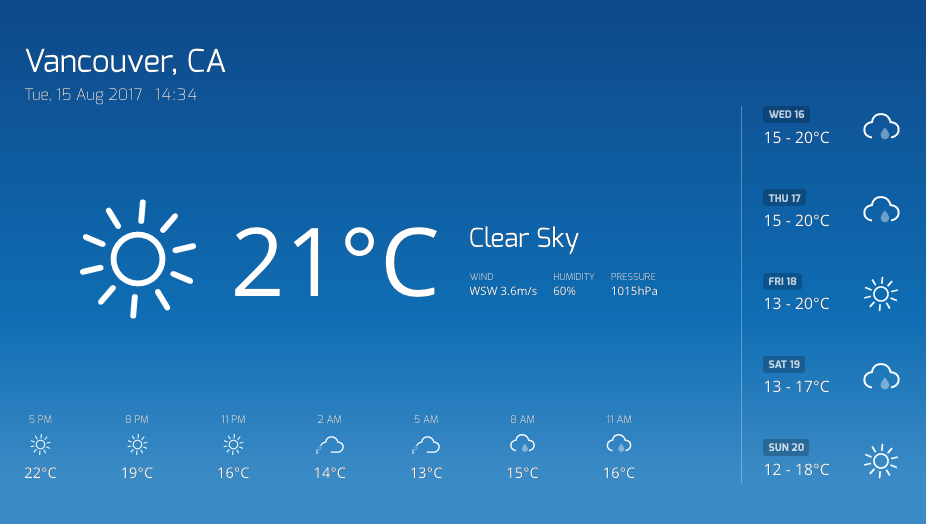
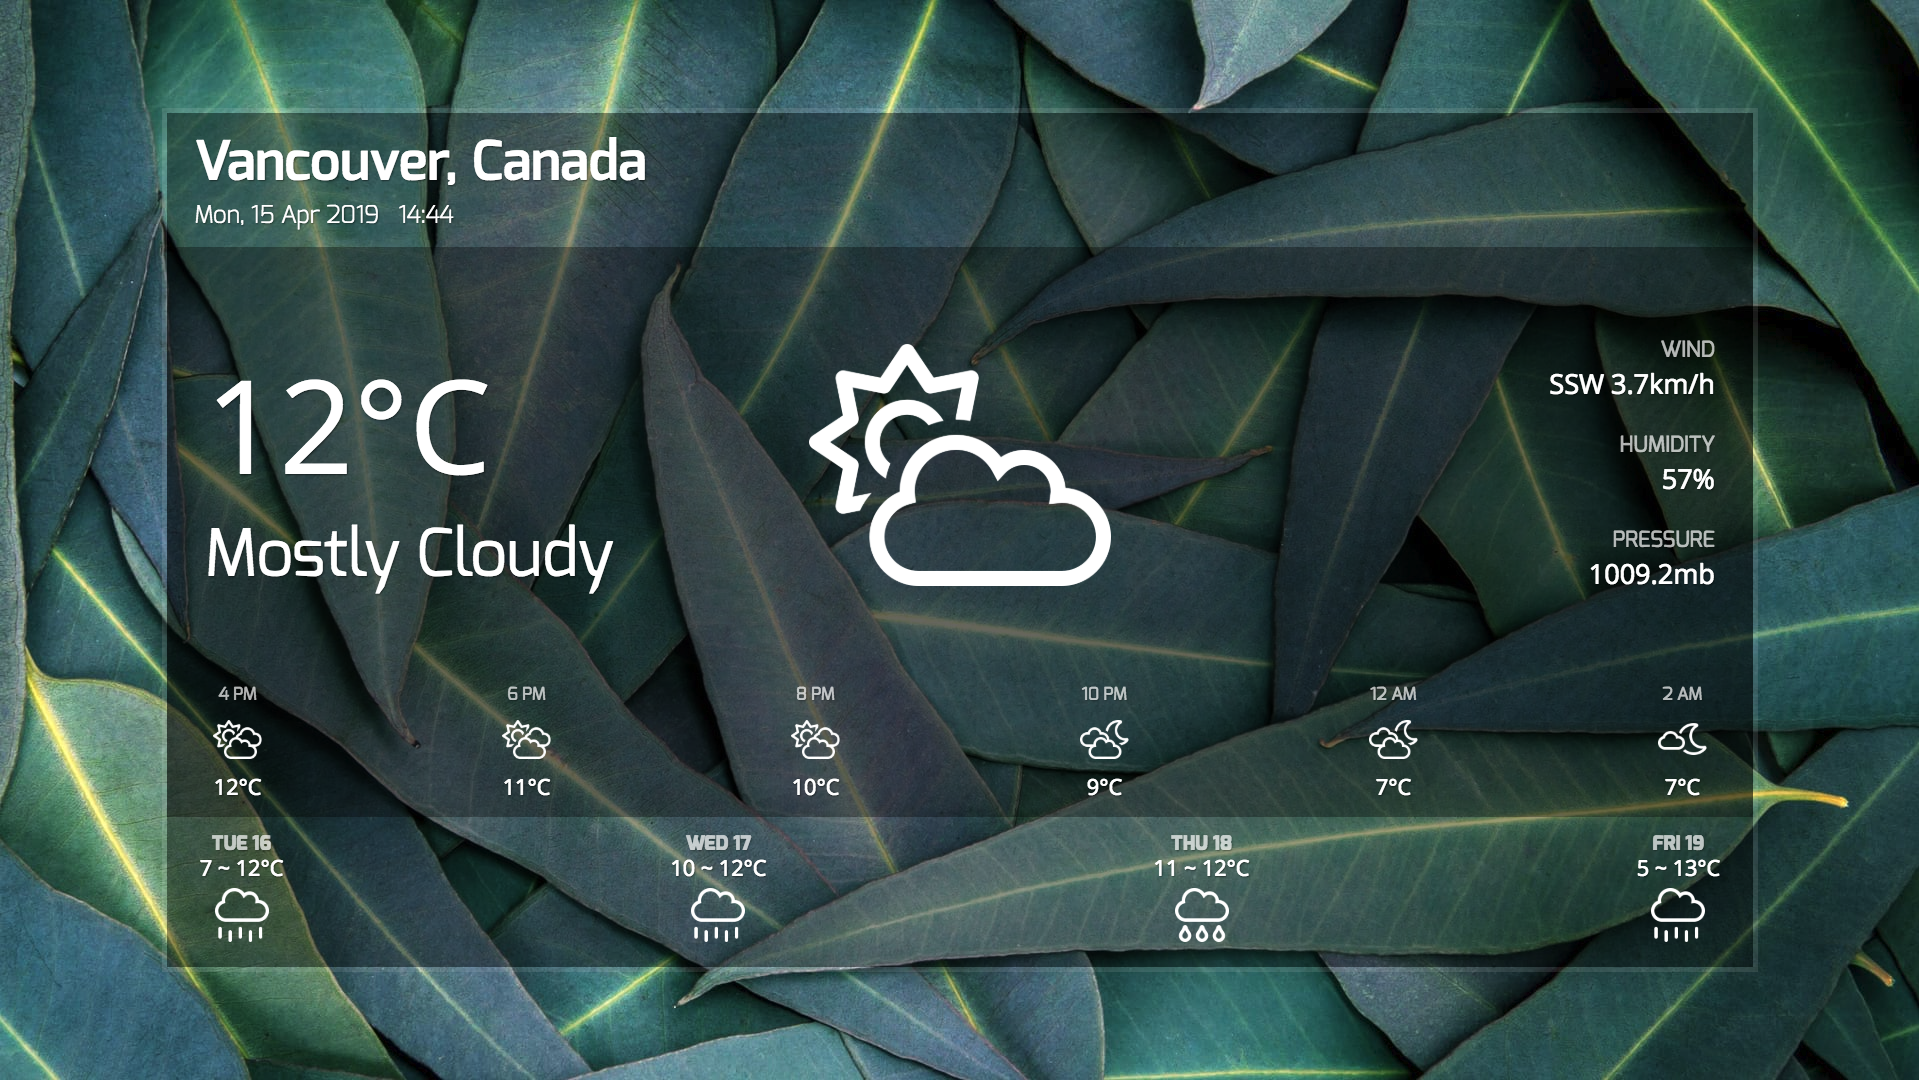
Photo Theme
- When you're ready, click Create.
If you are missing a weather slide from the weather app, check if the playlist has been changed or not. If not, the slide might be associated to the wrong device and if it's a weather app, it might have an incorrect location.
You can preview your app and edit it's settings from the right-side menu on the Apps page.
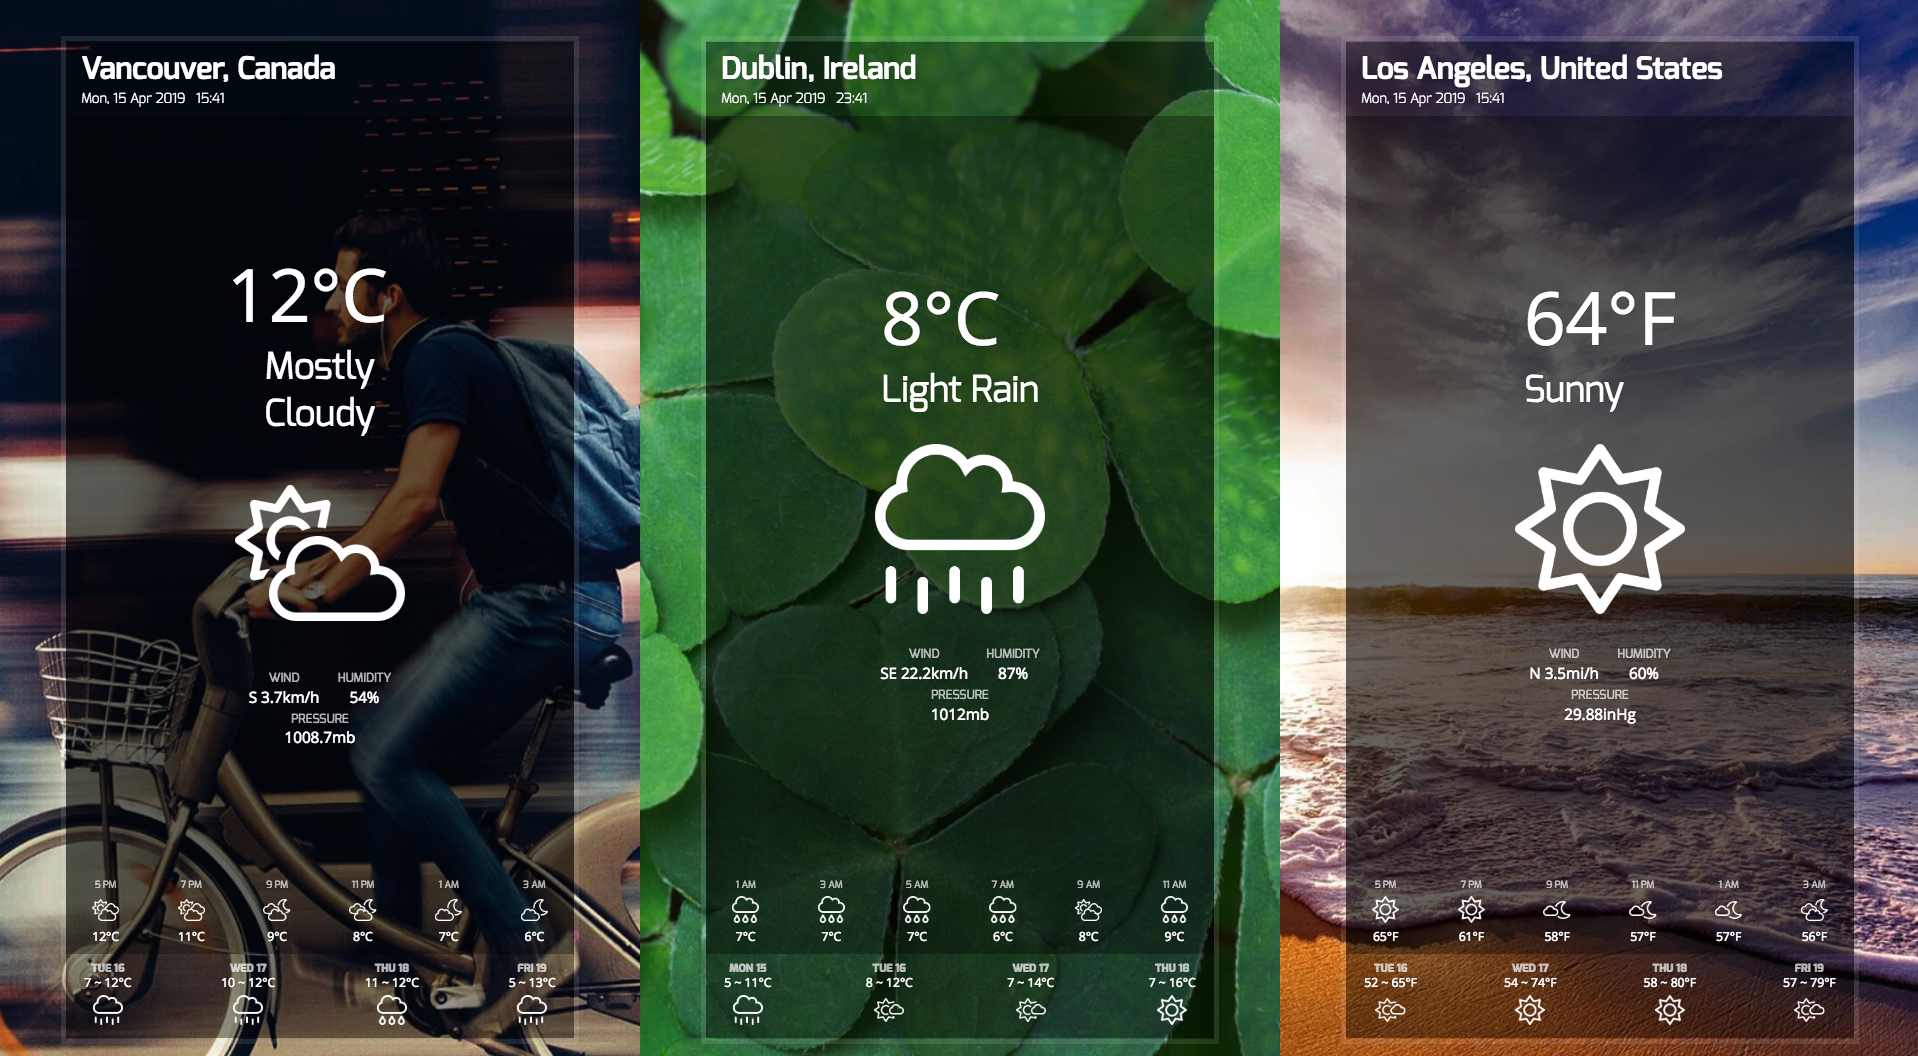
Pro tipUse Playlist Zones to display several different weather apps on one playlist page. Check out an example below:
Updated 8 months ago