Uploading a Webapp
How to add a Webapp using the upload method.
Uploading a Webapp Using a .ZIP File
There are three methods used with Webapps, we are starting with the second method, uploading a Web App using a .ZIP file.
The other two methods Inline Editor, and Git-based Webapps are covered on other help pages.
Using the Upload Method
The Upload method allows you to upload a .ZIP archive of web contents to host on our Servers.

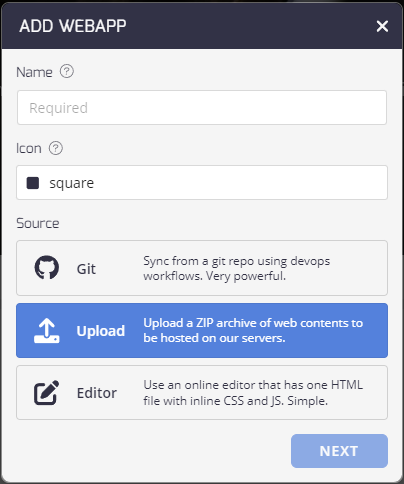
- Enter the Webapp Name
- Select an Icon
- Select the Source as Upload and click Next.
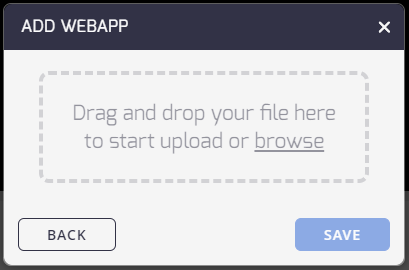
- A dialog opens so you can drag and drop your file here, or browse to the file.

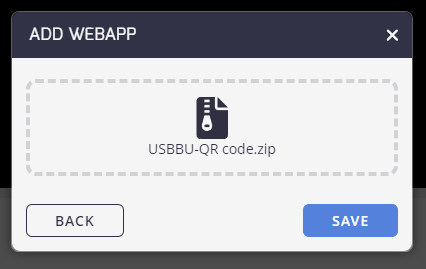
- Once you add your .ZIP file, the dialog changes to reflect the file, as below.

- Click Save to finish uploading the file.
- The file once uploaded displays the contents in the Preview window.
Folder Contents Key Requirements
index.html is required.
Updated 3 months ago
What’s Next